
Sometimes, circumstances require you to scan important papers or old family photos and email these scanned documents. When these circumstances arrive, you must know how to scan papers and email them. Scanning papers and emailing them can be done in several ways.
How to Scan Papers Using Multifunction Printers
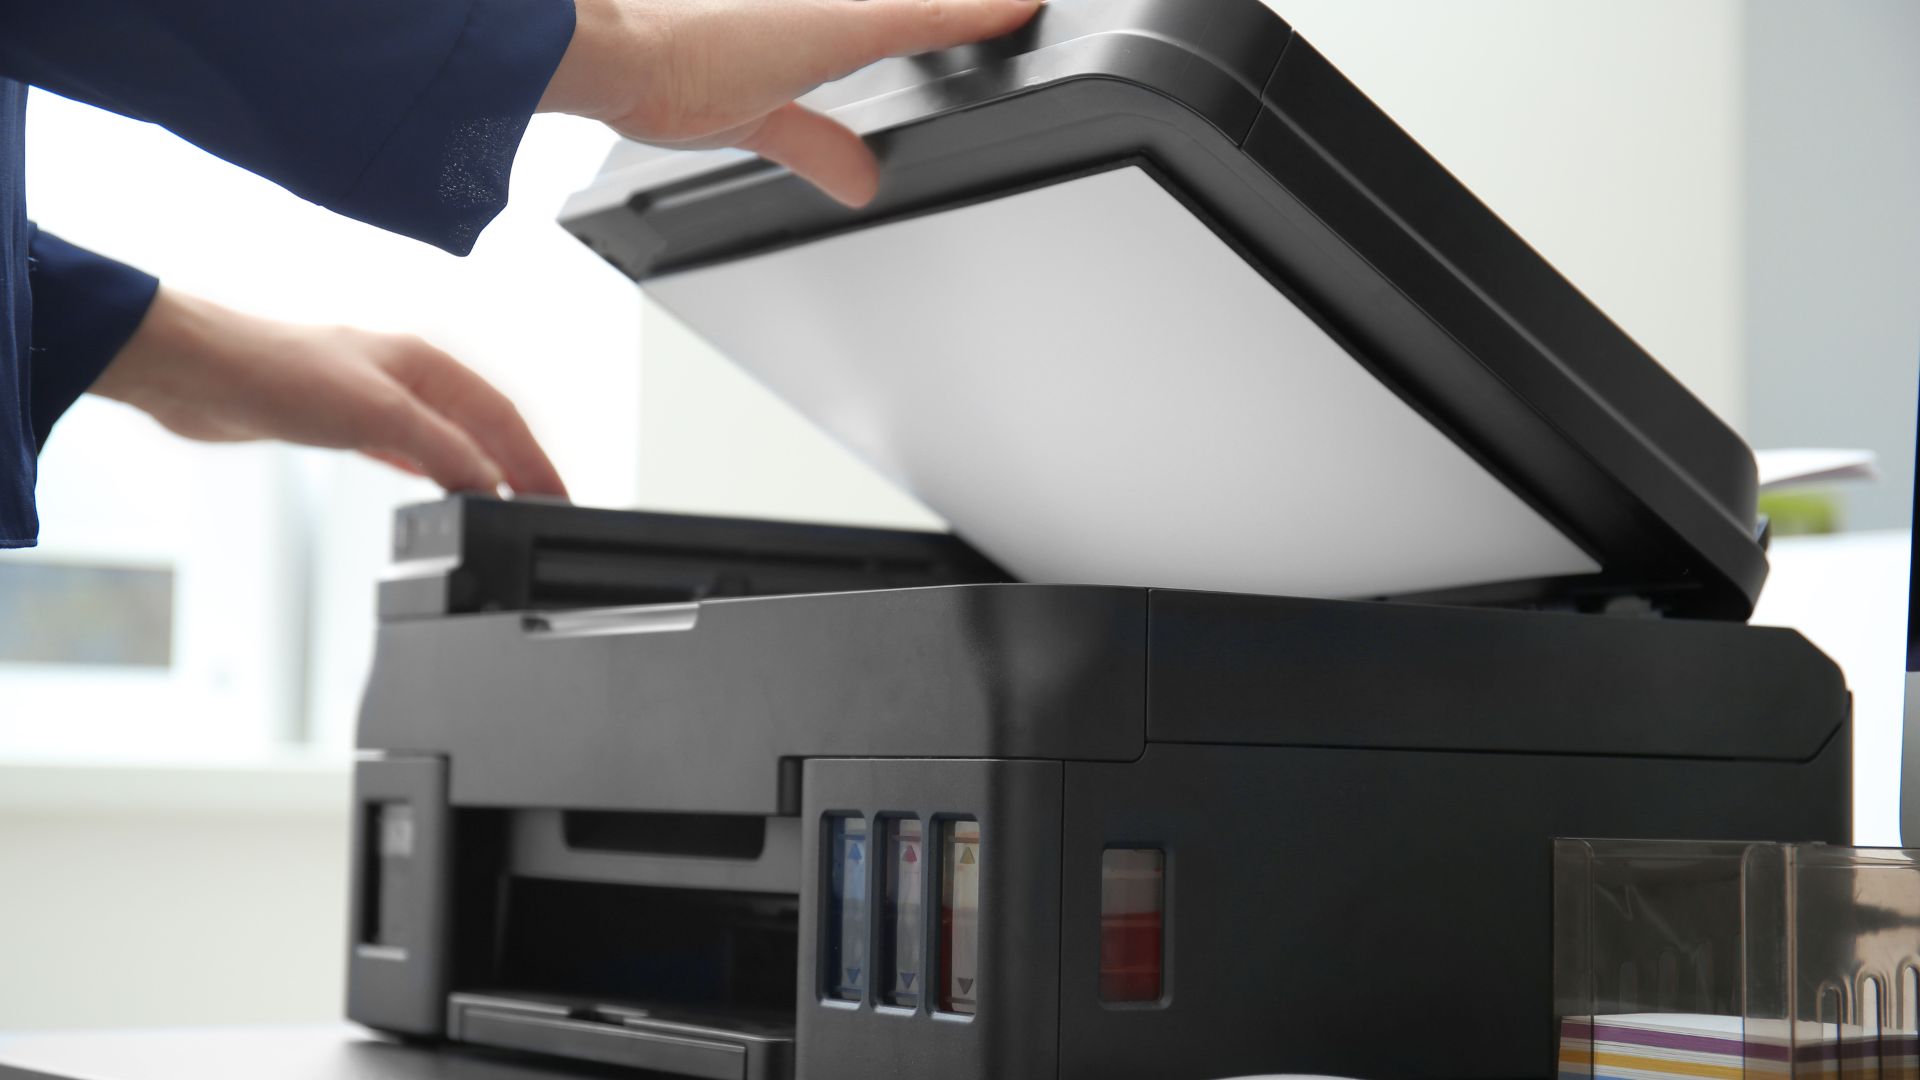
These days, scanning multiple pages of documents is easier and more efficient than before. You can find many multifunction printers with excellent scanning features, such as the scan-to-email feature and ADF. In addition, the scan quality of these printers is also better than before.
Despite the ease of use of multifunction printers, new printer users may have little difficulty scanning documents because they are not familiar with the printers’ scanning function. In general, the steps of scanning papers using a multifunction printer are as follows.
- Turn on your multifunction printer and connect it to your PC via Wi-Fi or cable.
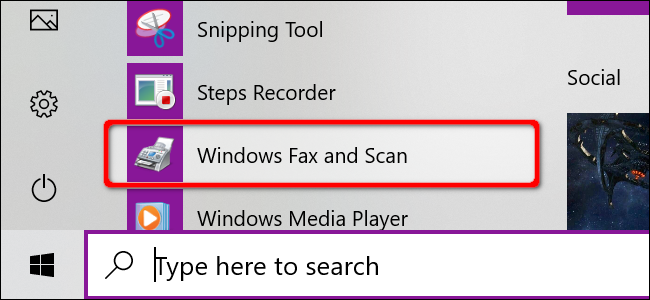
- Open Windows Fax and Scan and click Scan if you use Windows PC. However, you must choose System Preferences and go to Printers and Scanners if you use Mac.
- Select scanner.
- You may also have to choose the source, such as the flatbed or the feeder.
- Select file type. You had better choose the PDF file type if you scan documents. However, you can choose to save them in JPEG if you scan photos.
- You can adjust the scanned document settings, such as save location, color, and resolution if you want to.
- Place your document on the scanner. You must remember to place it face down if you use the flatbed. However, you should place the papers face up and ensure they are in the correct order if you choose the feeder.
- Click the Scan button on your PC.
Scan Paper to Email Feature on Printer
The multifunction printers’ scan-to-email feature offers several advantages for printer users. Some of them are time efficiency and energy efficiency. This feature allows you to email your scanned documents and photos directly via the printer.
Therefore, you don’t need to connect your scanner to your PC when you want to email your freshly scanned documents. Unfortunately, the scan-to-email feature is not available in all multifunction printers. Some printers that offer this feature are:
1. Canon Pixma G7020 Megatank All-in-One Printer
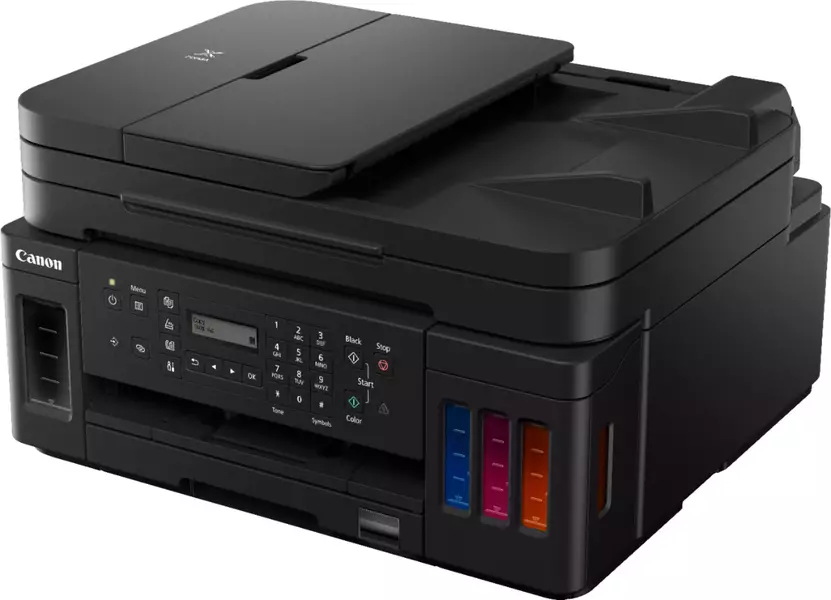
You can get the scan-to-email feature from the Canon Pixma G7020 Megatank All-in-One printer. This wireless inkjet printer is affordable and yet it offers great performance.
It is easy to operate and compact. Therefore, you can easily scan and email your documents using this printer. In addition, this device has a decent print speed. As a result, it is more efficient to have
Canon also quips Pixma G7020 with a large ink capacity and a decent-size paper tray. Therefore, you can print many pages without refilling ink or reloading paper when printing documents.
2. Brother MFC-L3710CW Digital Color All-In-One Printer
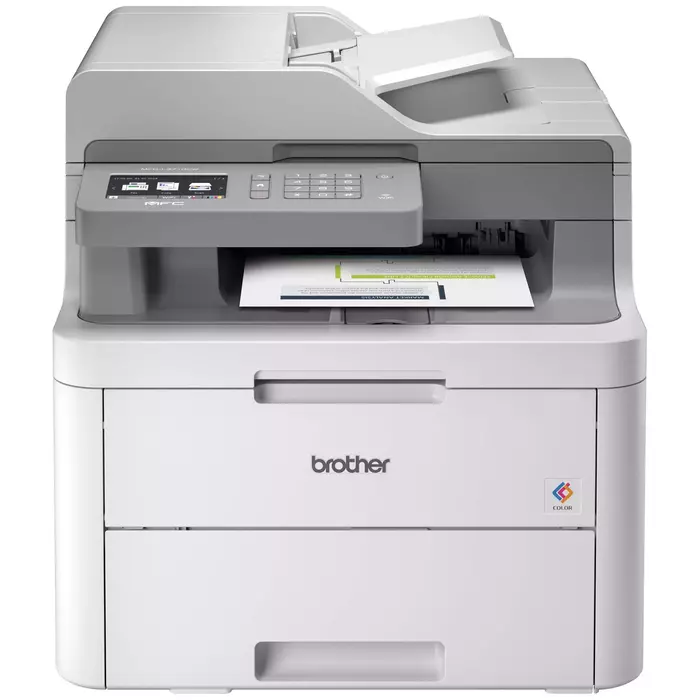
Brother MFC-L3710CW is an inkjet printer that allows you to print, scan, copy, and fax efficiently thanks to its excellent features. One of the excellent features of this printer is its ability to scan documents and email them.
In addition, it also offers an automatic duplex printing feature, a 500-sheet paper tray, and Near Field communication. Another great thing about this printer is that it offers low print cost due to the availability of affordable replacement ink cartridges.
3. HP Deskjet 2752
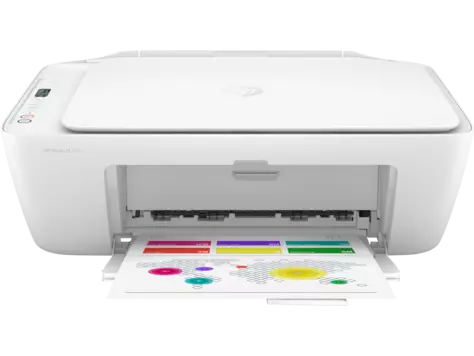
HP is one of the best printer manufacturers that offer multifunction printers with a scan-to-email feature. One of its products is HP Deskjet 2752, a compact inkjet printer with scanning, copying, and printing feature.
This allows you to manage scanning and printing on the go using its Remote App. In addition, it offers excellent scan quality at high resolutions. Moreover, the Deskjet 2752 has a color touchscreen display that allows users to scan and email their papers easily.
When it comes to printing quality, HP Deskjet 2752 offers exceptional prints. It also has great printing speed and a 250-sheet page input tray.
4. HP LaserJet Pro M404n
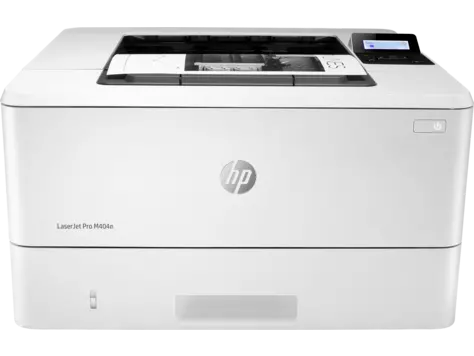
Another HP printer with a scan-to-email feature is HP LaserJet Pro M404n. It is one of the best scan-to-email printers. The LaserJet Pro M404n has an automatic document feeder (ADF) with a 50-page capacity.
Therefore, its users can easily scan multiple pages of documents. The LaserJet Pro M404n also offers fast printing speed and automatic duplex printing. As a result, it is an excellent printer choice if you want to have an efficient printer.
5. Epson Workforce WF-4740
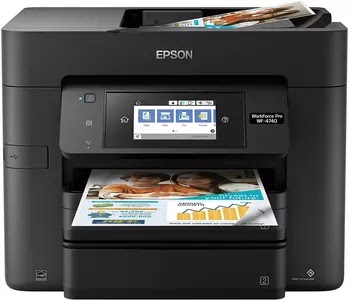
Epson Workforce WF-4740 is another excellent choice for an efficient multifunction printer. This device allows users to fax, print, copy, and scan quickly and easily. Moreover, it has excellent printing speed and a built-in duplex printing feature.
In addition, it also features an ADF with a capacity of 50 pages. Combined with the easy-to-navigate color touchscreen display, users can scan their papers and email them easily using this printer.
How to Scan Papers and Email Them Directly from Printer
The steps for using the scan-to-email feature are different from scanning papers and saving them on your PC. Since you email the scanned documents from your printer, you only need to use the printer’s buttons or its touchscreen display to perform the scanning and emailing tasks.
However, you must set up the printer first to enable this feature. You can find the setup information in the printer’s manuals. After enabling the scan-to-email feature, you can start scanning and emailing your documents directly from your printer.
Below is an example of how to scan papers and email them from HP LaserJet MFP printers.
- Place your document or photo face up if you use the ADF or face down if you use the flatbed.
- Adjust the document or photo based on the paper guides.
- Go to the Home Screen of your printer’s control panel. Choose Scan.
- Select Scan to Email.
- Tap the To box. When the keyboard opens, type the email address of the recipient. You can also enter the address from your Contact by tapping the Contact symbol and selecting the recipient.
- Enter the file name, subject, and message on each respective box.
- Choose Options to set the scan resolution, file type, content orientation, and original sides.
- Preview the scan result on the right screen panel.
- Use the symbols next to the preview screen to add pages, delete pages, rotate pages, etc.
- Tap the Send button when your document is ready.
How to Scan Papers and Email Them on Windows PC
You can scan your papers and email them using other devices if you don’t have a printer with a scan-to-email feature. One of them is Windows PC. The scan software on Windows PC has an email forwarding feature.
This feature will help you email your freshly scanned documents to your selected address. However, it only works if you set the file type to PDF, have a Windows Mail account, use Microsoft Edge as the default PDF handler, and arrange the Mail as the default email client via Microsoft Edge.
How do you scan documents and email them from Windows PC? Check the following steps on how to scan papers and email them on Windows.
1. Method 1
- Make sure that you have connected your scanner to your Windows PC.
- Click the Start button and open Windows Fax and Scan.
- Select the New Scan menu.
- Click the Change button to select the scanner if you connect your Windows PC to several scanners.
- Customize the file type, color, resolution, etc.
- Place the document on the flatbed scanner or in the feeder.
- Click Scan.
- Click Forward as Email after the scanner finished scanning.
- Enter the necessary information, such as the email address of the recipient.
- Click the Send button.
2. Method 2
- Go to Windows Scan.
- Place your document on the scanner and start to scan by clicking the Scan button.
- Click View and Microsoft Edge will open the scanned documents for you to see.
- Click the Share symbol (the one with an arrow).
- Click the Mail button.
- Select an email account if you have several Windows 10 Mail accounts.
- Type the email address of the mail receiver.
- Type the email subject and message on each respective field.
- Hit the Send button.
How to Scan Papers and Send to an Email from Mac
If you are a Mac user, you can scan your papers and email them in a couple of ways.
1. How to Scan Papers and Email Them on Mac: Method 1
This first method is a bit traditional because you must open several programs to scan papers and email them. This method may seem unpractical and inefficient, but it is so easy to do that beginners or new users can perform this technique without difficulties.
Below are the steps for scanning and emailing documents on Mac.
- Connect your scanner to your Mac.
- Place the document in the ADF or on the flatbed scanner.
- Click the Apple menu.
- Select System Preferences.
- Select Printers and Scanners.
- Choose the scanner you use. If you cannot find it on your Mac, you must add the scanner first.
- Click Scan.
- Click the Open Scanner button.
- Select Show Details. After that, you can customize the scanned documents’ file type, color, storage, etc.
- Click the Scan button.
- Open your email.
- Compose an email and attach the scanned documents.
- Send the email.
2. How to Scan Papers and Email Them from Mac: Method 2
You can also scan to email your papers from your Mac by using the sharing feature on this device. However, you can only use this method to email PDF files
Below is the alternative technique of how to scan papers and email them from Mac.
- Scan your document.
- Open your scanned document.
- Select File.
- Select Print.
- On the PDF popup menu, click the down arrow.
- Select the Send in Mail option.
- Type email address.
- Type your message in the Message field.
- Click the Send button.
How to Scan Papers to an Email on Android Smartphone
Having no scanner doesn’t mean that you cannot scan to email your documents and photos. If you have an Android smartphone you can use the Google Drive app installed on your device to scan papers and email them. This app offers excellent scanning performance.
Scanning and emailing document from Google Drive is easy to do. You only need to do the following steps on how to scan papers and email them.
- Access the Google Drive app from your Android smartphone.
- Find the plus symbol located in the bottom left corner.
- Tap Scan.
- Take a picture of your document by tapping the Capture button. The scanned documents will be in a PDF file.
- Tap the plus symbol if you need to scan another document.
- Name your scanned documents and hit the Save button.
- Find the three-dot icon in the corner and tap it.
- Select Share.
- Enter the email address of the recipient in the People field.
- Find the Send icon next to the three dots. Tap Send.
Note: Instead of using the Sharing option, you can email your scanned documents and photos using the Send Copies option.
How to Scan Papers and Email Them on iPhone
Those who have iPhones can also scan and email their papers without a PC and scanner. Through the Notes app, this iOS device allows you to scan documents and email them efficiently.
You can follow the steps below to scan your papers on your iPhone.
- Tap the Notes app icon.
- Tap the Create New Note icon.
- Tap randomly on the Notes field.
- When a popup appears on your iPhone screen, tap the Camera icon.
- Choose Scan Documents.
- Scan your document using the camera of your iPhone and tap the Shutter button.
- You can adjust the scanned documents when needed. To adjust them, drag the document’s corner.
- Save your scanned documents by tapping the Save button in the corner.
- Tap the Share icon, the one with an arrow and a square.
- Choose Mail.
- Fill out the To field and Message field.
- Tap Send.
How to Scan Papers and Send Them Using Third-Party Services to Request a Signature
In some cases, you will need to email scanned documents to request a signature. In these cases, recipients must digitally sign the scanned documents.
A long time ago, the recipients must print, sign, scan, and email the documents back to the sender. It was very time-consuming and complicated.
However, now scanning papers and emailing them to request a signature is not as complicated as it was. You can use third-party services to perform this task. Below are two examples of third-party services for requesting an electronic signature on scanned documents.
1. Signaturely
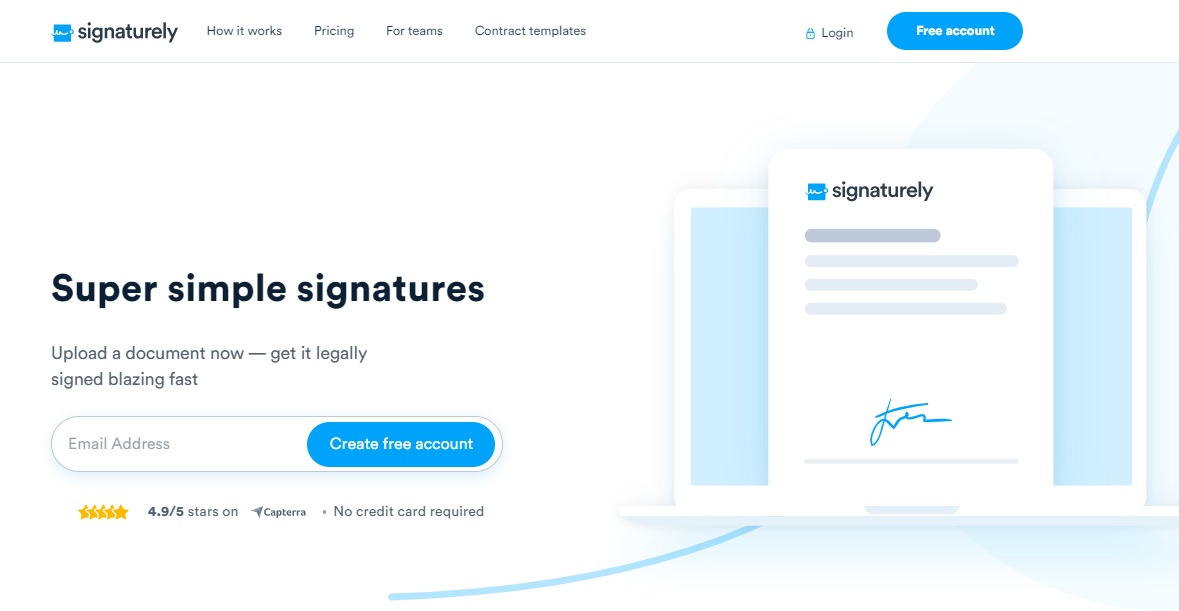
Signaturely is an electronic signing platform. This platform will help you request a legally-binding signature for your document. In addition, Signaturely is easy to use and integrated with various apps, such as Google Drive, One Drive, and Dropbox.
You don’t need to worry about the security protection of your documents. You can lock your documents before sending them or after receiving the signature so others cannot change the documents.
Signaturely offers two subscription plans, i.e. a free account and a paid account. After you make the account, you can use this platform for sending scanned documents and requesting a signature.
The steps for sending an electronic request via email are as follows.
- Scan your documents.
- Open your Signaturely account
- Add a title to the document and a customized message to the recipient
- Add your scan documents from a selected platform or PC.
- Open the document and use the online editor to add the signature field
- Enter the signer’s email address and name.
- Click Send Document.
- Signaturely then will guide the recipient to sign the document.
2. Signeasy
You can also scan to email papers and request a signature using Signeasy. It is a cloud-based platform for sharing documents and creating an electronic signature on a document. This platform is easy to use and 100% secure.
As a Signeasy user, you can integrate your account with various cloud services. You can also send scanned documents and request a signature via email. Below are what you must do to scan and email documents and request an electronic signature.
- Scan your documents
- Use your web browser to open Signeasy website.
- Click Sign Document.
- Select the document.
- Click Signature.
- Click the area on your scanned documents where the electronic signature will appear.
- Click the Finish button.
- Click Email.
- Type the recipient’s address, message, and subject in each respective field.
- Click Send.
Scan Papers to Cloud Services
As an alternative to scanning papers via email, you can scan papers with cloud services and share the scanned papers with others. To scan papers to cloud services, you can use wireless printers with a scan-to-cloud feature.
You can also scan to cloud papers via other devices, such as Windows PCs, Macs, Android smartphones, and iPhones. If you use one of these devices, you must scan your documents first and next upload them to your selected cloud services.
There are several methods how to scan papers and email them. Those who have a wireless multifunction printer can use the scan-to-email feature on this device to scan and email documents. However, those who don’t have this printer can use PCs and smartphones to do it.

I'm Morgan, the creator of VPNForMe — a site born from too many hours spent side-eyeing sketchy VPN reviews and buffering videos.
I wanted a place where people could get straight answers about privacy, streaming access, and which VPNs actually deliver — without the hype or tech jargon.