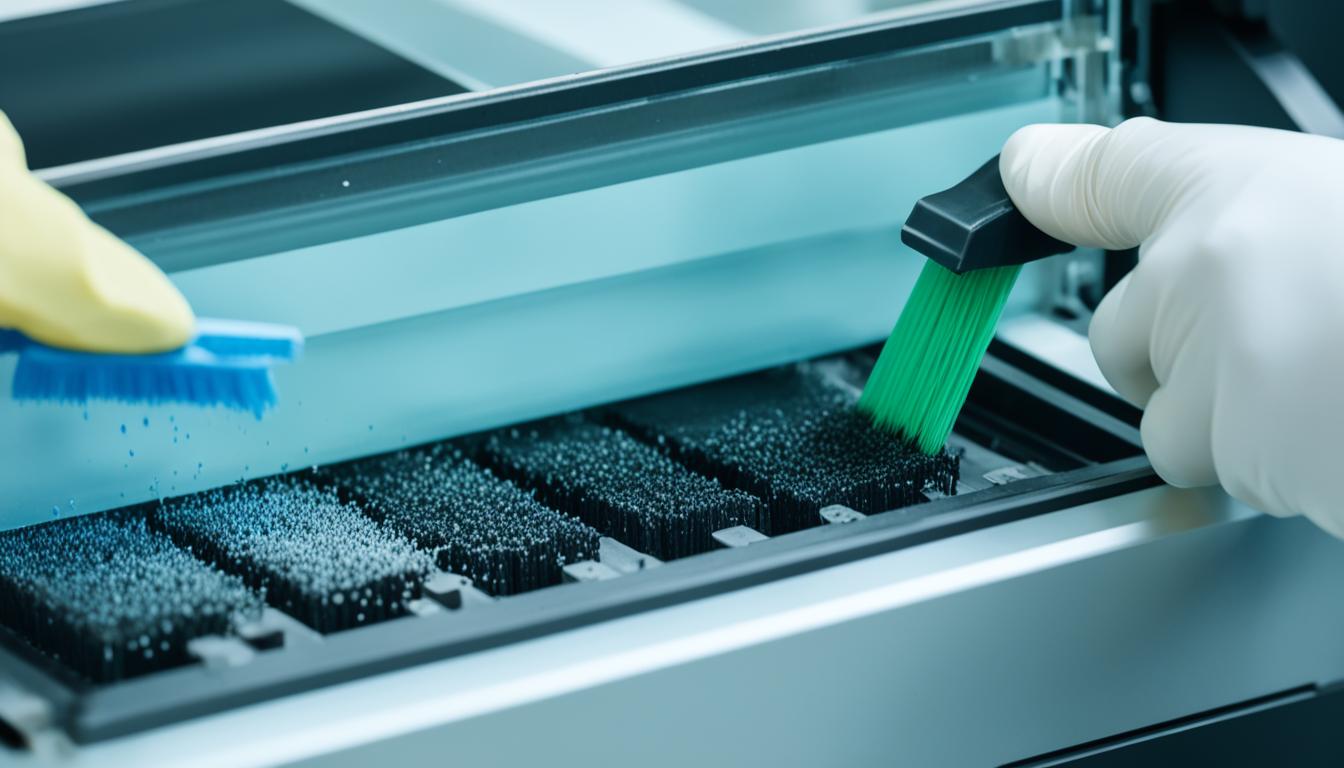
Dealing with clogged printer heads can be frustrating, especially when it leads to streaky prints and missing colors. But don’t worry, we’ve got you covered with some simple cleaning tips to help you unclog your printer heads and maintain clear, high-quality prints.
There are different types of clogs that can occur, ranging from simple clogs to stubborn and even hardcore clogs. Understanding these types and knowing how to tackle them is key to restoring your printer’s performance.
Key Takeaways:
- Clogged printer heads can result in streaky prints and missing colors.
- There are different types of clogs, including simple, stubborn, and hardcore clogs.
- Different printer brands have different tendencies to clog, with Epson printheads being more prone to clogs.
- Simple clogs can often be resolved by running a head cleaning cycle and performing a nozzle check.
- Stubborn clogs may require a deeper cleaning method, such as the Windex Method.
Understanding Printhead Clogs
Printhead clogs can cause frustration and affect the print quality of your inkjet printer. To effectively address this issue, it is important to understand the different types of clogs and how to deal with them.
Types of Clogs
Printhead clogs can be categorized into three types:
- Simple clogs: These are the most common type of clogs and are often caused by dried ink or debris blocking the tiny holes on the printhead. Simple clogs can usually be resolved by running a head cleaning cycle, followed by a nozzle check.
- Stubborn clogs: Stubborn clogs require a deeper cleaning method. This may involve using warm water or an ammonia-based solvent like the Windex Method to loosen the dried ink on the printhead.
- Hardcore clogs: Hardcore clogs are more severe and may require the removal of the printhead assembly for a thorough cleaning. This is often the case when the printhead is heavily clogged or has been neglected for a long period of time.
Each type of clog requires a different approach to effectively clean the printhead and restore optimal print quality.
Tip: Regularly performing maintenance routines such as head cleaning cycles and nozzle checks can help prevent clogs and maintain the performance of your printer.
The Windex Method
When dealing with stubborn clogs, the Windex Method can be an effective solution. Here’s how it works:
- Turn on your printer and ensure the printheads are accessible.
- Unplug the printer to prevent any accidental movement of the printheads.
- Remove the ink cartridges and place a damp paper towel underneath the printhead assembly.
- Gently move the printheads back and forth over the damp paper towel to dislodge and remove any dried ink residue.
Caution: Be careful not to touch the electronic components of the printhead assembly to avoid causing damage.
Thorough Cleaning
For hardcore clogs, a thorough cleaning of the printhead assembly may be necessary. Here are some steps to consider:
- Remove the printhead assembly from the printer according to the manufacturer’s instructions.
- Soak the printhead in a cleaning solution, such as a mixture of water and ammonia, to dissolve the dried ink.
- Flush the printhead using warm tap water to remove any remaining residue.
- Dry the printhead thoroughly before reassembling it and reinstalling it in the printer.
It’s important to note that cleaning methods may vary for different printer models, so always refer to the manufacturer’s guidelines or consult online resources for specific instructions.
By understanding the different types of printhead clogs and how to address them, you can effectively maintain the performance of your inkjet printer and enjoy clear, high-quality prints.
Where’s Your Head?
The printhead assembly is an essential component of your printer responsible for mounting the printheads and ensuring the smooth delivery of ink onto the paper. It also holds the ink cartridges and moves back and forth to spray ink accurately. When it comes to cleaning the printheads, it is crucial to handle them with care and avoid touching the delicate electronic components. Different printer models may have varying methods for accessing and removing the printhead assembly, so it’s essential to understand your specific printer’s instructions.
Integrating seamlessly with the printer, the printhead assembly houses the ink cartridges and enables the precise application of ink. The ink cartridges contain the ink needed for printing, while the printheads spray the ink onto the paper. As you use your printer, ink can accumulate and lead to clogs in the printhead assembly, compromising print quality. To maintain optimal performance, regular cleaning of the printhead assembly is necessary.
When it comes to removing the printhead assembly, refer to your printer’s user manual or online resources for specific instructions. Some printers allow easy access to the printhead assembly by opening a panel or lifting a carriage, while others may require more intricate steps. It’s important to follow the manufacturer’s guidelines to prevent any damage to the printheads or other printer components.
Remember, the printhead assembly is a critical part of your printer, and proper maintenance ensures consistent print quality and longevity of both the printheads and ink cartridges. Keeping the printhead assembly clean will help prevent clogs and ensure crisp, clear prints every time.
Simple Clogs
Simple clogs are a common issue that can affect the print quality of your inkjet printer. These clogs occur when dust, debris, or dried ink blocks the tiny holes on the printhead, preventing smooth ink flow.
To resolve simple clogs, you can try running a head cleaning cycle followed by a nozzle check. The head cleaning cycle helps to flush out any built-up ink or debris from the printhead, while the nozzle check confirms if the clog has been resolved.
Here are some steps to perform a head cleaning cycle:
- Go to your printer’s settings or maintenance menu.
- Look for the option to run a head cleaning cycle.
- Select the head cleaning option and follow the prompts to initiate the cleaning process.
After the head cleaning cycle is completed, it is recommended to perform a nozzle check to ensure the clog has been cleared. The nozzle check prints a test page that depicts the quality of the printout. If you still notice missing lines or gaps on the printout, it is suggested to run another head cleaning cycle to further unclog the printhead.
Remember, running the head cleaning cycle twice can help ensure a thorough cleaning, but be cautious not to overdo it, as excessive cleaning cycles can potentially deplete your ink cartridges.
Why is the Head Cleaning Cycle Important?
The head cleaning cycle plays a crucial role in maintaining optimal print quality. By running this cycle, you effectively clear any debris or dried ink that may be obstructing the printhead’s tiny nozzles, allowing for a smooth and consistent ink flow.
Performing regular head cleaning cycles can prevent simple clogs from affecting your prints, ensuring that they come out clear and vibrant. It is a simple yet effective method to maintain the performance of your inkjet printer over time.
Stubborn Clogs
When it comes to stubborn clogs, a more intensive cleaning method like the Windex Method may be necessary. This technique involves using warm water or an ammonia-based solvent, such as Windex, to break down dried ink on the printhead.
To get started, make sure your printer is turned on. As soon as the printheads begin to move along the carriage track, unplug the printer to prevent any accidental movements. Then, carefully remove the ink cartridges from the printer.
Next, take a damp paper towel and position it on the print track beneath the printhead assembly carriage. This will catch any ink residue that is removed during the cleaning process.
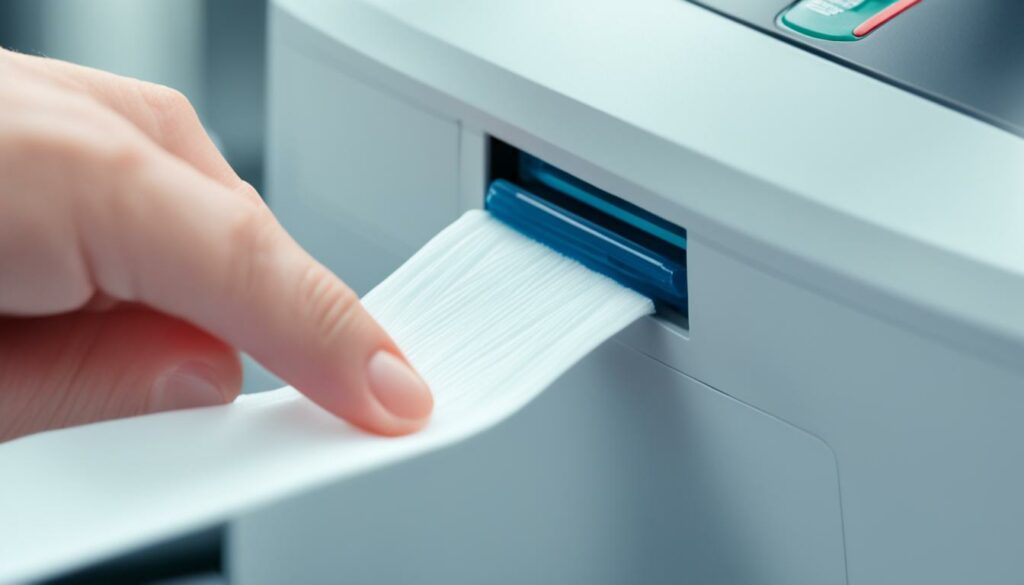
Now, gently move the printheads back and forth over the damp paper towel. This motion helps remove any stuck ink and clears the clog. Be cautious not to apply too much force, as this can damage the printheads or other printer components.
After moving the printheads over the paper towel, you may notice ink residue on the towel. This is a positive sign that the cleaning process is working effectively.
Once you’ve finished cleaning the printheads, carefully dispose of the damp paper towel and reinsert the ink cartridges into the printer. Plug the printer back in and turn it on.
It’s a good practice to perform a test print to check if the stubborn clogs have been resolved. If necessary, repeat the cleaning process until the prints come out clear and without any streaks or missing colors.
Remember, the Windex Method is suitable for stubborn clogs, but it’s important to follow the manufacturer’s guidelines and consult the printer’s user manual for specific instructions.
Hardcore Clogs
Sometimes, printer head clogs can be particularly stubborn and require a thorough cleaning approach. In such cases, it may be necessary to remove the printhead assembly from the printer for a more effective and extensive cleaning process.
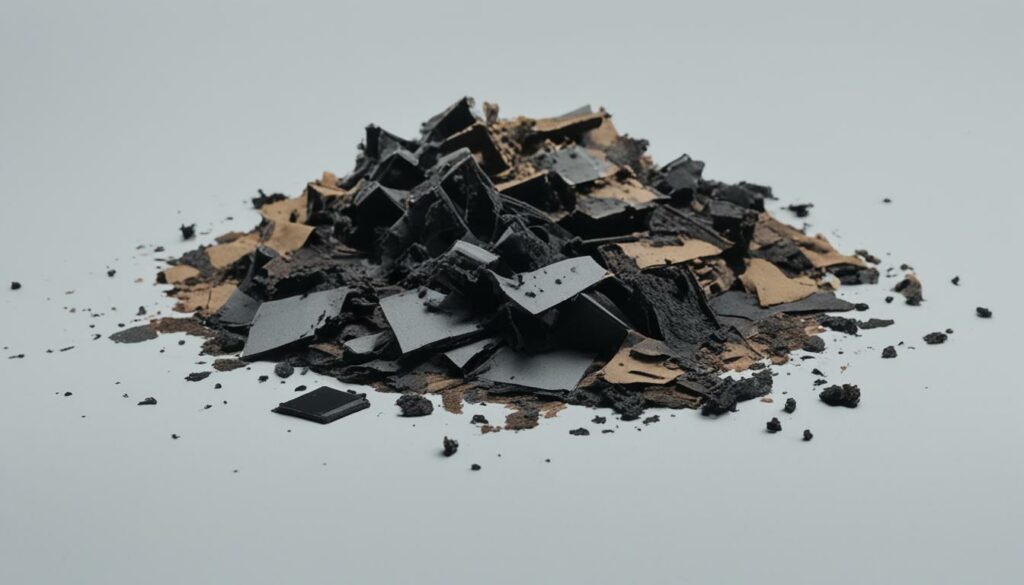
One effective method for cleaning hardcore clogs is soaking the printheads in a water and ammonia solution. This solution helps to loosen and dissolve the dried ink, allowing for easier removal. After soaking, the printheads can be flushed under warm tap water to remove any remaining debris.
Alternatively, using needles and syringes to flush a cleaning solution through the printheads can also yield satisfactory results. This method allows for more precise targeting of clogged areas, ensuring a thorough cleaning process.
Manufacturer Guidelines and Online Resources
It’s important to note that different printer models may require different cleaning methods. To ensure the best outcome, it’s recommended to follow the manufacturer’s guidelines or consult reputable online resources for specific instructions tailored to your printer’s make and model.
By addressing hardcore clogs with a thorough cleaning approach, you can effectively restore the functionality of your printer’s printheads and maintain optimal print quality.
How to Clean HP Inkjet Printer Heads
If you own an HP printer, you may encounter printhead clogs that affect print quality. The cleaning method for HP printers depends on whether the printheads are built into the cartridges or the printer itself. Here are the steps to clean HP inkjet printer heads.
Cleaning Printheads with Built-in Cartridges:
If your HP printer has printheads built into the cartridges, follow these steps to clean them:
- Turn off the printer and open the cartridge access door.
- Remove the ink cartridges from the printer.
- Take a wet paper towel and gently wipe the bottom of each cartridge to remove any dried ink or debris.
- Reinsert the ink cartridges into the printer.
- Close the cartridge access door and turn on the printer.
This method helps remove any clogs that may be affecting the ink flow through the printheads. Now, let’s move on to cleaning printheads that are built into the printer itself.
Cleaning Printheads Built into the Printer:
If the printheads are built into the printer, HP printers usually have a cleaning function that can be accessed through the printer maintenance settings. Here’s how to access it:
- Open the HP printer software on your computer.
- Go to the printer maintenance settings or tools section.
- Look for the option to clean the printheads.
- Follow the on-screen prompts to initiate the cleaning process.
This cleaning method allows the printer to perform a series of internal cleaning cycles to remove any clogs from the printheads. It’s a convenient way to address clogs without physically removing the printheads from the printer.
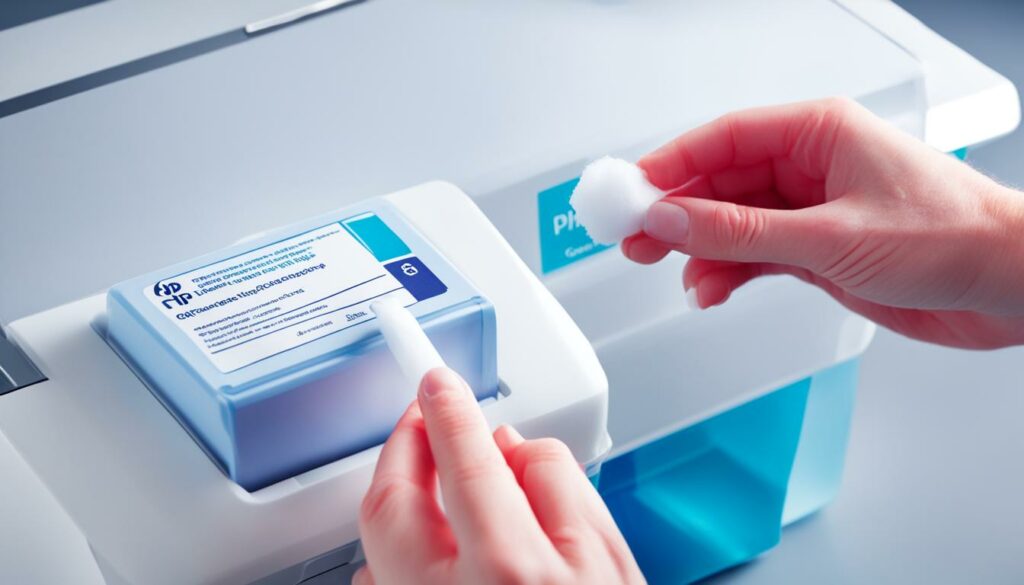
Tips for Effective Printhead Cleaning:
To ensure successful printhead cleaning for your HP printer, keep the following tips in mind:
- Use genuine HP ink cartridges to minimize the risk of clogs.
- Perform regular printhead cleaning to prevent clogs from worsening.
- Follow the manufacturer’s instructions for printhead cleaning.
- If the cleaning process does not resolve the issue, consult HP support or consider professional printhead cleaning services.
Summary:
Cleaning the printheads of an HP inkjet printer is important for maintaining print quality. Depending on whether the printheads are built into the cartridges or the printer, the cleaning methods vary. For printheads built into the cartridges, remove the cartridges and clean them with a wet paper towel. For printheads built into the printer, access the cleaning function through the printer maintenance settings. Regular cleaning and using genuine ink cartridges can help prevent and resolve printhead clogs, ensuring optimal printing performance.
How to Clean Brother Printer Heads
Brother printers are known for their reliable performance and high-quality prints. However, over time, the printer heads may become clogged with dried ink or debris, resulting in poor print quality. To keep your Brother printer running smoothly and ensure clear prints, regular cleaning of the printer heads is essential.
Step 1: Run a Print Cleaning Cycle
To begin the cleaning process, navigate to your printer’s settings or maintenance menu. Look for the option to run a print cleaning cycle and select it. This function will initiate the cleaning process and help remove any loose debris or dried ink from the printer heads.
Step 2: Access the Printer Heads
After running the print cleaning cycle, it is necessary to access the printer heads for a more thorough cleaning. Start by shutting down the printer and disconnecting the power cord. This will prevent any accidental printing during the cleaning process. Next, open the printer cover to expose the printer heads.
Step 3: Create a Cleaning Solution
An effective cleaning solution for Brother printer heads can be made using isopropyl alcohol and distilled water. Mix equal parts of isopropyl alcohol and distilled water in a clean container. This solution helps break down dried ink and residue on the printer heads.
Step 4: Clean the Printer Heads
Using a syringe and a rubber tube, gently pump the cleaning solution through the ink ports of the printer heads. Ensure that the solution covers all the nozzles, allowing it to penetrate and dissolve any clogs or buildup. Be careful not to apply excessive pressure, as it may damage the printer heads.
Step 5: Run a Standard Cleaning Cycle
Once you have cleaned the printer heads with the cleaning solution, reassemble the printer and reconnect the power cord. Run a standard cleaning cycle from the printer’s settings to flush out any remaining residue or debris. This final step helps ensure optimal print quality and prevents future clogs.
Cleaning your Brother printer heads regularly is crucial for maintaining clear, vibrant prints. By following these simple steps and using a cleaning solution made from isopropyl alcohol and distilled water, you can effectively unclog the printer heads and keep your Brother printer performing at its best.
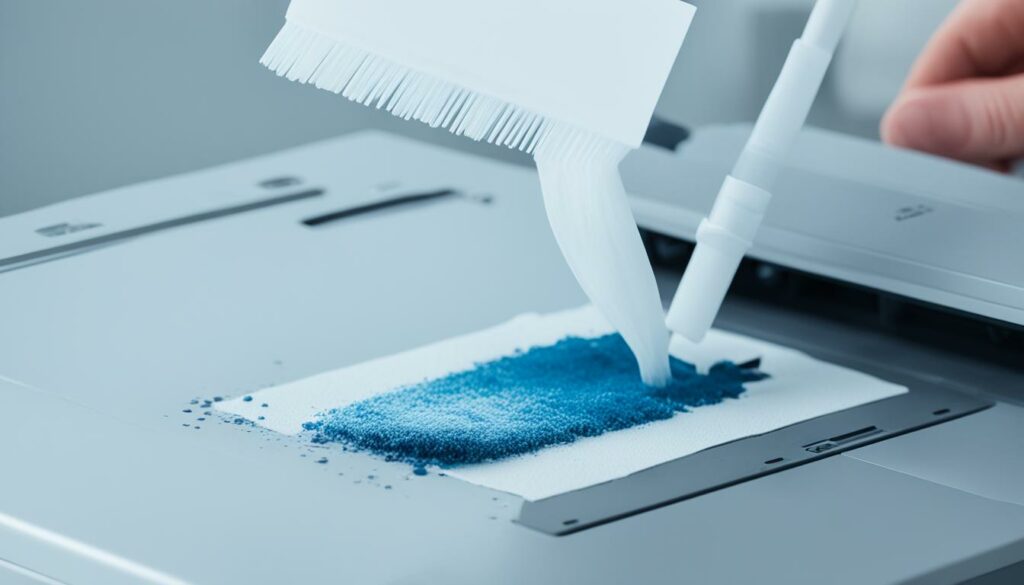
| Nozzle Problem | Symptoms | Solution |
|---|---|---|
| Clogged Nozzles | Missing lines or gaps in printouts | Run a print cleaning cycle, access printer heads, and clean with a solution of isopropyl alcohol and distilled water |
| Partial Blockage | Blurred or streaky prints | Run a print cleaning cycle, access printer heads, and clean with a solution of isopropyl alcohol and distilled water |
| Severe Blockage | No ink is coming out or extremely faint prints | Run a print cleaning cycle, access printer heads, and clean with a solution of isopropyl alcohol and distilled water. If necessary, repeat the cleaning process or consult a professional technician. |
How to Clean Epson Print Head
Epson printers are known for their reliable performance and high-quality prints. However, over time, the print head may become clogged, resulting in poor print quality. Cleaning the print head can help resolve this issue and restore optimal printing functionality.
To clean the Epson print head, follow these simple steps:
- Start by running a print page or cleaning cycle from your printer’s settings. This will activate the print head and prepare it for cleaning.
- Once the print head is in the accessible position, unplug the printer to prevent any accidents or electrical shocks.
- Prepare a cleaning solution for the print head. You can either purchase a specialized cleaning solution from an Epson retailer or create your own using isopropyl alcohol and distilled water. Mix equal parts of alcohol and water to create the cleaning solution.
- Using a syringe and rubber tube, carefully pump the cleaning solution through the ink ports of the print head. This will help dissolve any clogs or debris that may be blocking the nozzles.
- After cleaning the print head, allow it to soak in the cleaning solution for several minutes. This will further loosen any stubborn clogs and improve the effectiveness of the cleaning process.
- Once the cleaning process is complete, remove the syringe and rubber tube, and discard any remaining cleaning solution.
- Reconnect the printer to the power source and turn it on. Run a test page to check for improved print quality.
It is important to note that cleaning the print head manually should be done with caution to avoid damaging the delicate components. If you are unsure about the cleaning process or prefer a professional touch, you can also consider taking your Epson printer to an authorized service center or contacting Epson customer support for further assistance.
Regular maintenance and cleaning of the print head can help prolong the life of your printer and ensure consistent, high-quality prints. By following these steps, you can keep your Epson printer in optimal condition and enjoy clear, vibrant printouts every time.
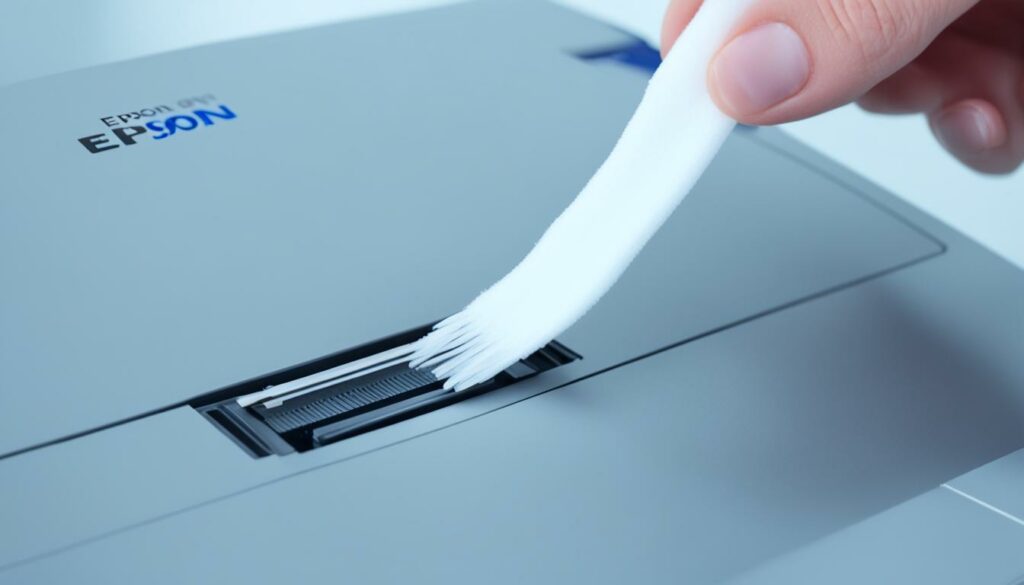
How to Self-Clean Printheads Using Printer Utilities
Many printers come equipped with their own printing utility or can be cleaned through the Windows or Mac printer settings. These built-in utilities often offer a self-cleaning function specifically designed to help unclog printheads. By utilizing this feature, you can perform regular maintenance on your printer and ensure optimal print quality.
Self-Cleaning Printheads with Windows Printer Settings
If your printer is compatible with Windows operating systems, you can access the self-cleaning function through the printer settings. Here is a step-by-step guide on how to self-clean printheads using Windows printer settings:
- Open the Control Panel on your computer and navigate to “Devices and Printers”.
- Locate your printer in the list of available devices and right-click on it.
- Select “Printing Preferences” or “Printer Properties” from the drop-down menu.
- Go to the “Maintenance” or “Utility” tab, where you should find the self-cleaning option.
- Click on the “Clean Printheads” or similar button to initiate the self-cleaning process.
- Follow any additional prompts or instructions provided by the printer utility.
- Once the self-cleaning cycle is complete, test print a document to check if the printhead clogs have been resolved.
Self-Cleaning Printheads with Mac Printer Settings
For Mac users, the self-cleaning function can be accessed through the printer settings as well. Here’s how to self-clean printheads using Mac printer settings:
- Open the Apple menu and select “System Preferences”.
- Click on “Printers & Scanners” or “Print & Scan” depending on your macOS version.
- Choose your printer from the list of available devices.
- Click on the “Options & Supplies” or “Utility” button.
- Navigate to the “Maintenance” or “Clean Printheads” tab.
- Click on the “Clean Printheads” or similar button to begin the self-cleaning process.
- Follow any on-screen instructions to complete the self-cleaning cycle.
- Perform a test print to ensure the printhead clogs have been cleared.
By utilizing the self-cleaning function in your printer’s utility or settings, you can easily address and resolve printhead clogs without the need for manual intervention. Regular self-cleaning maintenance will keep your prints clear and vibrant while prolonging the lifespan of your printheads.
Conclusion
Inkjet printers are prone to printhead clogs, resulting in subpar print quality. Through this article, we have explored different types of clogs and effective cleaning techniques to unclog printer heads. By understanding the causes of clogs and adopting regular maintenance practices, you can ensure clear and vibrant prints.
Regular maintenance and cleaning. By implementing routine maintenance and cleaning, you can prevent printhead clogs and maximize the lifespan of your ink cartridges. Running regular head cleaning cycles and performing nozzle checks can help prevent and resolve simple clogs.
Consult manufacturer support or professional services. In some cases, the cleaning methods outlined may not be sufficient to resolve stubborn or hardcore clogs. If you have followed the recommended cleaning techniques without success, it is recommended to consult the printer manufacturer’s support or consider professional printhead cleaning services.
In conclusion, maintaining clear printheads is essential for high-quality prints. By following the cleaning methods and tips outlined in this article, you can ensure long-lasting performance from your inkjet printer. Regular maintenance and a proactive approach to printhead cleanliness will ensure optimal print quality and a smoother printing experience.
Source Links
- https://www.ldproducts.com/blog/how-to-clean-an-hp-printhead/
- https://www.wikihow.com/Clean-Print-Heads
- https://www.tonerbuzz.com/blog/how-to-clean-a-clogged-printhead/

Morgan Azhari, the owner of PrinterUpdate.net, is a dedicated expert in the field of printers, leveraging a wealth of experience and education to create a platform that passionately shares insights and solutions.
With a goal to enhance the printer user experience, my vision for the website is to provide valuable content, making a positive impact on individuals navigating the complexities of printers.
