3D printing has revolutionized the world of manufacturing, enabling individuals and businesses to create objects with unprecedented precision and complexity. However, achieving high-quality results can sometimes be challenging, especially for those new to 3D printing. In this article, we’ll provide you with essential tips and tricks to help you improve the quality of your prints and achieve professional-looking results every time.
From leveling the bed and setting the nozzle height to maintaining the optimal nozzle temperature, we’ll cover the key factors that contribute to print quality. We’ll also explore the importance of using different building plates to create various effects and discuss the impact of belt tension and nozzle replacement on overall print accuracy. Additionally, we’ll highlight the significance of regular maintenance, choosing premium materials, and selecting the right slicing software for optimal results.
Whether you’re a beginner or an experienced 3D printing enthusiast, these tips will empower you to produce high-quality prints that showcase the full potential of this incredible technology. Get ready to take your 3D printing game to the next level!
Key Takeaways
- Leveling the bed and setting the nozzle height are crucial for proper filament adhesion and accurate prints.
- Maintaining the optimum nozzle temperature is essential for achieving high-quality prints and avoiding filament issues.
- Using different building plates can create unique print effects and improve surface quality.
- Proper belt tension and nozzle replacement contribute to print accuracy and overall print quality.
- Regular maintenance, including print bed cleaning and calibration, ensures consistent and high-quality prints.
Level the Bed & Set the Nozzle Height
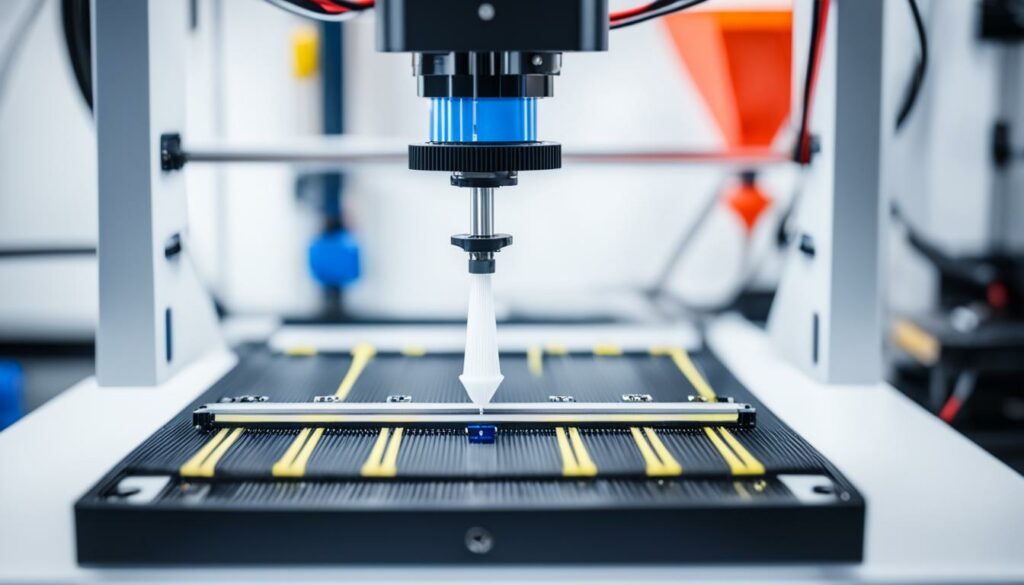
Leveling the bed and setting the nozzle height are essential steps in achieving accurate and high-quality prints on your 3D printer. These two processes ensure proper filament adhesion and create a solid foundation for your prints. When the bed is not level, it can lead to improper layer separation and adhesion issues, resulting in failed prints.
Most 3D printers come with a built-in bed leveling feature that simplifies the process. However, if your printer doesn’t have this feature, you can manually level the bed using a leveling tool or a simple piece of paper. The goal is to adjust the bed’s height in such a way that the nozzle is at the perfect distance from the bed.
Setting the nozzle height correctly is equally important. The nozzle should be close enough to the bed to ensure proper filament adhesion, but not too close that it collides with the bed. This distance is typically referred to as the nozzle height or nozzle offset. By setting the nozzle height correctly, you can achieve proper layer separation and enhanced layer adhesion.
Proper bed leveling and nozzle height settings contribute to the overall print quality, ensuring that each layer adheres to the previous one, resulting in a stronger and more stable print. It’s recommended to periodically check and adjust the bed leveling and nozzle height to maintain consistent and reliable printing performance.
To summarize:
- Level the bed using the built-in leveling feature or manually using a tool or piece of paper.
- Set the nozzle height at the appropriate distance from the bed, ensuring proper filament adhesion and preventing collisions.
By following these steps, you’ll achieve accurate and high-quality prints with proper layer separation and layer adhesion.
Proper Bed Leveling and Nozzle Height Table
| Importance | Process | Benefits |
|---|---|---|
| 1 | Leveling the bed | Ensures proper filament adhesion and prevents failed prints |
| 2 | Setting the nozzle height | Proper layer separation and enhanced layer adhesion for stronger and more stable prints |
Keep an Optimum Nozzle Temperature
Maintaining the right nozzle temperature is essential for achieving high-quality 3D prints. The nozzle temperature directly affects how well the filament melts and flows, impacting the overall print quality and surface finish. To ensure optimal results, it’s crucial to follow the recommended temperature range for your specific filament.
The filament melting process begins when the nozzle temperature reaches the melting point of the chosen material. The filament then becomes molten and can be extruded layer by layer to create the desired object. If the temperature is too low, the filament may not melt completely, resulting in poor layer adhesion and weak prints. On the other hand, if the temperature is too high, the filament may melt too quickly, causing stringing, blobbing, or other artifacts in the final print.
When determining the optimal nozzle temperature for your prints, consider the complexity of the design and the specific characteristics of your filament material. Some filaments, such as ABS, may require higher temperatures to ensure proper melting and adhesion, while others like PLA may have a lower temperature range. It’s essential to refer to the manufacturer’s guidelines for the specific filament you’re using.
In addition to the nozzle temperature, other factors can also influence print quality. Filament quality plays a significant role in achieving consistent results, as low-quality filaments may have variations in melting behavior and produce subpar prints even at the correct temperature. Proper bed leveling and print speed are additional considerations that impact print quality and should be optimized along with the nozzle temperature.
“Maintaining an optimum nozzle temperature is crucial for achieving high-quality prints. The temperature affects how well the filament melts and flows.”
As you experiment with different printing parameters, it’s important to keep track of the settings you used for successful prints. This record will serve as a reference guide for future projects, allowing you to replicate and refine your printing process. Remember, achieving the perfect nozzle temperature is a balancing act, and it may take some trial and error to find the ideal settings for your specific needs.
In conclusion, maintaining an optimum nozzle temperature is essential for achieving high-quality 3D prints. By following the recommended temperature range for your filament and considering other factors that contribute to print quality, such as filament quality, bed leveling, and print speed, you’ll be well on your way to creating outstanding prints with excellent detail and surface finish.
Recommended Nozzle Temperature Ranges for Common Filaments
| Filament Type | Minimum Temperature (°C) | Maximum Temperature (°C) |
|---|---|---|
| PLA | 180 | 230 |
| ABS | 220 | 260 |
| PETG | 220 | 250 |
| Nylon | 240 | 260 |
| TPU | 220 | 240 |
These temperature ranges are guidelines and may vary slightly depending on the specific brand and formulation of the filament. It’s always best to refer to the manufacturer’s recommendations for the most accurate temperature settings.
Use Different Building Plates to Create Different Effects
When it comes to achieving high-quality 3D prints, the choice of building plates plays a crucial role. Different building plates offer unique advantages that can significantly impact the print surface quality and overall results. Let’s explore the various options available and the effects they can create.
Glass Plates: Excellent Adhesion and Print Surface Quality
Glass plates are widely recognized for their ability to provide excellent adhesion during the printing process. The smooth surface allows the filament to adhere securely, resulting in better print surface quality. Glass plates also offer easy cleaning and maintenance, making them a popular choice among 3D printing enthusiasts.
Polypropylene Plates: Ideal for Specific Materials
Polypropylene plates are specially designed for printing certain materials, such as flexible filaments. These plates offer enhanced flexibility and reduced friction, allowing for smoother filament flow. If you frequently work with materials that require flexibility, polypropylene plates are an excellent option to consider.
Aluminum Plates: Stability and Warp Prevention
For those seeking stability and warp prevention, aluminum plates are an ideal choice. Aluminum, known for its durability, offers excellent heat distribution and stability. These plates are less prone to warping, ensuring a flat and stable build surface throughout the printing process.
Create Different Print Effects with Textures and Shapes
Besides material variations, the texture and shape of the building plates can also influence the final print results. Textured plates, such as those with diamond or grid patterns, can add unique surface finishes to your prints. Additionally, plates with curved or rounded edges may provide greater flexibility or specialty effects for specific applications.
Experimenting with different building plates not only allows you to achieve different effects but also provides the opportunity for customization and exploration. Consider trying out various plates to find the perfect combination that suits your specific printing needs and preferences.
Don’t Over Tighten the Belts
Proper belt tension is crucial for maintaining printer accuracy and achieving smooth movements. Over-tightening the belts can lead to inaccuracies and rough movements in your prints. To ensure optimal performance, it’s important to check the manufacturer’s specifications for the recommended belt tension and make adjustments if necessary.
Regularly checking and maintaining the belts will help you achieve consistent, high-quality prints. Keep in mind that belt tension may slightly change over time due to usage and environmental factors, so it’s recommended to periodically check and readjust as needed.
By properly maintaining the belt tension, you can improve the accuracy of your 3D printer and avoid issues such as layer misalignment or skewed prints. Remember, a well-calibrated printer produces better results and brings your 3D designs to life with precision.
Importance of Belt Tension
Proper belt tension ensures that the pulleys and motors work harmoniously, resulting in accurate and smooth movements of the printer’s various components. The belts should be tight enough to prevent slippage but not overly tight, as this can strain the printer’s mechanics and hinder its performance.
“Maintaining the ideal belt tension is an essential aspect of 3D printer maintenance. It directly affects the smoothness and accuracy of the printer’s movements during the printing process.”
Checking and Adjusting Belt Tension
To check the belt tension, gently press on the belt midway between two pulleys. It should provide some resistance but not feel too loose or too tight. If the belt feels loose or you notice any visible slack, you can tighten it by adjusting the belt tensioning screws or mechanisms provided by the printer manufacturer.
Keep in mind that different 3D printer models may have different methods for adjusting belt tension. Consult your printer’s manual or the manufacturer’s website for specific instructions on how to adjust the belt tension properly.
Benefits of Proper Belt Tension
- Improved printer accuracy: Proper belt tension ensures that the printer’s movements are precise, allowing for more accurate 3D prints.
- Reduced layer misalignment: With the correct tension, the belts help maintain proper alignment of the printer’s components, minimizing the chances of layer misalignment or shifted prints.
- Smooth movements: Optimal belt tension ensures smooth and consistent movements, leading to clean and high-quality prints.
Replace Your Nozzle with a Fresh One
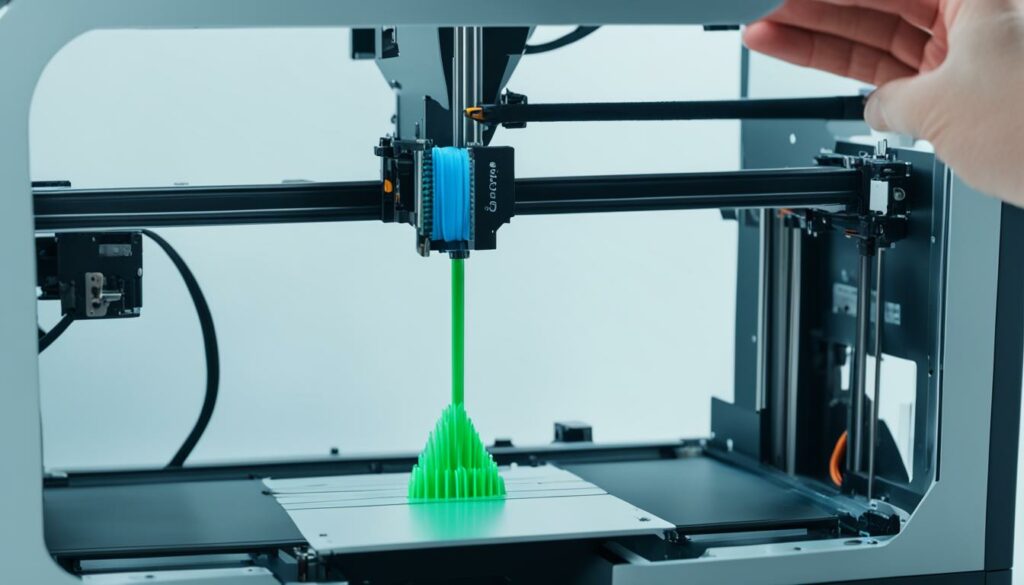
Over time, your 3D printer’s nozzle can become worn down, leading to decreased print quality. Clogged nozzles can also cause frustrating issues like under-extrusion and inconsistent layering. To maintain optimal print quality, it’s crucial to replace your nozzle with a fresh one when necessary.
When choosing a new nozzle, consider both the size and material. Nozzles come in various sizes to accommodate different print resolutions and filament flow rates. Make sure to select a nozzle size that aligns with the level of detail you’re aiming for in your prints.
Additionally, nozzle material plays a significant role in print quality. Brass and stainless steel are commonly used for most filaments, while hardened steel nozzles are recommended for abrasive materials like carbon fiber composites. Choose a nozzle material that suits the type of filament you primarily use.
Once you have your new nozzle, proper installation and calibration are essential. Follow the manufacturer’s instructions to ensure a correct and secure nozzle replacement. Calibrating the nozzle height and nozzle temperature based on your specific printer model will optimize print quality.
Replacing the nozzle with a fresh one offers several benefits. It improves print precision by ensuring a consistent flow of filament, resulting in clean and sharp details. A new nozzle also helps maintain the proper print speed and can prevent clogs and blockages that may compromise print quality.
Remember to regularly inspect your nozzle for signs of wear or clogs. If you notice any issues with print quality, such as inconsistent extrusion or poor layer adhesion, it may be time to replace your nozzle. By keeping your nozzle fresh and in optimal condition, you can enjoy consistent, high-quality prints.
The Benefits of Nozzle Replacement
“Replacing your nozzle can significantly improve print quality and overall performance. It ensures consistent filament flow, resulting in better print precision and finer details. Don’t overlook the importance of nozzle replacement in achieving professional-grade prints.”
| Nozzle Replacement Benefits | Explanation |
|---|---|
| Improved print precision | A fresh nozzle ensures a consistent filament flow, resulting in clean and accurate details in prints. |
| Optimized print speed | A new nozzle helps maintain the intended print speed, reducing the risk of under-extrusion or over-extrusion. |
| Prevention of clogs and blockages | Worn-down nozzles can lead to filament clogs, which affect the print quality. Replacing the nozzle reduces the risk of clogs. |
Keep Your 3D Printer Well-Maintained
Proper maintenance is essential for achieving optimal print quality and ensuring the longevity of your 3D printer. By regularly performing simple maintenance tasks, you can prevent issues such as clogging and poor adhesion, and ensure consistent and high-quality prints.
Print Bed Cleaning
One of the most crucial maintenance tasks is cleaning the print bed. Over time, residues from previous prints can build up, affecting the adhesion of the filament to the bed. To clean the print bed, use a mild detergent or isopropyl alcohol with a soft cloth or sponge. Gently scrub the surface to remove any debris or residue. Avoid using abrasive materials that could scratch the bed. Regularly cleaning the bed will help maintain proper adhesion and ensure successful prints.
Nozzle Maintenance
Keeping the nozzle clean is essential for preventing clogs and maintaining consistent extrusion. When filament residues accumulate inside the nozzle, it can lead to inconsistent flow and poor print quality. To clean the nozzle, heat it to the recommended temperature and use a cleaning filament or a specialized nozzle cleaning tool. Insert the cleaning filament into the hot nozzle and allow it to melt the residues. Repeat the process until the filament comes out clean. Regular nozzle maintenance will help ensure smooth and consistent extrusion.
Calibration
Regular calibration is crucial for achieving precise and accurate prints. It involves adjusting various settings on your printer to ensure proper alignment and movement. Start by checking and adjusting the bed leveling to achieve proper distance between the nozzle and the bed. This will ensure that the first layer adheres properly and lays down evenly. Next, calibrate the printer’s settings for temperature, print speed, and extrusion rate according to the filament manufacturer’s recommendations. Regular calibration will help optimize print quality and minimize issues such as layer shifting and under/over-extrusion.
Belts and Gears
Regularly inspecting and maintaining the belts and gears of your 3D printer is crucial for smooth and accurate movements. Over time, belts can stretch or become loose, leading to inaccuracies in print dimensions. Gears can also wear down, causing skipping or grinding noises. Check the manufacturer’s recommendations for proper tension on the belts and make adjustments if necessary. Ensure that gears are properly lubricated and aligned. Maintaining proper tension and alignment will help ensure precise movements and consistent print quality.
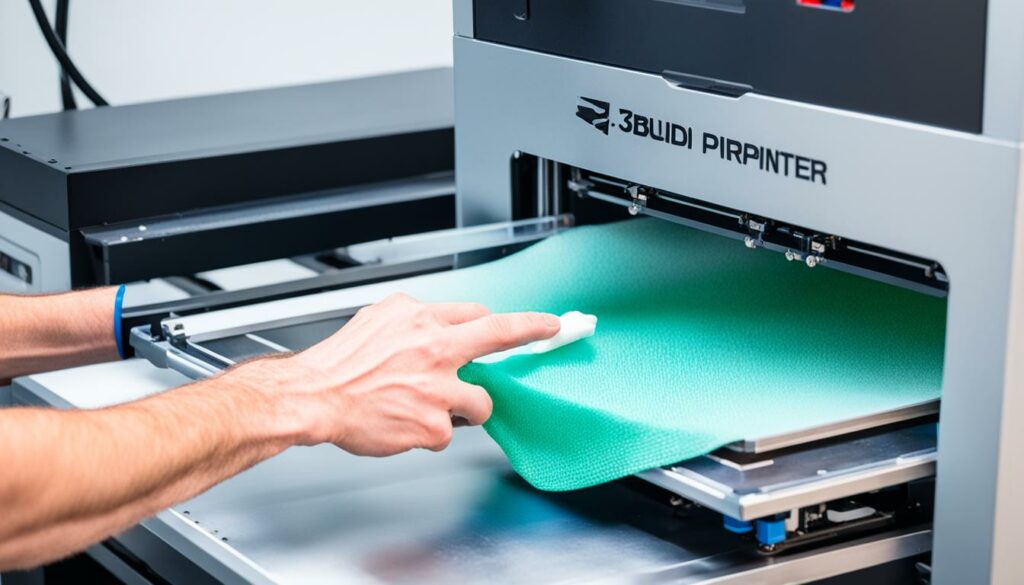
By following these printer maintenance practices, you can ensure that your 3D printer is in optimal condition, resulting in consistent and high-quality prints. Regularly cleaning the print bed and nozzle, performing calibration, and checking critical components will help prevent issues and prolong the lifespan of your printer.
Choose Premium Materials
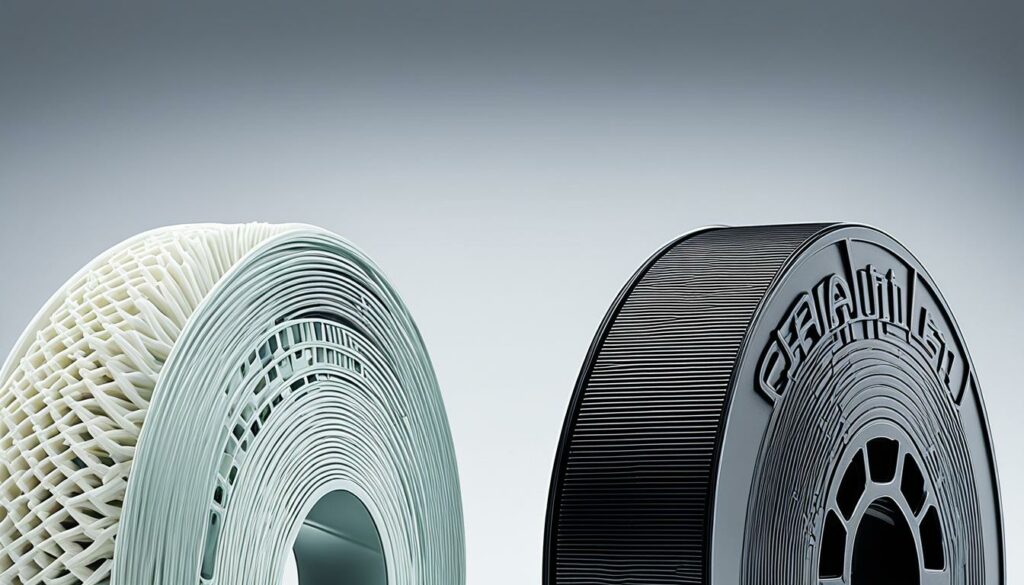
The quality of the filament plays a significant role in the overall print quality. Premium filament brands offer higher stability and fewer imperfections compared to generic brands. Choosing high-quality filaments, such as Ultimaker PLA, can result in better overhangs, bridging, and overall print resolution. Different thermoplastics and polymers have their own quality differences, and it’s worth investing in premium materials for superior print results.
Benefits of Premium Filament Brands
- Improved stability for precise and accurate prints
- Reduced chances of filament jams or clogs
- Consistent filament diameter for smooth extrusion
- Higher tolerance to variations in temperature and humidity
- Enhanced print surface finish and detail
Ultimaker PLA is just one example of a premium filament brand known for its exceptional quality and reliability. However, there are several other premium brands available in the market, each offering unique advantages. When selecting your filament, consider factors such as the intended use of the print, the material properties required, and the specific filament characteristics provided by each brand.
High-quality filaments not only result in better print quality but also offer improved material stability and durability. Whether you’re working on prototypes, functional parts, or artistic designs, investing in premium materials will ensure that your prints meet your expectations and deliver exceptional results.
Choose Your Slicer Wisely
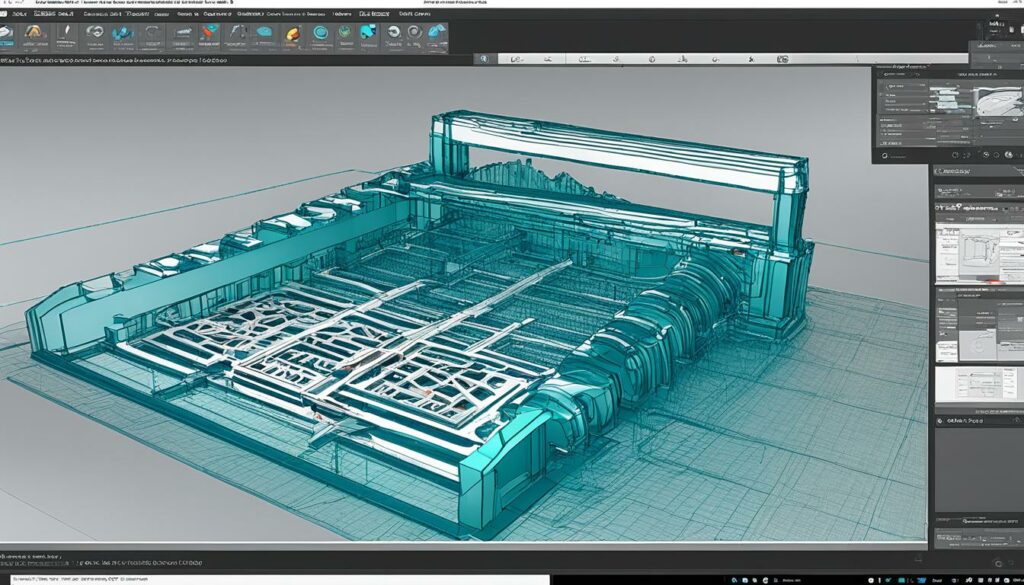
The slicing software you choose for your 3D printing projects can greatly impact the quality of your prints. Different slicers work better with certain 3D printers and offer varying features and functionalities. When selecting a slicing software, it’s important to consider factors such as compatibility, ease of use, and available features to ensure optimal performance and print quality.
One of the key functions of slicing software is to translate your 3D model into G-code, a language that contains instructions for your printer. The accuracy and efficiency of this translation process significantly affect the end result. Some advanced slicers even consider geometric dimensioning and tolerancing, taking into account parameters required for parts with specific usability intents.
While many 3D printers come with their recommended slicing software, there are also open-source options available that offer excellent performance. Open-source slicers are continuously updated and improved by a community of users, making them reliable alternatives to proprietary software.
Among the popular slicing software options, SLICER 4.0 and Cura are widely recognized for their user-friendly interfaces and powerful functionalities. These slicers offer a range of customizable settings for layer height, infill density, print speed, and more, allowing you to optimize your prints according to your specific requirements.
“The right slicing software can make a world of difference in achieving high-quality prints. It’s important to research and choose a slicer that aligns with your printer’s capabilities and your desired output.” – John Brown, 3D Printing Expert
Remember that the best slicing software for you ultimately depends on your unique needs and preferences. Consider the specific features, compatibility, user interface, and community support when making your decision. By choosing your slicer wisely, you can unlock your printer’s full potential and achieve exceptional print quality.
Level the Bed and Set the Z Offset
Proper bed leveling and Z offset calibration are essential for achieving uniform and accurate prints. By ensuring that your build plate is aligned correctly and the distance between the nozzle and the build plate is set accurately for the first layer, you can achieve consistent and precise results.
Bed leveling is the process of adjusting the build plate to ensure that it is parallel to the printer’s X-axis. This step is crucial because an uneven build plate can lead to first layer adhesion issues and overall print quality problems. Most 3D printers come with automatic bed leveling features, but if your printer doesn’t have this feature, you can manually level the bed using a tool or a piece of paper.
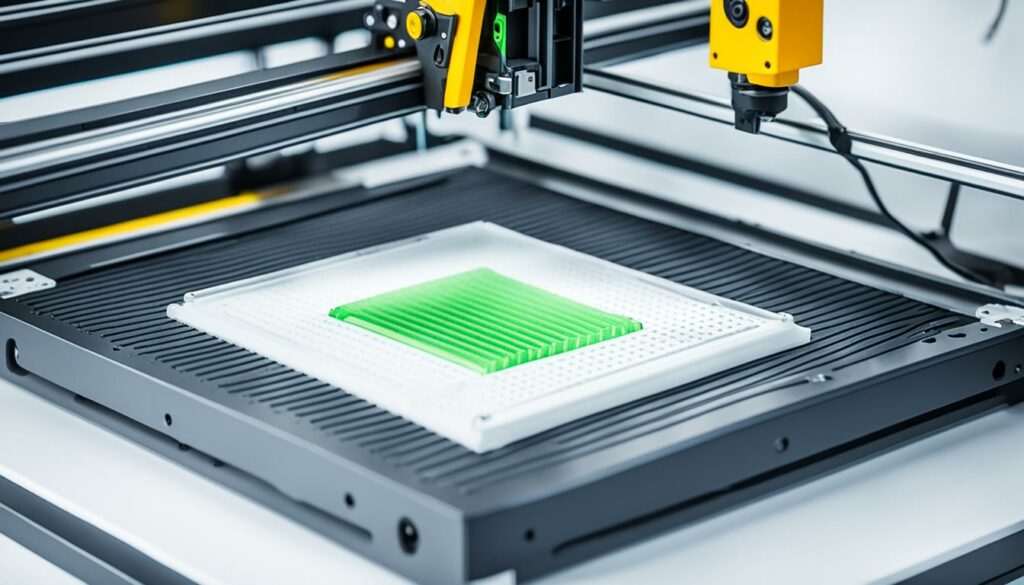
After leveling the bed, it’s important to set the Z offset, which determines the distance between the nozzle and the build plate for the first layer. This distance affects the extrusion of filament and the overall accuracy of the print. You can calibrate the Z offset by adjusting the bed leveling screws or using software settings in your printer’s firmware.
Regularly calibrating the Z offset is crucial, especially if you change nozzles or switch between different print surfaces. It ensures that the first layer adheres properly to the build plate and sets the foundation for the rest of the print. Proper Z offset calibration contributes to first layer accuracy, preventing issues such as under extrusion, over extrusion, or poor bed adhesion.
| Benefits of Proper Bed Leveling and Z Offset Calibration |
|
|---|
Proper bed leveling and Z offset calibration are essential steps in achieving high-quality 3D prints. By ensuring accurate first layer adhesion and print accuracy, you can significantly improve the overall print quality and achieve successful prints consistently.
Experiment with Print Temperatures and Retraction Settings
Print temperature and retraction settings play a crucial role in achieving high-quality prints. By adjusting these settings, you can improve interlayer adhesion, surface quality, and nozzle performance. Experimenting with different temperatures within the recommended range and fine-tuning retraction settings can help minimize common issues like stringing, blobs, and zits.
Print temperature directly affects filament flow and layer bonding. By finding the right temperature for your specific filament, you can optimize its performance and enhance interlayer adhesion. It’s important to refer to the manufacturer’s guidelines for the recommended temperature range and conduct tests to determine the ideal temperature for your prints.
Additionally, retraction settings control the distance and speed at which the filament is retracted between each printed segment. This helps in reducing oozing and stringing during travel moves. Adjusting the retraction distance and speed can significantly improve print quality by minimizing unwanted filament drag and preventing the formation of string-like artifacts between separate printed parts.
When experimenting with print temperatures and retraction settings, it’s crucial to keep a record of the changes made and their impact on the print quality. Take note of any improvements or issues encountered to refine the settings further and achieve optimal results.
“By fine-tuning print temperatures and retraction settings, you can achieve better interlayer adhesion, surface quality, and overall print performance.”
Print Temperature Optimization
To optimize print temperature, follow these steps:
- Start with the recommended temperature range provided by the filament manufacturer.
- Print a test model, varying the temperature within the range to observe the effects on print quality.
- Inspect the prints for optimal interlayer adhesion, surface smoothness, and dimensional accuracy.
- Adjust the temperature in small increments, repeating the test until the desired results are achieved.
Retraction Settings Fine-Tuning
To fine-tune retraction settings, try the following:
- Adjust the retraction distance by small increments, starting from the recommended value.
- Observe the print for any stringing or blobbing issues.
- If stringing is present, decrease the retraction distance. If blobbing occurs, increase the retraction distance.
- Tweak the retraction speed to find the sweet spot for minimizing filament drag while maintaining print quality.
Optimal Print Quality Balance
Experimentation is key to finding the optimal balance between print temperature and retraction settings. Different filaments and models may require unique adjustments, so it’s essential to iterate and fine-tune these settings for each print. By achieving the right balance, you can produce high-quality prints with excellent interlayer adhesion, surface quality, and overall performance.

Key Takeaways
- Print temperature affects filament flow and layer bonding, impacting interlayer adhesion.
- Retraction settings control filament retraction to minimize stringing and blobs.
- Experiment with different temperatures and retraction settings within the recommended ranges.
- Document the changes and their impact on print quality for future reference.
- Achieving the optimal balance between temperature and retraction improves print quality.
Conclusion
Improving 3D print quality requires attention to detail, experimentation, and regular maintenance. By following essential 3D printing tips such as proper bed leveling, nozzle temperature control, and using high-quality materials, you can consistently achieve professional-looking prints. It’s crucial to calibrate your printer, choose the right slicer, and experiment with settings like print speed and retraction to optimize print quality.
Proper maintenance and regular calibration are key to ensuring optimal performance and excellent print quality. By keeping your 3D printer in good condition, cleaning the print bed, and checking critical components, you can avoid issues like clogged nozzles and misaligned belts, resulting in successful prints.
Remember that 3D printing is a process that requires patience and continuous improvement. Don’t be afraid to experiment with different settings and techniques to find what works best for your specific needs. With dedication and practice, you’ll be able to produce high-quality prints that showcase the full potential of 3D printing technology.
Source Links
- https://www.allprintheads.com/blogs/news/3d-printing-tips-to-improve-print-quality
- https://additive-x.com/blog/how-to-improve-3d-print-quality-7-tips-for-finishing-the-final-3d-print/
- https://makewithtech.com/post/top-ten-tips-for-better-3d-prints

Morgan Azhari, the owner of PrinterUpdate.net, is a dedicated expert in the field of printers, leveraging a wealth of experience and education to create a platform that passionately shares insights and solutions.
With a goal to enhance the printer user experience, my vision for the website is to provide valuable content, making a positive impact on individuals navigating the complexities of printers.
