
What happens when printer drum goes bad? People usually ask this question when they don’t get the result they want when printing something. A drum is an essential piece of each printer. And you should make sure that every piece of your printer gets regular maintenance.
What Happens When Printer Drum Goes Bad
Regular maintenance will keep your printer in excellent condition. This maintenance should include switching out the toner and ink and also replacing the drums of your printer. Both tasks will solve some problems with similar symptoms.
However, you need to understand some specific symptoms and signs. This way, you will figure out that the toner and ink are not the problems. You will know that the problem you are facing is printer drum issues. When the drum of your printer goes bad, you will see these symptoms:
-
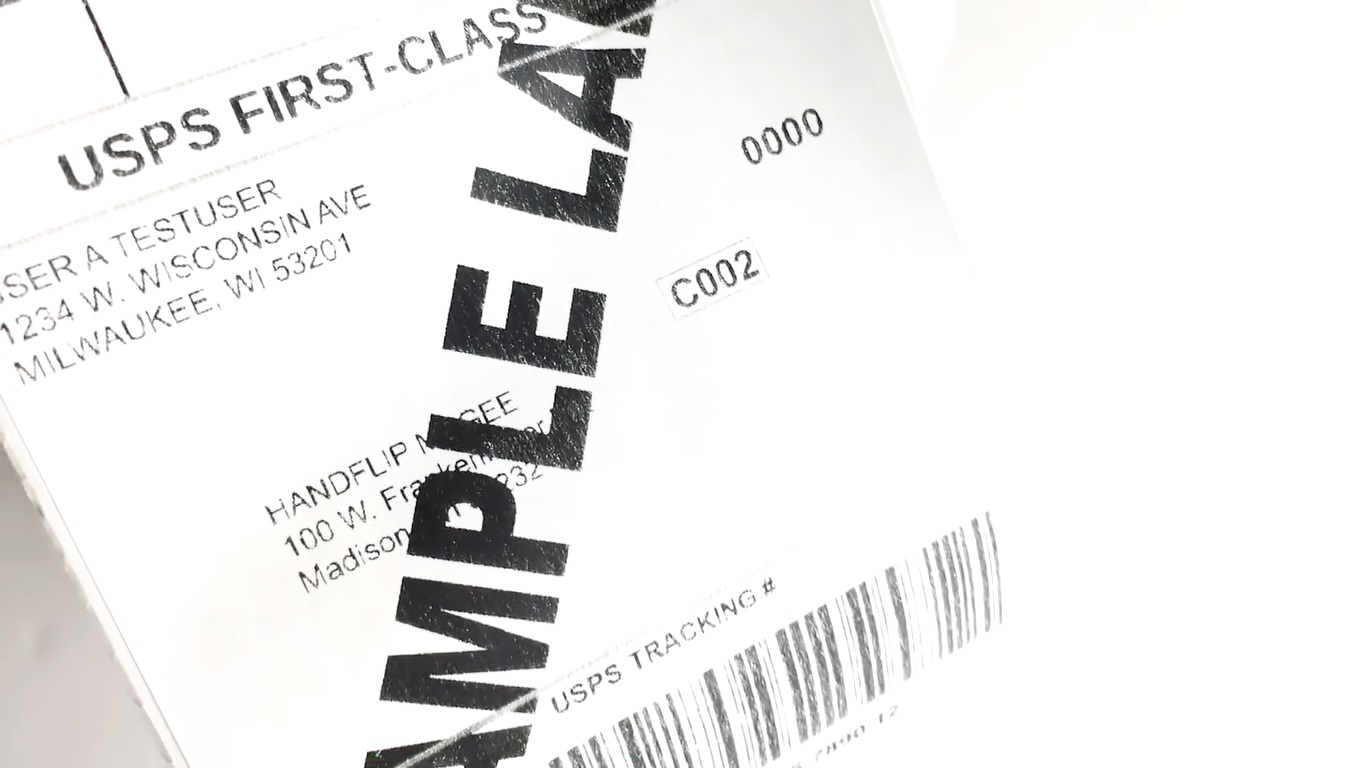
Blurry prints
If the printer is printing blurry pages, it may be a sign of two different problems. First, it may be a sign that the drum of your printer is going bad and you have to replace it immediately. Another possible problem is that you may have to replace the ink toner. How do you know which problem you are facing?
You will be able to determine which problem you are facing by checking the printer’s toner cartridge. If the toner levels of your printer are adequate, then the problem is the printer drum. The very first step you should do is clean the printer drum.
Check your printer again after cleaning the drum. If you are facing the same problem and keep seeing the same symptoms, then you must replace the printer drum. This is the only way to keep your printer working effectively.
-
Black spots
The second bad printer drum symptoms is the presence of blotches or black spots on the document you print. Usually, this is the result of a printing drum that has scratches on the surface. The scratch will prevent the toner and ink from printing correctly.
If it is just dust and dirt on the drum of your printer, wiping it off will be a simple solution. Use a dry and lint-free cloth to wipe off the dirt or dust. And then continue printing your document to see whether this solution can help you fix the problem. Replace your printer drum if cleaning the surface doesn’t help.
-
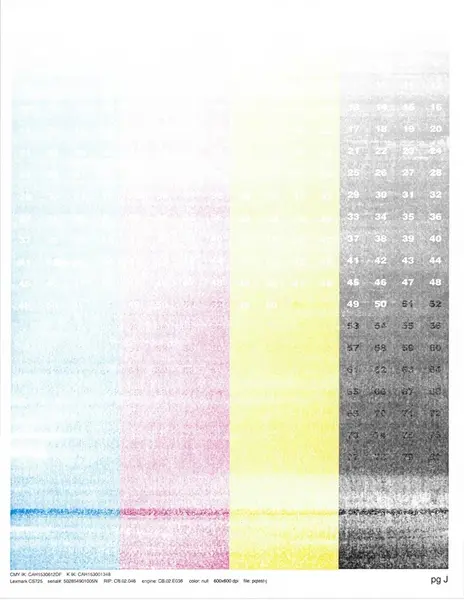
Poor printing quality
What happens when printer drum goes bad? You will get poor printing quality. If your printer is giving you documents of low quality, the printer drum is usually the main problem. Unlike black spots or blurry prints, the signs of poor printing quality include faded images and text.
However, empty toner or ink cartridges can also cause poor printing quality. So, the very first step you should do is to check the levels of the ink cartridge and then make sure that the levels are adequate. And then you can start checking the printer drum.
Drums are a sensitive part of your printer and they won’t last forever. If the cause of poor printing quality is not the ink or toner cartridge, then replace the drum immediately. After replacing the drum, your printer should be able to work properly.
-
Other signs
Some many other symptoms and signs show you the drum of your printer is in a bad condition. The most obvious symptom or sign is the flashing message on the display screen of your printer. The other signs you will see are the printer prints black pages or grey pages.
If there are strange sounds from your printer when you are printing documents, the drum of your printer may need replacement. To sniff out the condition and performance of your printer drum, you need to observe the printer. And then learn some steps to clean your printer drum before replacing it.
Cleaning A Laser Printer Drum
Each laser printer brand requires different steps to clean the drum. If your printer drum is low, the first solution is cleaning it. Below are some steps you need to learn to clean an HP printer drum and a Brother printer drum. Make sure that you learn every single step carefully and practice it immediately.
-
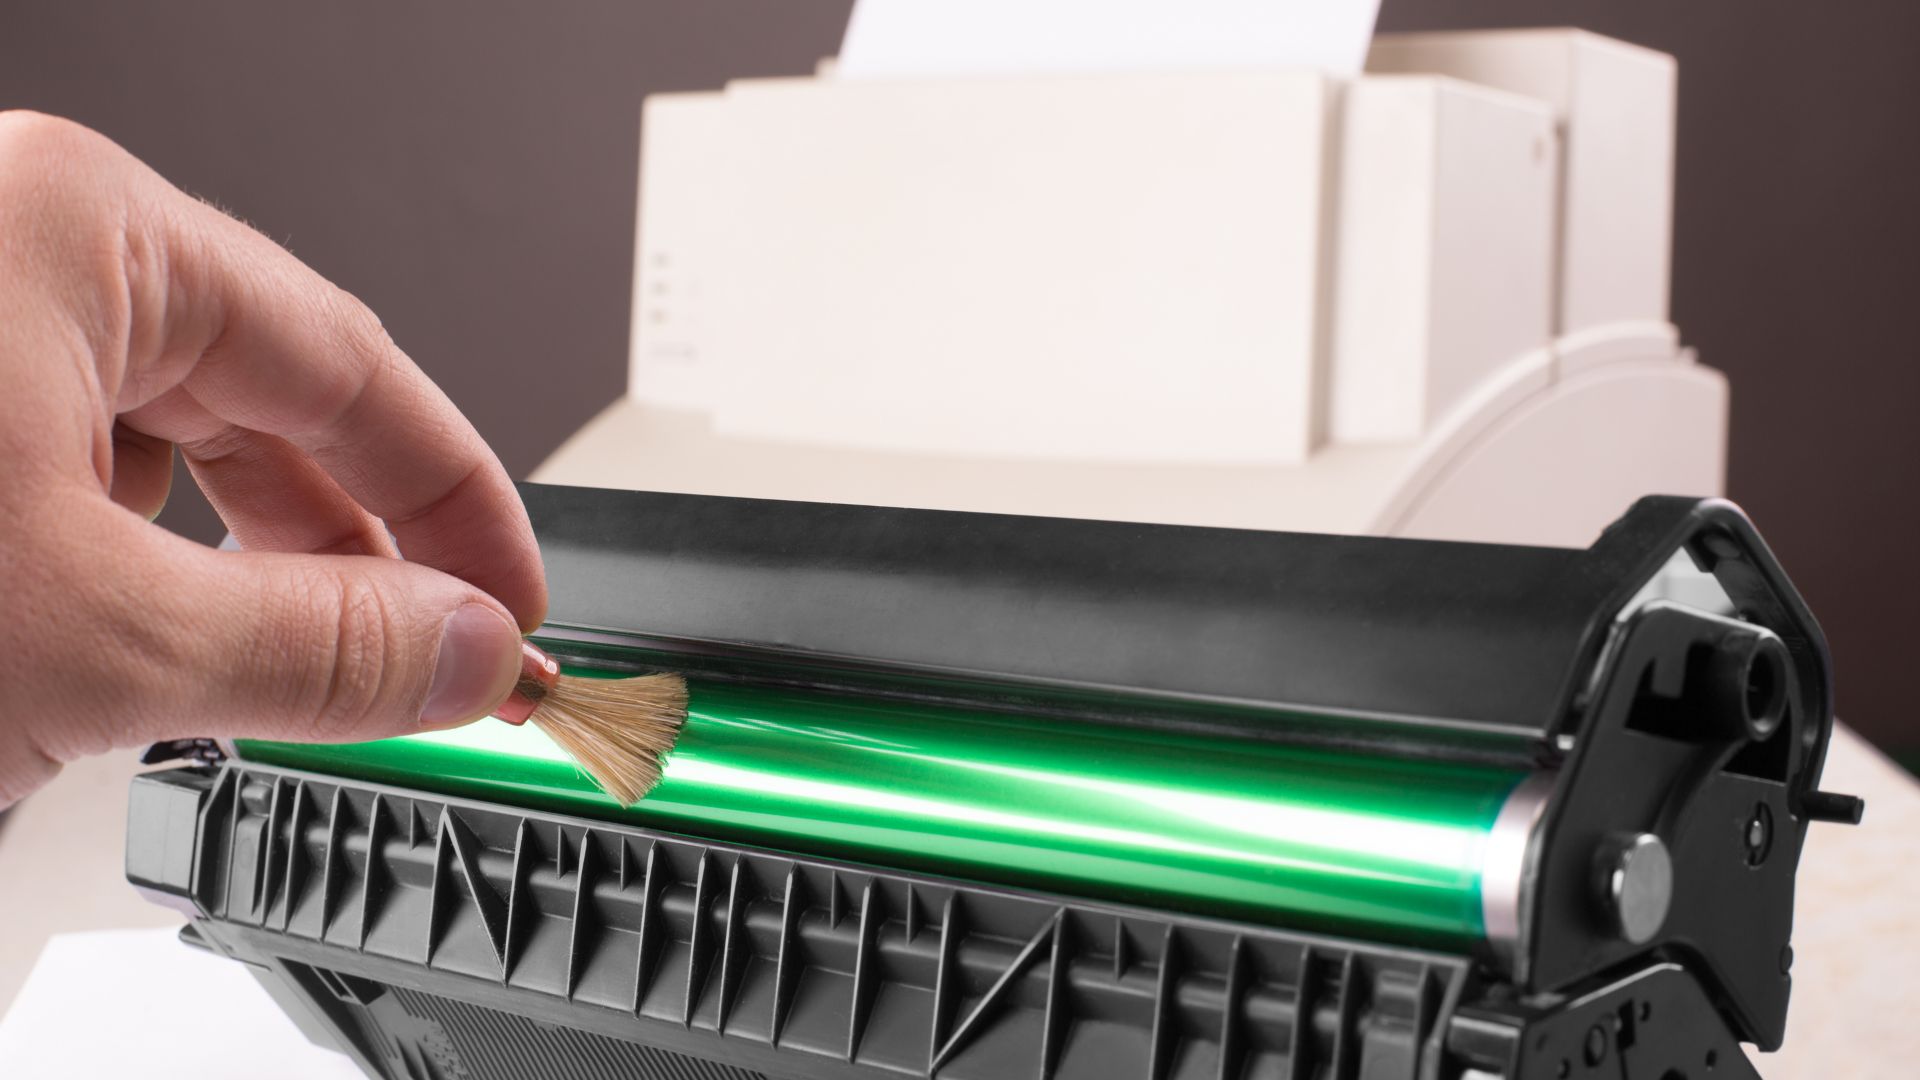
Cleaning HP printer drum
You need to pull the toner cartridge from the HP printer first. And then lift the cartridge’s plastic flap. The drum of your HP printer is a thin, smooth, and greenish roller. You need to use a soft and lint-free cloth to wipe out the drum. Finally, close the flap snap and then return the printer’s cartridge.
-
Cleaning Brother printer drum
If you own a Brother printer, you may need a different tutorial. The steps below are going to help you clean your printer’s drum properly. Make sure to follow every single step carefully and hopefully, you will be able to fix the drum of your Brother printer.
- Remove unit and toner cartridge from inside the printer.
- Separate the toner from the drum unit of the laser printer by pressing the release tabs.
- On top of the printer’s drum unit, locate a green slider button. It is the cleaning unit for the corona wire.
- Slide that green sider back and forth a couple of times. This is going to clean the imaging drum from any residual toner.
- Wipe the surface of the drum down by using a soft and lint-free cloth. And then snap the drum unit and toner back together.
- Reinstall the drum unit and toner into the laser printer.
After cleaning any laser printer, you need to try printing any document. This way, you’ll see whether the cleaning can help or not. If the printer works properly, then you don’t have to replace the drum, yet. But if the cleaning doesn’t help, it is time to learn how to replace the drum unit of your laser printer.
Replacing Laser Printer Drum Unit
What happens when printer drum goes bad and how to replace the bad drum? Many other people ask the same question. If you keep asking this question, then hopefully some steps below can help. Make sure that you learn these steps before trying to replace the drum by yourself.
- Turn your printer on and then leave it for about 10 minutes and wait for the printer to cool down. After using the printer, it is crucial to wait for at least 10 minutes since some internal parts of your printer will be extremely hot. After cooling down the machine, continue to the next step.
- Open the printer’s front cover. Avoid touching the inside of the printer to prevent degradation of the printing quality.
- Separate the drum unit and the toner cartridge. While doing this, handle the assembly carefully since it may contain toner.
- Make sure that you handle the cartridge of toner carefully, if the toner scatters on clothes or hands, wipe it off or wash it with cold water immediately.
- Place the assembly on a flat and clean surface. Place a disposable paper under the assembly in case you scatter or spill the toner accidentally.
- Push the green lock lever down and then remove the toner cartridge from the drum unit. Unpack the new drum unit.
- Place the toner cartridge firmly inside the new drum unit. Make sure that you hear the toner cartridge locks into place. If the toner cartridge is in the right place, the green lock is going to lift automatically.
- Put the assembly of the toner cartridge and drum unit back into your printer. Press the Go button and hold it down for 4 seconds. Release the button when you see all the LEDs on.
- Now close the printer’s front cover and make sure that the LED of the printer drum is now off.
Those are the steps to replace the drum unit of Brother printer lasers. You may need different instructions if your laser printer is from another brand. Get the instructions from the official website of your printer manufacturer and follow the entire steps to replace the drum unit of your printer.
The Differences Between a Drum Unit and a Toner Cartridge
After figuring out the answer to what to do when printer says replace drum, it is time to learn the differences between the drum unit and the toner cartridge. Many printer owners know how to replace their toner cartridges easily. But many of them are not familiar with drum units.
Both are essential components that make your printer able to print any document you desire. Depending on the printer you have, you may have to replace the drum unit occasionally. Some models of laser printers don’t require you to replace the drum unit at all.
- A toner cartridge is a container that is holding the toner powder.
- A drum unit is a cylinder that is electrically charged and will fuse the toner powder onto a paper. This is a part that will create the images and text on the paper.
A drum unit is a crucial element of a printer. Without a drum unit, the cartridge cannot transfer the toner powder onto the paper. Both parts will work together to start printing. It is impossible to use a printer only with a drum unit or a toner cartridge. The printer will not work properly without both parts.
Some printers come with toners with an incorporated drum. While some others come with separate toners and drum units. Which one is the better option? Both of them are the same. Toners with an incorporated drum usually have a higher price.
What happens when printer drum goes bad? Your printer will not print properly. The printing quality may be lower than usual. Or your pages may be blurry or get black spots. Clean the drum of your printer or replace it with the new one to fix the problem and return the printing quality.

I'm Morgan, the creator of VPNForMe — a site born from too many hours spent side-eyeing sketchy VPN reviews and buffering videos.
I wanted a place where people could get straight answers about privacy, streaming access, and which VPNs actually deliver — without the hype or tech jargon.