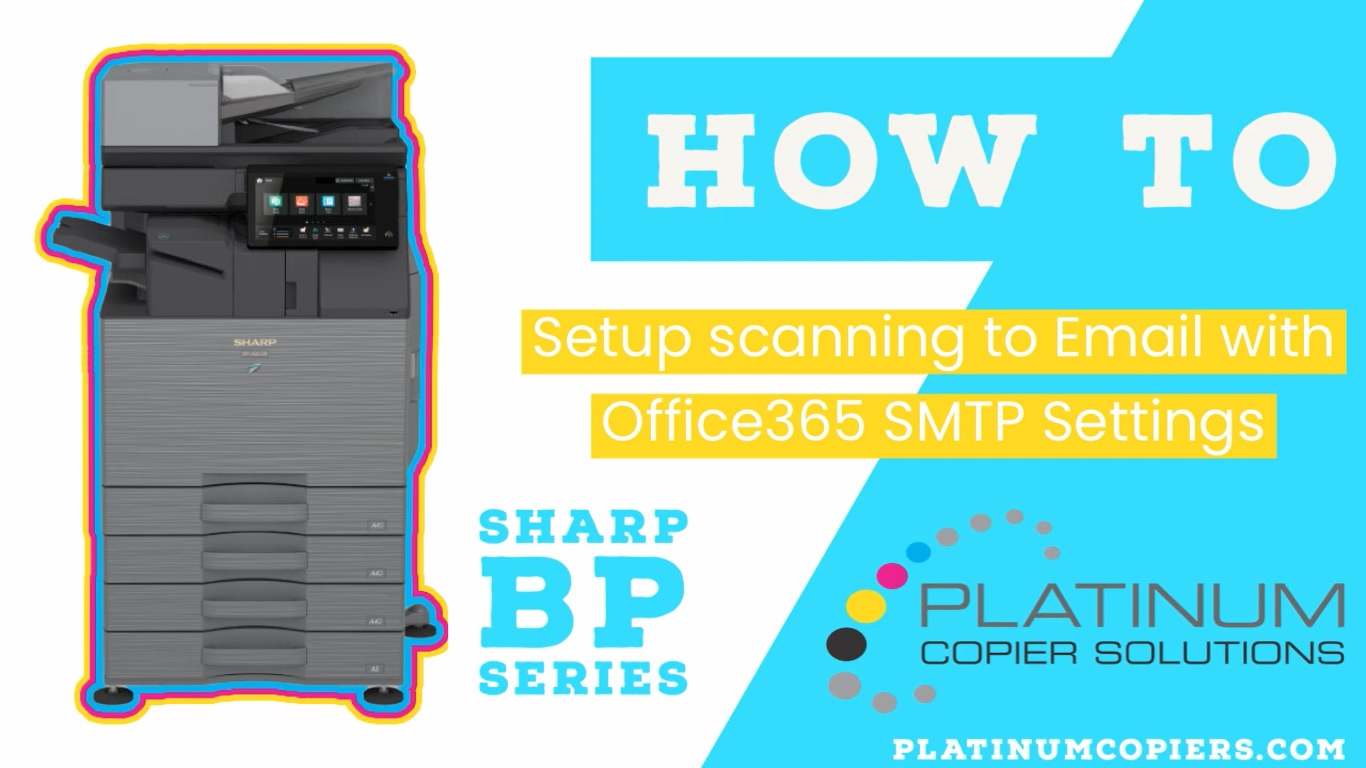
One of the features that will help you work fast and efficiently is scan to email Office 365. However, you need a proper setup before using this feature on your computer. Prepare the printer with a scanner and follow the guidelines below to enable it.
Using Office 365 for Scan to Email Office 365

This method is easy since you can change the server of your printer that has a scanner feature. However, it includes the third party of the service, application, or device. The steps you have to do are as follows:
- Set the server. The server of the printer should be smtp.office365.com to make it work.
- Prepare the email with your own domain. You have to prepare a valid mailbox to do it as well. Then, sign in to make sure that the mailbox is working well.
- Check the SSL and TLS of your device.
- Change the port. You can change to port 587 or port 25.
Setting from Multi-function Device
This setup is not only working for a particular printer with a scanner, but also for other general printers. Before you are starting with this, you have to prepare a username and password for your 365 account. After that, you can follow the guideline below:
- Go to the printer web interface on the computer. Follow the brand of your printer since the interface will be different for each brand.
- Click Scan to Email.
- Go to the setting and change the server to smtp.office.365.com and enter the mail default with your own domain.
- Tick the option “always secure connection of SSL and TLS.
- Input the username and password, then scan the document immediately.
General Requirement for Scan to Email Feature
1. Address range
The address range has limitations. The IP address you use shouldn’t be a shared address with another organization. This is the easiest way to make sure that the feature is going to be fine because the user will not be able to check the authentication.
2. The port
The port is also important to consider because the Isp might block it. The main requirement is port 25. Other ports are not applicable for the scan to email office 365.
3. Connector
This is also one of the requirements for the feature. The setup should be sent from the application or the device you use. The connector should connect from Exchange Online.
How If Scanning to Email is not Working?
Shared IP address
The most possible reason why the feature is not working is because of the IP address. If other people or organizations use the same IP address as yours, the scan to email will not be available to use. Make it unshared with others.
IP address blocked
Another reason that makes you experience this issue is the blocked IP address. If it’s blocked, the sent email will always be disrupted. The email will go to the spam folder. Check your IP address status first before using this feature.
The scan to email Office 365 needs a proper setup before the user can use this feature. The configuration is not complicated, yet you have to choose the particular setting to make it work. The tutorials above can help you to use the feature well from your Office 365.scan to email Office 365

Morgan Azhari, the owner of PrinterUpdate.net, is a dedicated expert in the field of printers, leveraging a wealth of experience and education to create a platform that passionately shares insights and solutions.
With a goal to enhance the printer user experience, my vision for the website is to provide valuable content, making a positive impact on individuals navigating the complexities of printers.