
Network printers still play essential roles in the daily operation of businesses. This printer can be connected to several computers via a Wi-Fi connection or Ethernet cable. Moreover, users can only gain access to this printer by adding it to their PC, e.g., add network printer CMD.
Network Printer: What is it and Its Advantages
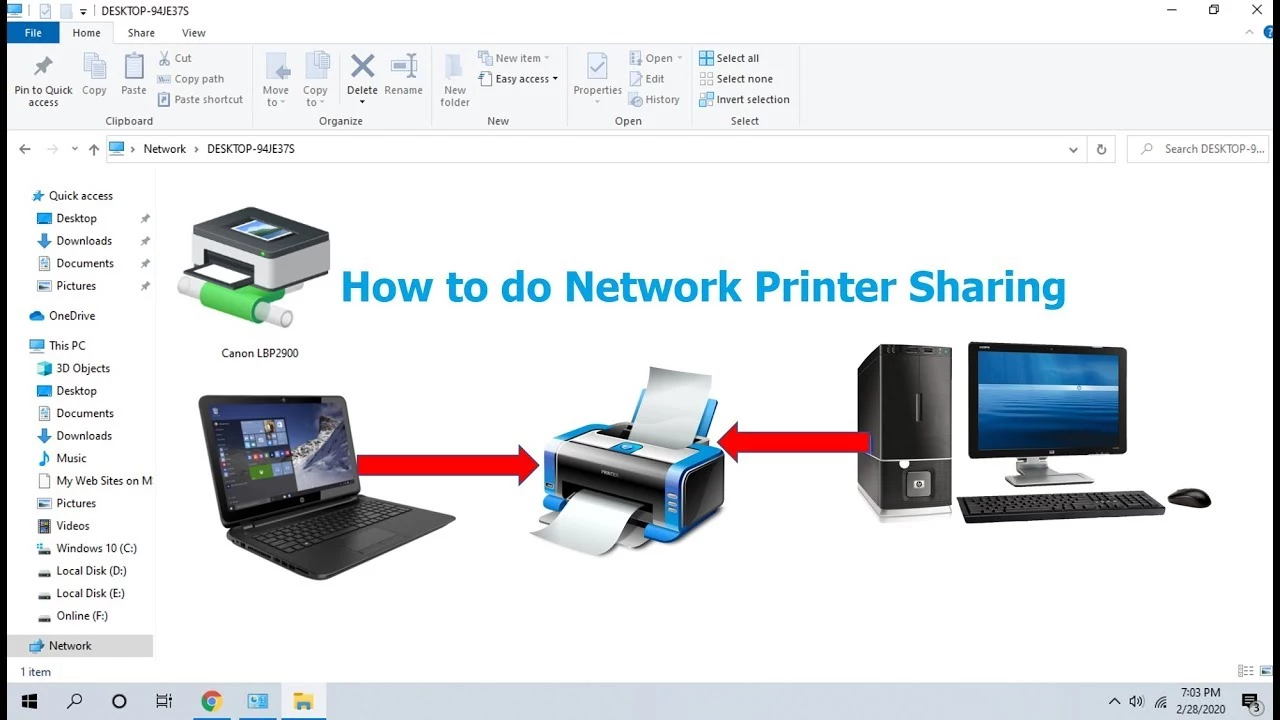
A network printer is a shared printer. It allows many computer users to connect their computers to this printer. Therefore, more than one user can access this printer and print their documents at the same time.
Some offices have several network printers that serve a workgroup. Meanwhile, others set a single network printer for a workgroup.
Network printers offer several benefits for businesses.
- Having a single network printer saves space because one employee can share the printer with other employees.
- Network printers improve operational efficiency.
- Network printers provide multiple users with simultaneous and seamless printing access.
- Having network printers is more secure than having local printers.
How To Add Network Printer CMD
Sometimes, your network printer suffers from technical issues so you need to add network printer CMD. In other words, you must add a network printer via CMD or command line. Some of you may not be familiar with this process because it is not your usual way of adding a network printer.
If you have a Windows 10 computer, you can follow these steps.
- Click the Start button on your Windows 10 computer.
- Type CMD in the search box.
- Open the command window.
- Type the command: rundll32 printui.dll PrintUIEntry /in /n \MyComputer\PrinterName (Note: The switch /in connects to the remote computer and /n states the computer name attached to the printer.)
- Click Enter.
- Click your computer’s Start button once again.
- Go to Control Panel.
- Click Devices and Printers.
- Confirm that your network printer exists under printers.
Another Way to Add a Network Printer via Command Line on Windows PC
You can also try the following steps on how to add network printer in windows 10 using CMD.
- Click the Start button.
- Type CMD in the search box.
- Open the command window.
- Type “C:\Windows\System32\Printing_Admin_Scripts\en-US\prnmngr.vbs” -ac -p \\rome-prnt01\hp2100
Note: in the sample script above, the printer’s name is HP2100. You must replace it with your network printer name if you want to add it to your PC.
Add a Network Printer without CMD on Windows PC
Those who have a new network printer to connect to their PC do not need to use CMD to connect both devices. As long as the printer is on and connected to the network, your windows PC can find it easily.
You can follow these steps to add this new printer to your PC.
- Type Printers in the search box
- Choose Printers and Scanners on the search result to open its window.
- Click Add a Printer or Scanner.
- Select Add a Device.
- Wait for the PC to find the network printer.
- Select the printer and click Add Device.
The steps to add network printer CMD seem simple. However, you must ensure that you type the script correctly because a wrong script will not add the network printer to your Windows PC. If you get error messages repeatedly after connecting the printer to your PC via CMD, you must call a technician.

I'm Morgan, the creator of VPNForMe — a site born from too many hours spent side-eyeing sketchy VPN reviews and buffering videos.
I wanted a place where people could get straight answers about privacy, streaming access, and which VPNs actually deliver — without the hype or tech jargon.