
There are some common HP 8600 printer failure that can affect the operation of the printer. We are going to talk about some of the issues and the possible solutions that can work effectively.
Most Common HP 8600 Printer Failure Issue: Printer Isn’t Connected
If you have a wireless printer, but you get a message that it isn’t wirelessly connected to the net, then there must be something wrong with it
Connected Ethernet Cable
One of the simplest reason why your printer isn’t wireless connected is because the Ethernet cable is somewhat connected, and it impairs the wireless abilities. Check whether the cable is plugged on your computer or your printer. If it is, remove it.
Wizard Settings (for Wireless Setup) Needs Updating
When you set the wireless connection, you will have to provide the SSID for the Wireless Network Name along with WEP or WPA for the Wireless Password. If you don’t know the name or password, check the back side of your (wireless) router.
Go to your printer, check the Control Panel and Setting page, then choose ‘Wireless Setup Wizard’. There would be instructions on the screen. Simply follow them to set up the connection.
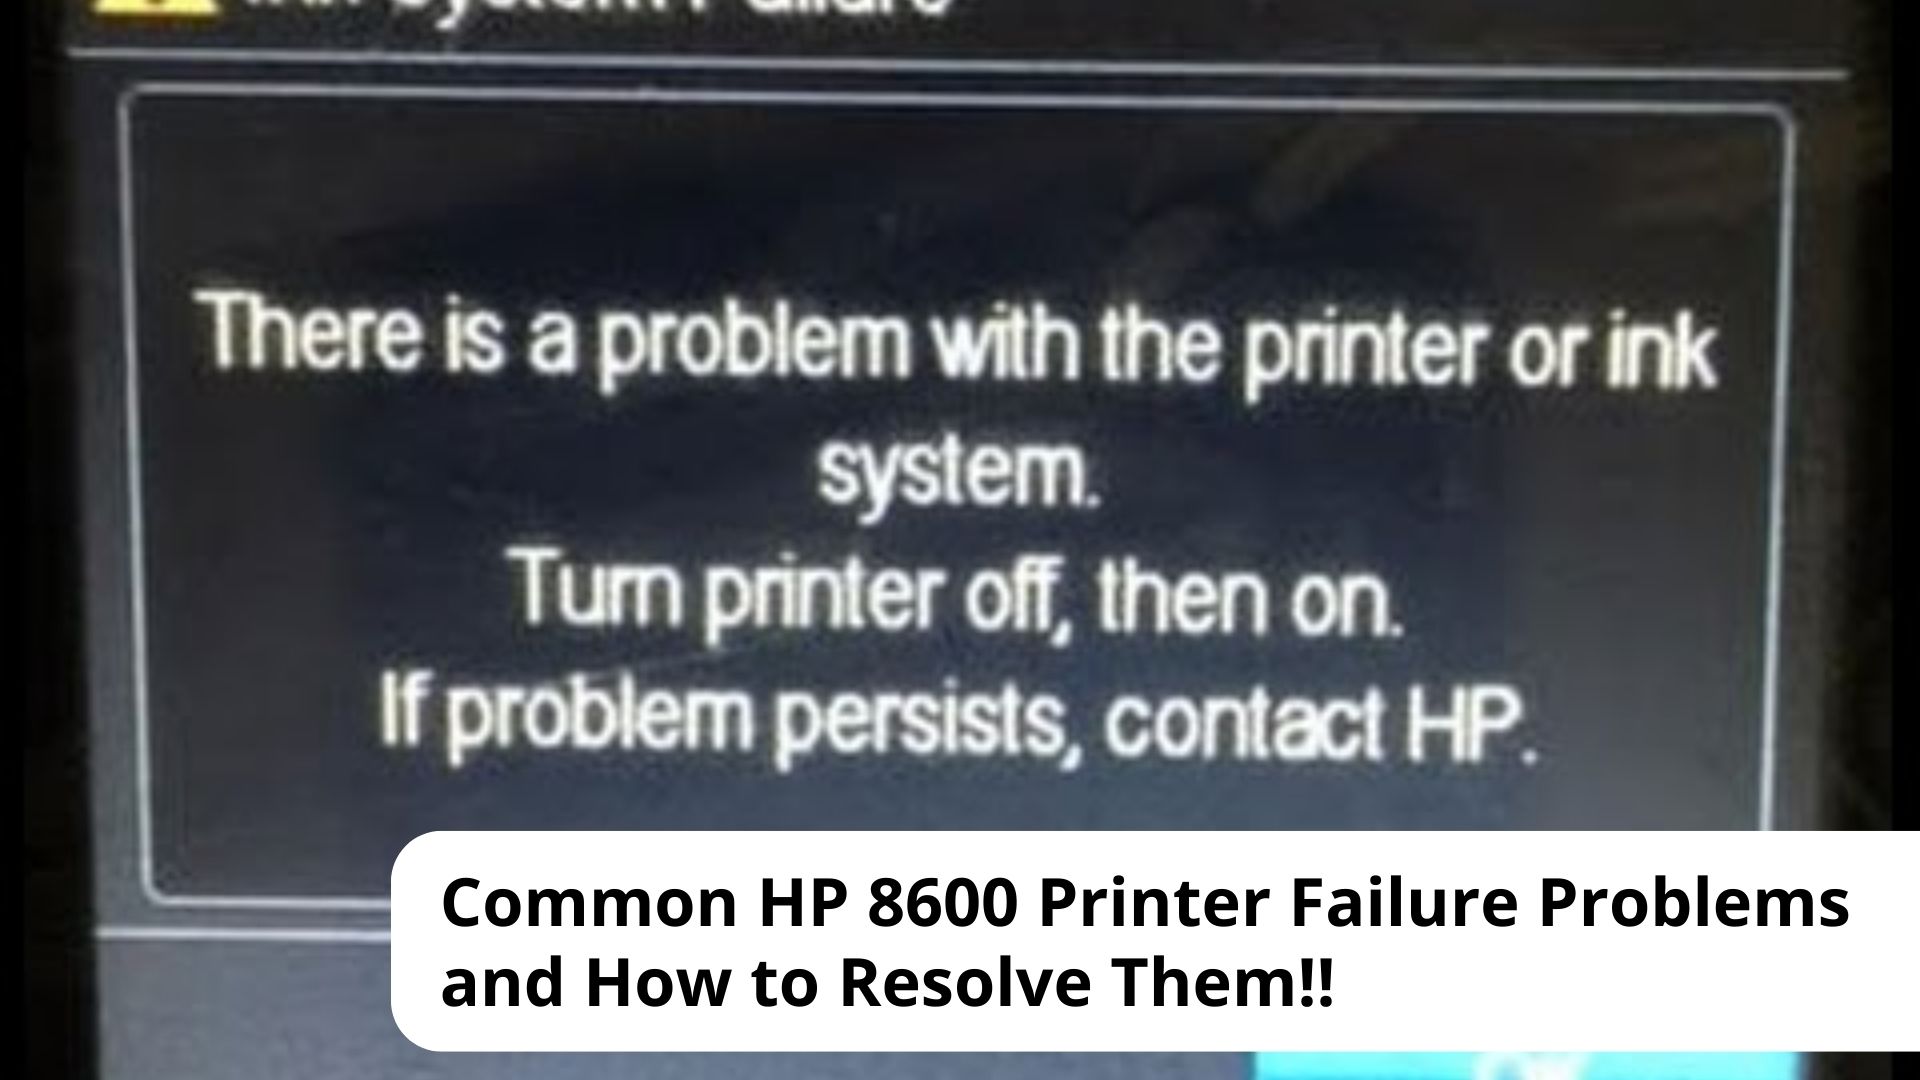
3 Problems with Ink System Error Messages
This is one of the most annoying issues. When your printer starts displaying ‘Problem with Ink System’ notification, it would automatically stop printing and your printer is completely a bust. You have just replaced the cartridges, but the printer still doesn’t function.
1. Leaky Ink Cartridges
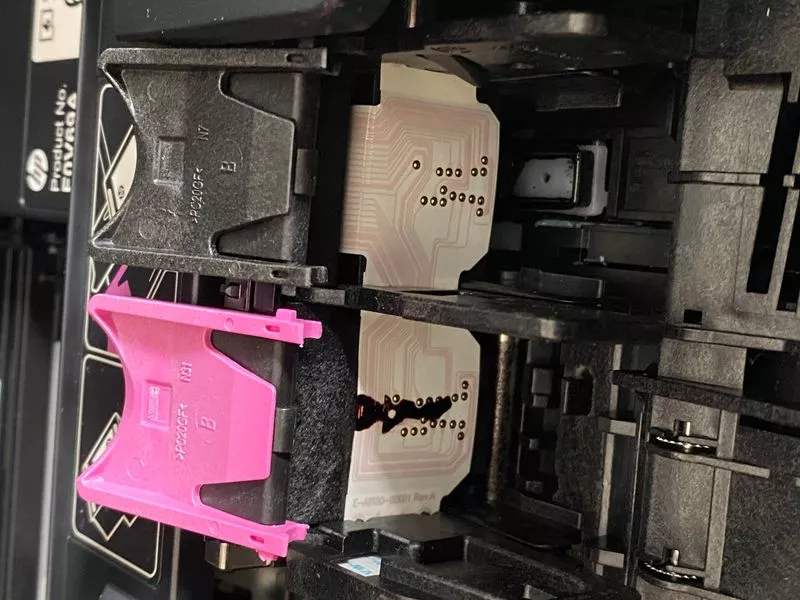
One of the most possible reasons why the printer doesn’t work properly is because the cartridges are somewhat leaking. To check for the leakages, you can do these:
- Activate the printer and then open the access door to the ink cartridge
- Push the front area of the first ink cartridge so you can remove it (from the printhead)
- Check the cartridges for leak. If you see signs of leakage, you need to replace it with a new one
- But if you don’t find any leakage, slide it back to the slot and make sure it clicks to the place fittingly
- Check all of the cartridges by using the previous methods
- Close the access door once you are sure that there is no leak
Faulty Printing Mechanism
If there is no leakage, it’s also possible that the printer suffers from printing faulty. If you want to reset the mechanism, do these:
- Turn on the device and wait until it goes silent completely
- While it is still on, remove the power cord and unplug it from the outlet
- Wait for around 60 seconds
- Plug the cord back again to the outlet. You should reconnect the power to the printer again
- Activate the printer again. Wait until it goes silent before you try printing again.
2. Paper Jam
One of the most annoying issues is when you see ‘Paper Jam’ notification and the printer won’t work at all.
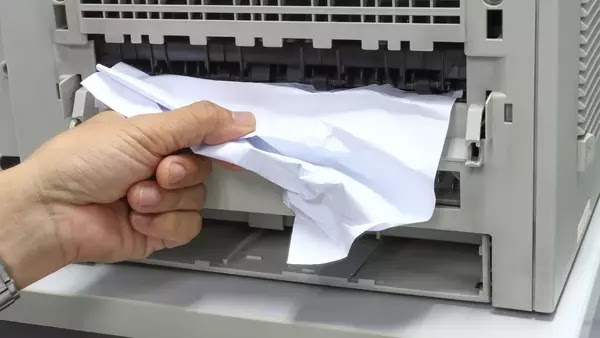
Stuck Paper Shreds
If there is a paper being stuck in the printhead path, it would cause a paper jam. Turn the printer off. Remove the power cord. Place the finger, carefully, on the left side slot, and then open the access door to the ink cartridge.
Check for any torn paper pieces. If you find any, remove it carefully. Then, you can close the access door again and plug in the power cord again. Activate the device and try printing again.
Jam on Tray 1 or 2
It’s possible to experience paper jam within the paper tray. If it happens to you:
- Press Power button to deactivate the printer
- Unplug power cable from the printer
- Take all papers from the tray
- Put the fingers within the front side of the tray so you can remove the tray
- If you find any jammed or loose paper, remove them
- Reload the tray again. This time, reload the papers again, but they should be aligned properly within the tray
- Reinsert the tray again to your printer
- Reconnect the power cord again
- Activate the device and try printing again.
3. Missing Colors or Streaked Output
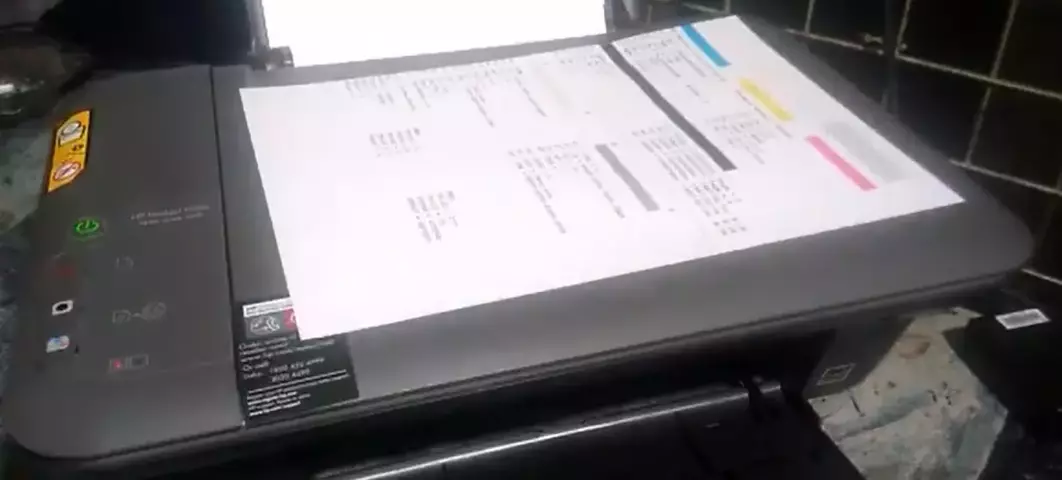
The quality of the print is far from satisfying, whether it’s blurry or streaked.
Printhead Needs Cleaning
You will have to clean the printhead. The process is simple:
- Place papers in the main tray
- On the control panel, you should find arrow buttons. Press the right one and then choose ‘Setup’
- Choose ‘Tools’. When you see the option lists, pick ‘Clean Printhead’
Printhead Needs Aligning
If you have cleaned the printhead but the poor quality remains, you may have to align the printhead.
- Load the paper
- Do the same with the arrow.
- Go with ‘Tools’, but this time, choose ‘Align Printer’
Final Words
These are some of the most common issues related to HP 8600. Which one happens to you? Now that you know the solutions, you can try fixing these HP 8600 printer failure issues.

I'm Morgan, the creator of VPNForMe — a site born from too many hours spent side-eyeing sketchy VPN reviews and buffering videos.
I wanted a place where people could get straight answers about privacy, streaming access, and which VPNs actually deliver — without the hype or tech jargon.