
If your black printer cartridge has run dry and you need to print without black ink, don't worry! There are several quick and easy solutions that can help you get your documents printed with minimal hassle. In this guide, we will walk you through three methods to print without black ink, so you can continue printing important materials without interruption.
Key Takeaways:
- Removing the black cartridge from your printer can help you print without black ink on select printer models.
- Changing the font color to a dark grey or another non-black color is another workaround that allows your printer to utilize available colors.
- Adjusting the printer settings on your computer to print in color and combine the colors to produce black is an alternative method.
- If these methods don't work, troubleshooting tips can help you address any printer issues you may encounter.
- Remember, these solutions are temporary, so it's essential to replace the black ink cartridge when you can.
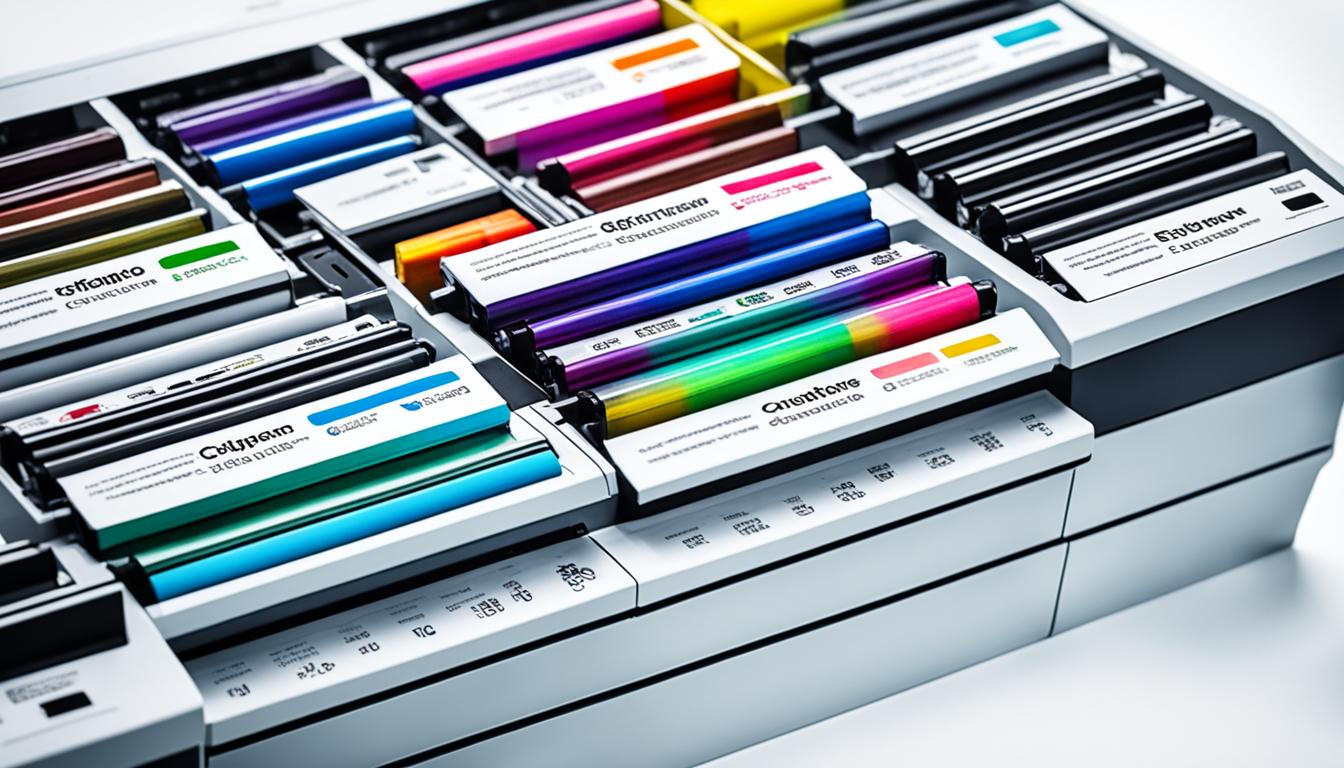
Method 1: Remove the Black Cartridge
One method to print without black ink is to simply remove the empty black cartridge from your printer. This method works on some HP, Canon, and Epson printers. By removing the black cartridge, the printer will use the available colors to print. However, if your printer doesn't allow printing without all cartridges, move on to the next method.

Removing the black cartridge gives your printer the option to utilize the remaining color cartridges when printing. This method can be effective in producing readable documents without black ink. However, it is important to note that not all printers support this feature. If removing the black cartridge doesn't work for your printer model, don't worry. There are other alternatives to print without black ink that we'll explore in the following sections.
Method 2: Change Font Color to Dark Grey
If removing the black cartridge doesn't work, you can try changing the font color to a dark grey or any other non-black color. This workaround allows the printer to use a color it has access to, eliminating low-ink warnings. Simply select a dark color option like dark blue, dark green, or dark purple, and the color tint will be barely noticeable on the text. Make sure to adjust the print quality settings to “Best” for optimal results.
This method is particularly useful when you need to print documents that are not heavily dependent on black ink. By utilizing a dark grey or other non-black colors, you can continue printing without black ink and get satisfactory results. Additionally, printing in dark grey can give your documents a unique and stylish look.
Adjusting Font Color Settings in Microsoft Word
If you're using Microsoft Word to create your documents, the process of changing the font color is quite straightforward. Simply follow these steps:
- Select the text you want to print without black ink.
- Go to the “Font” tab in the toolbar.
- Click on the small arrow next to the font color icon to open the color palette.
- Select a dark grey or other non-black color from the palette.
- Ensure the selected color is easily legible against the background.
- Adjust the print quality settings to “Best” for optimal color reproduction.
Note: The exact method of changing font color may vary depending on the software you are using. Refer to the software's documentation or help resources for detailed instructions.
Print Quality Considerations
When printing without black ink, it's important to pay attention to the print quality settings to achieve the best results. Higher print quality settings tend to produce more accurate and vibrant colors, especially when using dark grey or other non-black font colors. However, keep in mind that higher print quality settings may also result in slightly slower printing speeds and increased ink consumption.
Experiment with different print quality settings to find the right balance between color accuracy, print speed, and ink usage. If you are printing documents with detailed images or graphics, consider using higher print quality settings to ensure the clarity and richness of the printed content.

Changing font color to dark grey allows you to print without black ink.
Method 3: Change Settings to Print Without Black
In addition to removing the black cartridge or changing the font color, another method to print without black ink is by adjusting the print settings on your computer. By making a few changes, you can force your printer to use color combinations to produce black. The steps to change the print settings vary depending on your operating system. Follow the instructions below for your specific OS:
Windows
- Open the document you want to print and go to “File” in the top menu.
- Select “Print” or use the shortcut Ctrl+P.
- In the print dialog box, choose your printer and click on “Printer Properties” or “Preferences.”
- Look for an option that allows you to print in grayscale or color only. Enable this setting.
- Save the changes and click “Print.”
Mac
- Open the document and go to “File” in the top menu.
- Select “Print” or use the shortcut Command+P.
- In the print dialog box, choose your printer and click on “Show Details.”
- Look for an option that allows you to choose between black and white or color printing. Select color printing.
- Save the changes and click “Print.”
By adjusting the print settings on your computer, you can override the default black ink requirement and print using color combinations. This method offers a convenient solution for printing without black ink. Remember to revert the settings to their original configuration when you have a new black cartridge.
Troubleshooting Tips
If these methods don't work or you're still experiencing issues with your printer, here are some troubleshooting tips to try:
- Check ink levels: Ensure that all the ink cartridges in your printer have sufficient ink levels. Low or empty cartridges can result in printing problems.
- Run printer diagnostics: Many printer models have built-in diagnostic tools that can help identify and resolve common issues. Refer to your printer's user manual or manufacturer's website for instructions on how to run diagnostics.
- Update printer drivers: Outdated or incompatible printer drivers can cause printing problems. Visit the manufacturer's website and download the latest drivers for your printer model.
- Clean print heads: Over time, print heads can become clogged with dried ink, leading to poor print quality. Consult your printer's user manual for instructions on how to clean the print heads.
- Restart printer and computer: Sometimes, a simple restart can resolve minor technical glitches. Turn off both your printer and computer, wait for a few minutes, and then turn them back on.
- Check paper alignment: Improper paper alignment can cause printing issues. Make sure the paper is loaded correctly in the paper tray and adjust the paper guides accordingly.
- Use high-quality paper: Using low-quality or incompatible paper can result in smudging, streaking, or paper jams. Choose a high-quality paper that is compatible with your printer.
If none of these troubleshooting tips solve your printer issues, it may be advisable to contact the manufacturer's customer support for further assistance.

Example Troubleshooting Scenario:
Scenario: Your printer is producing faded prints with missing or distorted text.
Troubleshooting Steps:
- Check ink levels to ensure all cartridges have sufficient ink.
- Run printer diagnostics to identify any potential issues.
- Clean the print heads to remove any clogs or buildup.
- Print a test page to check if the issue persists.
- If the problem continues, try printing on high-quality paper to rule out paper-related issues.
- Consider updating the printer drivers to the latest version.
By following these troubleshooting steps, you can address common printer issues and improve the quality of your prints.
| Error Message | Possible Cause | Resolution |
|---|---|---|
| Printer not detected | Loose USB connection | Check the USB cable and ensure it is securely connected to both the printer and the computer. |
| Paper jam | Misaligned paper or foreign object in the paper path | Remove any jammed paper carefully and ensure the paper is loaded correctly. |
| Prints are smudged | Wet ink or low-quality paper | Allow prints to dry before handling them and use a higher-quality paper designed for your printer. |
Conclusion
Printing without black ink is possible by employing simple workarounds. Whether you remove the black cartridge, change the font color, or adjust the print settings on your computer, these methods offer quick and easy solutions for printing documents when black ink is not available.
While these fixes may be temporary, they can help you continue printing until you can obtain a fresh black ink cartridge. Try these methods and see which one works best for your printer model.
With these easy solutions, you don't have to worry about running out of black ink in the middle of an important print job. Follow the steps outlined in this guide and you'll be able to print documents without black ink in no time. Say goodbye to low-ink warnings and keep your printer running smoothly.
So, the next time you find yourself facing a black ink shortage, remember that there are easy ways to overcome this obstacle. Don't let a lack of black ink hinder your productivity when you have these simple alternatives at your disposal. Happy printing!
Source Links
- https://printlikethis.com/how-to-print-without-black-ink/
- https://download4.epson.biz/sec_pubs/xp-970_series/useg/en/GUID-299D0731-4F12-4C18-BDA5-76E8DD9796C8.htm
- https://www.ifixit.com/Answers/View/255068/Full cartridge but ink not printing.

I'm Morgan, the creator of VPNForMe — a site born from too many hours spent side-eyeing sketchy VPN reviews and buffering videos.
I wanted a place where people could get straight answers about privacy, streaming access, and which VPNs actually deliver — without the hype or tech jargon.