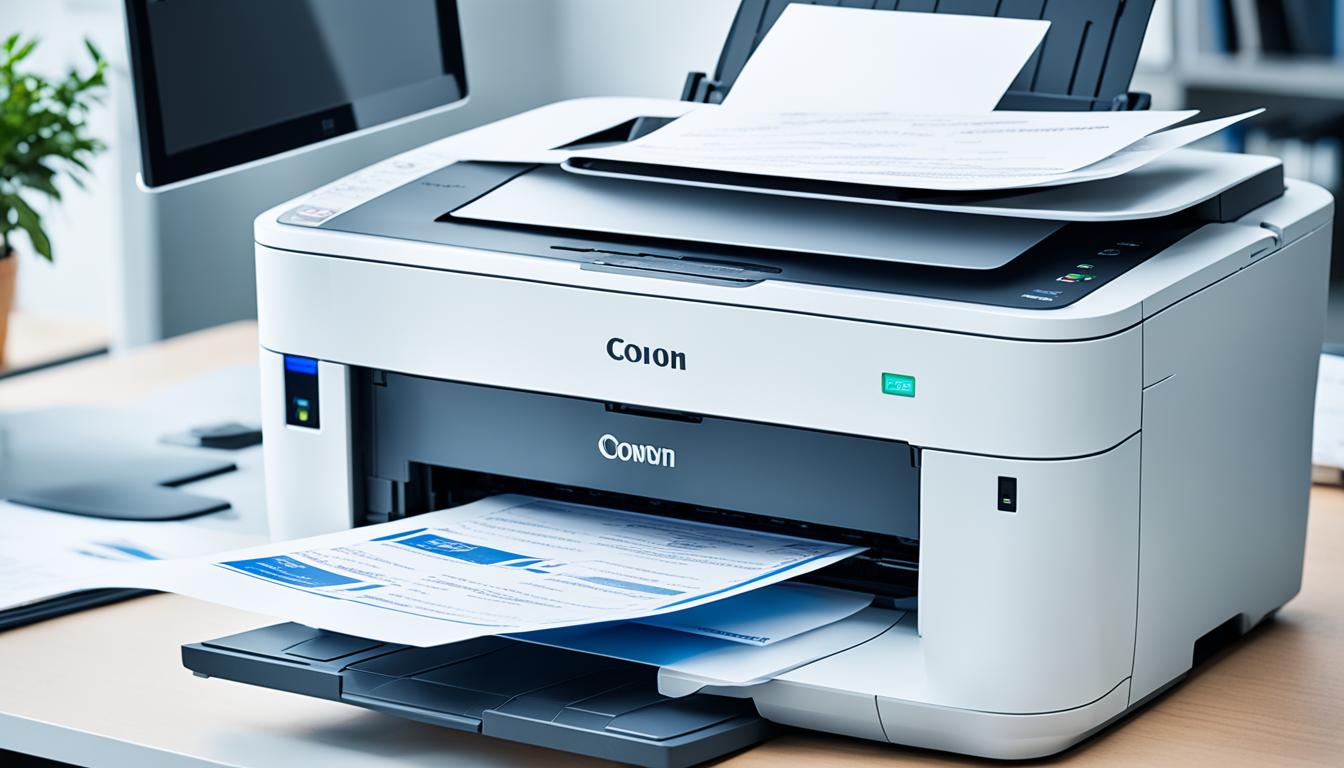
Have you ever wondered if you can scan documents on any printer? The good news is that most all-in-one printers come with scanning capabilities, allowing you to easily digitize your important documents. Whether you need to scan receipts, contracts, or photos, your all-in-one printer can handle the task. In this article, we will explore how to utilize the scanning capabilities of your printer and provide tips for a seamless scanning experience.
Key Takeaways:
- Most all-in-one printers have scanning capabilities built-in.
- You can scan documents on both Windows and macOS operating systems.
- Windows users can utilize Windows Scan or Windows Fax and Scan.
- macOS users can use Image Capture to scan documents.
- While all-in-one printers are suitable for scanning, dedicated scanners offer additional benefits.
How to Scan with an All-in-One Printer on Windows
To scan with an all-in-one printer on Windows, follow these simple steps:
- Make sure your printer is turned on and connected to your computer.
- Open the Windows Settings app by clicking on the Start Menu and selecting the gear icon.
- In the Windows Settings app, go to Bluetooth & devices.
- Click on Printers & scanners.
- If your computer detects your printer, simply click the Add device button.
If your computer does not detect your printer, you may need to manually add it.
Manually Add All-in-One Printer on Windows
- Click on the Add a printer or scanner button.
- Follow the on-screen instructions to search for your printer and complete the setup process.
After your printer is connected to your Windows computer, you can start scanning documents using the built-in scanning applications.
Use Windows Scan or Windows Fax and Scan
Windows Scan and Windows Fax and Scan are two popular scanning applications that come pre-installed with Windows. Here's how you can use them:
- Open the Start Menu and search for Windows Scan or Windows Fax and Scan.
- Click on the corresponding application from the search results.
Once the scanning application is open, select your all-in-one printer as the scanning source. You can then choose the desired scanning settings, such as file format and resolution. After configuring your preferences, click the Scan button to start the scanning process.
Here's an example of how the scanning interface might look in Windows Scan:
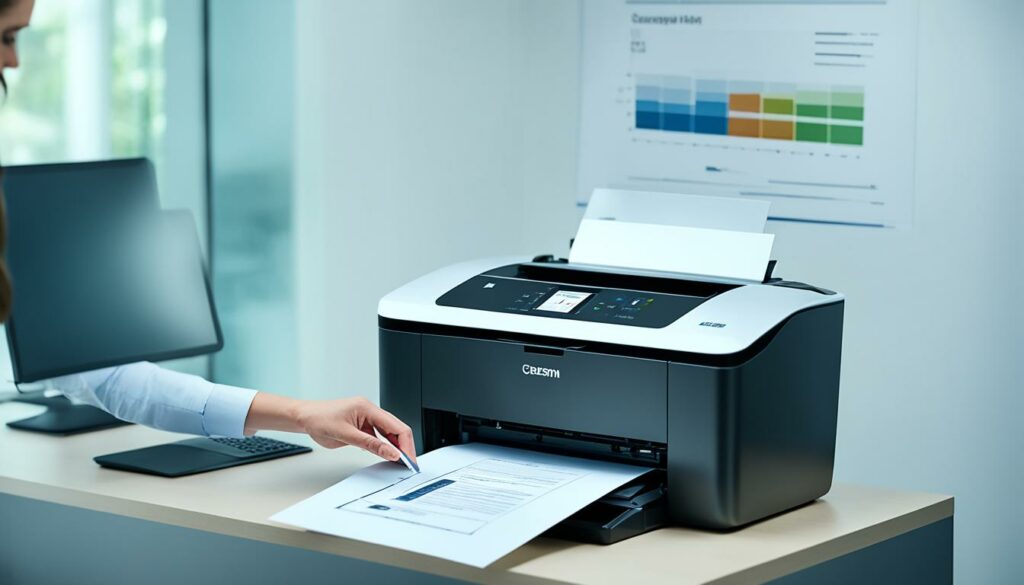
“Scanning documents with an all-in-one printer on Windows is a breeze. With just a few simple steps, you can have your documents digitally scanned and saved in no time!”
Now that you know how to scan with an all-in-one printer on Windows, you can easily digitize your documents and enjoy the convenience of digital files.
| Pros | Cons |
|---|---|
| Convenient and easy to use | May require additional setup if not detected automatically |
| Built-in scanning applications | Limited scanning options compared to dedicated scanners |
| No additional software installation required | Scan quality may vary depending on the printer |
How to Scan with an All-in-One Printer on macOS
When it comes to scanning documents on macOS, using an all-in-one printer is a convenient option. With the right setup and tools, you can easily digitize your physical documents. To get started, follow these simple steps:
- Ensure that your all-in-one printer is connected to your Mac and turned on.
- Open the Printers & Scanners settings on your Mac.
- Click on Add Printer, Scanner, or Fax.
- Choose your all-in-one printer from the available devices.
- Click Add to add your printer to the list of connected devices.
Once you have successfully added your all-in-one printer, you can begin scanning your documents using a reliable macOS scanning tool called Image Capture. Follow these steps:
- Launch Image Capture on your Mac. You can find it by using Spotlight Search.
- In the Image Capture window, you will see a sidebar on the left side of the screen. Select your all-in-one printer from the list.
- To preview and select the specific area you want to scan, click on Show Details.
- Once you have set up the scanning preferences, click on the Scan button to start the scanning process.
- The scanned document will be saved to your desired location or can be accessed in the Pictures > Scans folder in Finder.
Scanning documents on macOS using an all-in-one printer and Image Capture is a straightforward process that can save you time and effort. Now you can easily transform your physical documents into digital files for easy storage, sharing, and organization.
Benefits of Using Image Capture for Scanning
Image Capture offers several advantages when scanning with an all-in-one printer on macOS:
- Simple and user-friendly interface for an intuitive scanning experience
- Ability to preview and customize scanning settings for optimal results
- Efficient file management and organization options
- Support for various file formats, including PDF, JPEG, and TIFF
- Compatibility with a wide range of all-in-one printer models
With Image Capture, scanning documents on macOS becomes seamless and efficient, allowing you to digitize your important paperwork with ease.
| Advantages of Scanning with an All-in-One Printer on macOS | Benefits of Using Image Capture for Scanning |
|---|---|
| Convenient and cost-effective solution | Intuitive and user-friendly interface |
| Eliminates the need for multiple devices | Customizable scanning settings for optimal results |
| Seamless integration with your Mac | Efficient file management and organization options |
| Supports a wide range of document types | Compatible with various all-in-one printer models |
How to Scan a Document Using Windows Fax and Scan
If you're looking to scan a document using Windows Fax and Scan, the process is simple and efficient. Just follow these steps:
- Open the Start Menu and search for Fax and Scan.
- Select Windows Fax and Scan from the search results.
- Click on the New Scan button.
- Choose the correct all-in-one printer from the list of available devices.
- Click Scan to start the scanning process.
Once the scan is complete, you can save the scanned image to your desired folder and easily access it whenever you need.
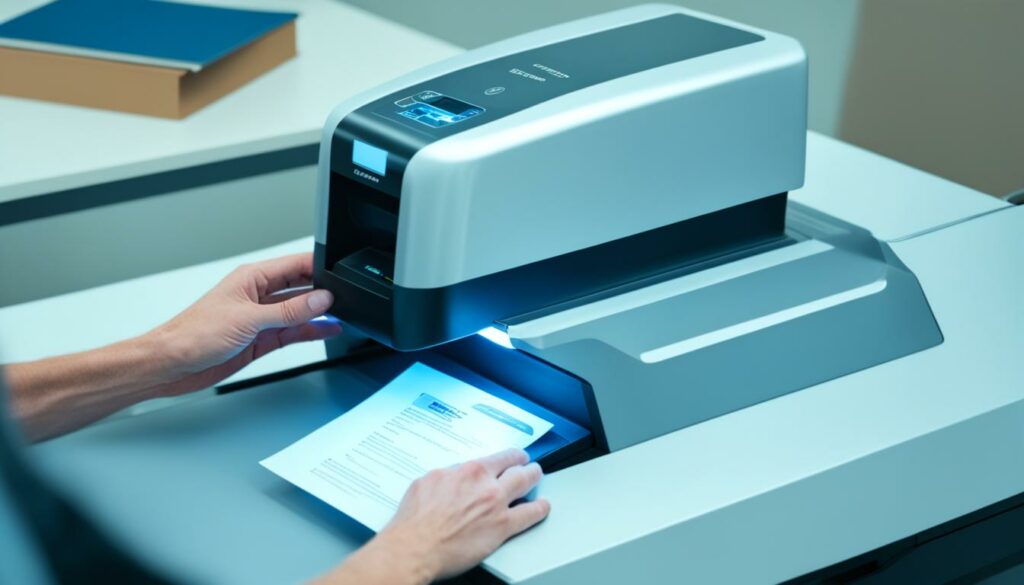
Windows Fax and Scan provides a user-friendly interface for scanning documents with your all-in-one printer. With just a few clicks, you can digitize your important papers and store them digitally for easy access and organization.
How to Scan a Document Using the Windows Scan App
If you're a Windows user, you can easily scan documents using the Windows Scan app. Follow these simple steps to get started:
- Make sure you have downloaded and installed the Windows Scan app from the Microsoft Store.
- Open the Start Menu and search for “Scan”.
- Choose the Scan app from the search results.
- Select your all-in-one printer from the list of available devices.
- Select your desired file type for the scanned document.
- Click on the “Scan” button to start the scanning process.
Once the scan is complete, you can easily view and save the scanned file according to your requirements. The Windows Scan app offers a user-friendly interface that simplifies the scanning process on Windows-based systems.
With the Windows Scan app, you can efficiently convert your physical documents into digital files, making it easier to store, send, and organize important information.

The Windows Scan app provides a seamless solution for scanning documents with your all-in-one printer. Whether you need to digitize important records, create electronic copies of receipts, or share documents electronically, the Windows Scan app offers the convenience and functionality you need.
“The Windows Scan app provides a seamless solution for scanning documents with your all-in-one printer.”
How to Manually Add a Scanner to Your Mac
If your all-in-one printer is not automatically detected by your Mac, you can manually add it as a scanner. Here's how:
- Open the Printers & Scanners settings on your Mac.
- Click on Add Printer, Scanner, or Fax.
- Choose your device from the list of available scanners.
- Click Add to add the scanner to your Mac.
Once the process is complete, your all-in-one printer will be listed under the Printers section in the Printers & Scanners settings.
If you encounter any issues during the manual setup, it's recommended to refer to the instructions provided by the printer manufacturer for further assistance.
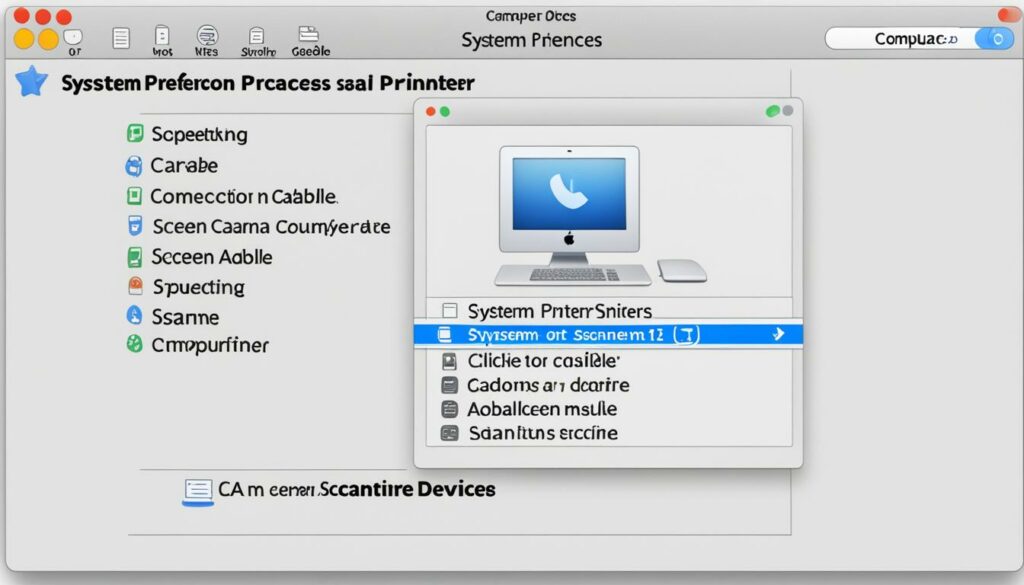
Step-by-Step Guide to Manually Add a Scanner to Your Mac
| Step | Description |
|---|---|
| 1 | Open the Printers & Scanners settings on your Mac. |
| 2 | Click on Add Printer, Scanner, or Fax. |
| 3 | Choose your device from the list of available scanners. |
| 4 | Click Add to add the scanner to your Mac. |
How to Scan a Document on macOS
Scanning documents on macOS is made easy with the Image Capture application. Follow these simple steps to scan your document using your all-in-one printer:
- Use Spotlight Search to open Image Capture on your Mac.
- In the sidebar, select your all-in-one printer.
- Click on “Show Details” to preview and choose the specific area you want to scan.
- Once you've made your selection, click on “Scan” to start the scanning process.
The scanned document can be saved directly or accessed in your Pictures > Scans folder in Finder.
Tips for Scanning a Document on macOS:
- Ensure your all-in-one printer is properly connected to your Mac and turned on before scanning.
- Adjust the scan settings in Image Capture, such as resolution and file format, according to your preferences and requirements.
- Preview the scan before saving to ensure the document is captured accurately.
Image Capture provides a user-friendly interface for scanning documents on macOS, making it a convenient tool for all your scanning needs.

The Benefits of a Dedicated Scanner
Dedicated scanners offer several advantages over using an all-in-one printer for scanning. They are designed specifically for scanning, making the process easier and more efficient. Dedicated scanners often have one-button scanning and come with software to enhance scanning capabilities. They also tend to be more reliable and provide better scan quality and speed compared to all-in-one devices.
“Using a dedicated scanner can significantly improve your scanning experience. With their specialized design and optimized features, dedicated scanners streamline the scanning process, saving you time and effort.”
One of the key benefits of a dedicated scanner is its focus solely on scanning. These scanners are purpose-built to deliver high-quality scans, ensuring precise image reproduction and accurate color representation. Whether you're scanning documents, photos, or other materials, a dedicated scanner can capture fine details and maintain image integrity.
Additionally, dedicated scanners often come equipped with features that enhance the scanning process. Many models offer one-button scanning, allowing you to quickly scan multiple documents without manually adjusting settings. Some scanners also include automatic document feeders (ADFs), which enable batch scanning of multiple pages, further improving productivity.

Compared to all-in-one printers, dedicated scanners are generally more reliable. They are designed with a focus on scanning, minimizing mechanical issues and ensuring consistent performance. With fewer technical complications, you can rely on a dedicated scanner to deliver reliable results, reducing the risk of misfeeds, skewed documents, or other scanning errors.
Furthermore, dedicated scanners often offer faster scanning speeds, allowing you to digitize documents efficiently. Whether you have a large volume of documents to scan or require quick turnaround times, a dedicated scanner can dramatically improve your scanning workflow.
In summary, dedicated scanners provide numerous benefits for scanning tasks. Their specialized design, enhanced features, reliability, and speed make them a valuable tool for individuals and businesses alike. When it comes to achieving optimal scan quality and efficiency, investing in a dedicated scanner like the ScanSnap iX1300 can greatly enhance your scanning experience.
Conclusion
In conclusion, the scanning capabilities of all-in-one printers make them a convenient option for scanning documents. Windows users can utilize Windows Scan or Windows Fax and Scan, while macOS users can utilize Image Capture to easily scan their documents. However, for an even better scanning experience, it is recommended to invest in a dedicated scanner like the ScanSnap iX1300.
Using a dedicated scanner offers numerous benefits such as enhanced ease-of-use, reliability, superior scan quality, and faster scanning speed. These scanners are specifically designed for scanning purposes, resulting in a more efficient and streamlined process. Additionally, dedicated scanners often include one-button scanning and come with software that enhances scanning capabilities.
To achieve optimal results and enjoy a hassle-free scanning experience, consider incorporating a dedicated scanner into your office or home setup. The ScanSnap iX1300 is an excellent choice that guarantees superior output and a seamless scanning workflow. Say goodbye to the limitations of an all-in-one printer and elevate your scanning capabilities with a dedicated scanner.

I'm Morgan, the creator of VPNForMe — a site born from too many hours spent side-eyeing sketchy VPN reviews and buffering videos.
I wanted a place where people could get straight answers about privacy, streaming access, and which VPNs actually deliver — without the hype or tech jargon.

