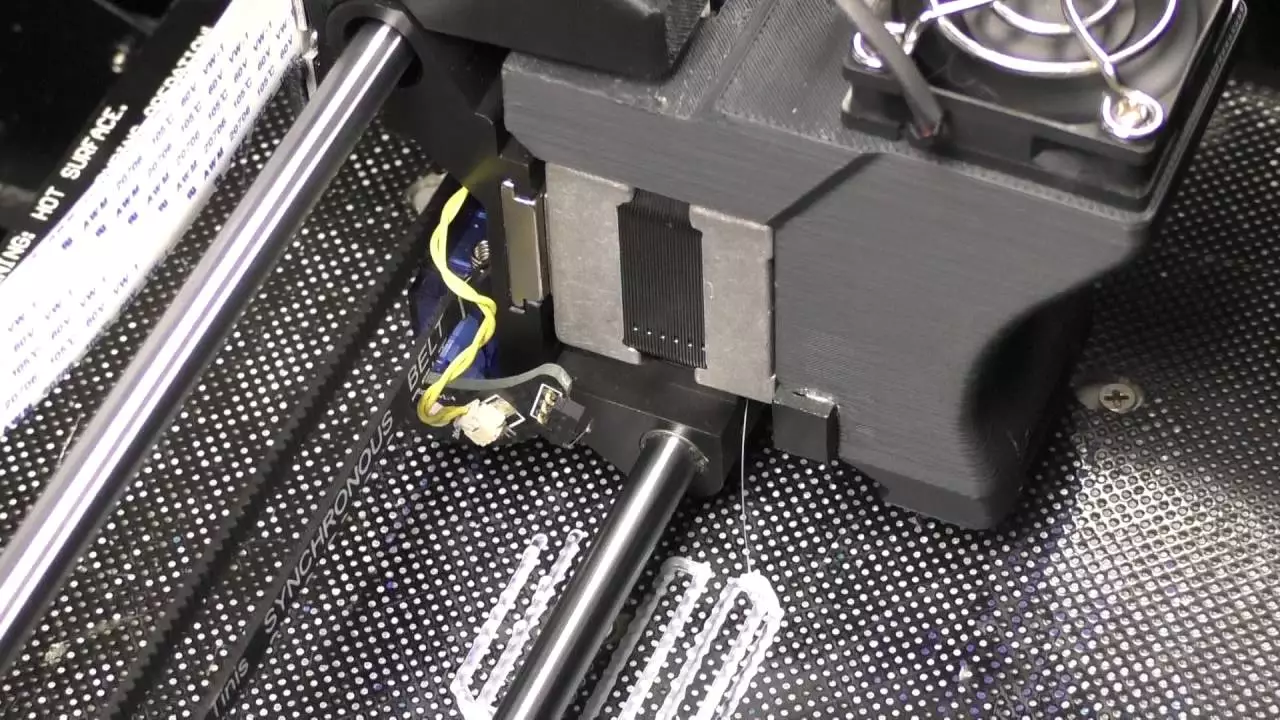
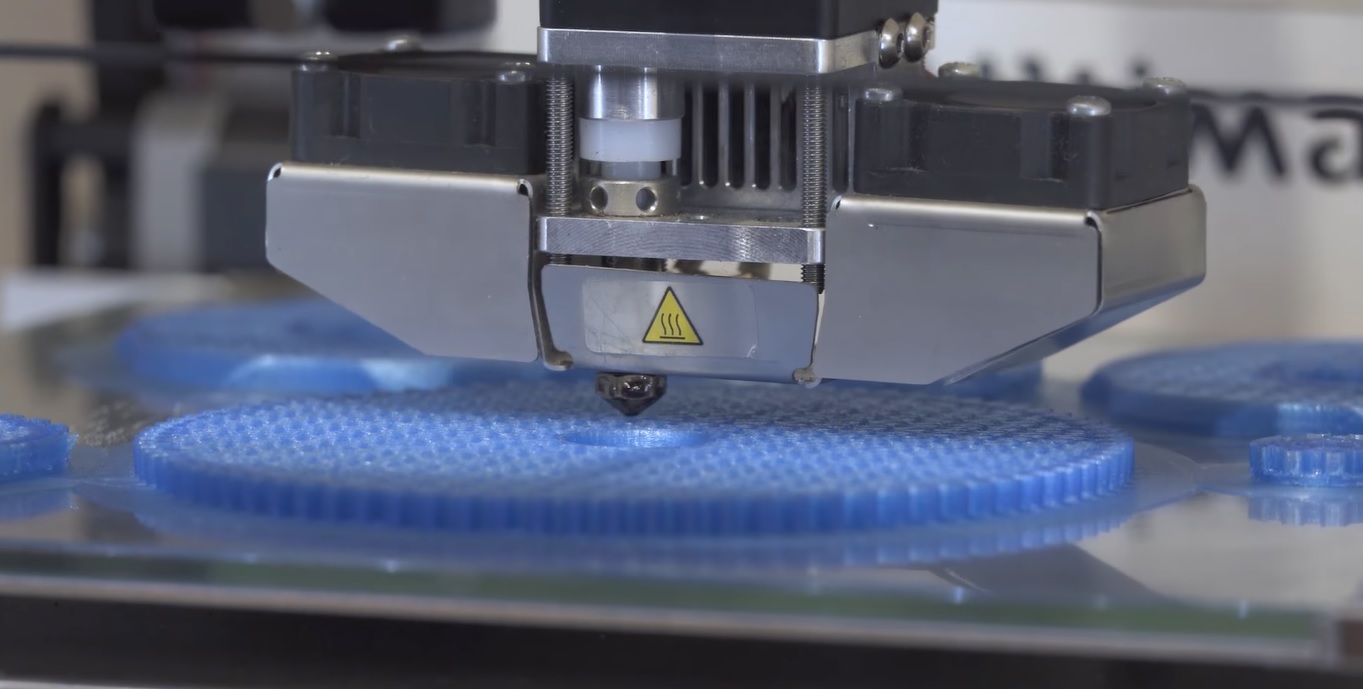
You should know the normal distance between the print nozzle and the bed. If nozzle too close to bed, the nozzle is going to scrape against the bed and damage some parts of the printer. You need to level both parts properly since repairing damaged printer parts is costly.
How to Know If the Nozzle Is Too Close

Before changing the level of the printer nozzle, you need to know if the distance between the nozzle and the bed is too close. Thus, you’ll know that it is time to level the nozzle and prevent your printer from being damaged. Here are some ways that will help you see if the nozzle becomes too close.
1. The nozzle fails to extrude plastic
Your printer nozzle should extrude plastic for its first two layers. If the 3D printer nozzle becomes too close to the bed of a 3D printer, then it is going to fail to extrude two layers of plastic. The issue will happen because the space is not enough for the material so it doesn’t come out of the printer nozzle.
Make the basic print first and then watch how the printer nozzle works. If the nozzle skips printing the first two layers and prints directly the next layers, the extruder is too close to the printer bed. It makes the nozzle fails to release the plastic until the nozzle is a little higher.
2. The nozzle doesn’t produce plastic at all
If your 3D printer doesn’t print any plastic, then you know that the printer nozzle too close to bed. Since the plastic cannot escape, it will cause jams inside the 3D printer. The issue will also happen if the nozzle becomes too close to the printer bed.
It is crucial to take care of the printer immediately since leaving it untreated will lead to worse trouble. There are various ways to fix the jam in a 3D printer. If the jam is because of the nozzle that is too close to your printer bed, you must clean the molten plastic from some parts of the 3D printer.
3. Melted plastic blocks the nozzle
When the nozzle of your 3D printer comes into contact with your 3D printer bed, the melted plastic starts blocking the printer. If it happens, you must consider lowering the printer bed before turning on the heat. Doing this is going to make the plastic turn into a liquid and then get out of the printer.
Some 3D printers have the unload feature that allows you to turn on the heat to melt the plastic. So, before adjusting the nozzle distance, you can remove the melted plastic from your 3D printer. If the feature is available, you need to use it as often as possible to prevent clogging.
But if the feature isn’t available on your 3D printer, then consider using acetone which will help you dissolve any blocked filament. Use a wrench to twist off your 3D printer nozzle. Place the nozzle in a bowl of acetone. Wait for a couple of minutes and let the acetone dissolve the clog.
4. Compare the distance
You need to compare the distance between the nozzle and the bed, if the nozzle of your 3D printer is less than 0.06 mm to 0.2 mm away from your printer bed, it means nozzle too close to bed. Check the software settings of your printer to determine if the nozzle distance is level or not.
Many 3D printers display the information as the X, Y, and Z coordinates (0,0,0). If you want to check the height of the nozzle, check the Z coordinate. The coordinate should show you that the nozzle of your 3D printer is not too close to the printer bed.
5. It is hard to slide a paper page
Try to slide a paper page between your 3D printer bed and the nozzle. If the height doesn’t allow you to slide paper, then both parts of your 3D printer are too close to each other. The height of your nozzle is normal if you can slide the paper between the printed bed and the nozzle of your 3D printer.
But when you try to pull the paper back out after sliding between the printer parts, there should be a small amount of resistance. This sign shows you that the distance from nozzle to bed is good. But if you can slide the paper very easily, then the distance between those parts is perfect.
How to Adjust the Printer Nozzle

It is crucial to learn how to move the nozzle of the 3D printer and the printer bed to fix the issue. Various models of 3D printers require different controls and methods. Check the manual you got along with the 3D printer, or you can read the manual online, or try these easy steps to level both parts.
1. Heat the parts of the 3D printer
First of all, you need to prepare the 3D printer before trying to fix the distance. Heat the nozzle to 150 degree Celsius and the print bed to 60 degrees Celsius. After heating up the parts, you need to auto-home the printhead to the base coordinate or position, 0, 0, 0.
To find the location, your 3D printer is going to hit the end stops of the three coordinates. That is why you need to set up the three end stops properly.
2. Calibrate the location
The next step to fix nozzle too close to bed issue is to calibrate the location. To do this, you must make sure that the printhead is already at the home base. And then you need to access the interface of your 3D printer and then access the Control Settings, next you must hit the option that says Disable Steppers.
Doing this is going to let you move your 3D printer’s printhead for different calibration locations and then get the proper leveling. Now, you can start adjusting the levels of the printer bed.
3. Place the nozzle on the corner
To place your printer nozzle on the corner, you need to move the printer bed along the Y-axis while the printhead is along the X-axis. You can start from the bottom left which is the best position because it is very close to the home position.
4. Perfect the distance between both parts
To perfect the distance between the printer bed and the nozzle, you need to adjust every corner equally. Thus, you will level the middle of the printer correctly. If the process doesn’t run the way you expected, then you need to consider trying automatic leveling.
The nozzle too close to bed issue is going to produce imperfect printing products. You need to know when to fix the issue and make sure that you fix the issue immediately before it causes more complex issues.

I'm Morgan, the creator of VPNForMe — a site born from too many hours spent side-eyeing sketchy VPN reviews and buffering videos.
I wanted a place where people could get straight answers about privacy, streaming access, and which VPNs actually deliver — without the hype or tech jargon.
