
The toner transfer method is a popular DIY technique used for PCB fabrication. It allows hobbyists and electronics enthusiasts to quickly and easily create circuit boards at home. By using a laser printer to print the circuit design onto a special transfer paper and then using heat and pressure to transfer the toner onto a copper-clad board, this method simplifies the process of creating PCBs for various projects. In this article, we will explore the tips and techniques for successfully using the toner transfer method for DIY PCB etching.
Key Takeaways:
- The toner transfer method is a fast and cost-effective way to create PCBs at home.
- By understanding the factors that contribute to successful toner transfer, you can achieve high-quality results.
- Using the right materials, equipment, and techniques is essential for a successful toner transfer process.
- Temperature calibration and proper cleaning of the copper surface are crucial for optimal adhesion.
- Laser printers with quality toner and glossy transfer paper are recommended for the best results.
The Benefits of Toner Transfer for PCB Etching
Toner transfer offers several benefits for PCB etching. First, it is a fast and efficient method, allowing for fast PCB fabrication and quick turnaround times on circuit board projects. This is especially useful for one-off prototypes or development boards that may not be feasible to have professionally manufactured. Instead of waiting for external PCB fabrication services, DIY enthusiasts can use toner transfer to quickly create their custom boards right at home.
Furthermore, toner transfer provides reliable results for DIY PCB etching. With the right technique and equipment, enthusiasts can achieve high-quality PCBs with accurate and consistent traces. By following the proper steps and ensuring proper printer and substrate selection, toner transfer can deliver repeatable results that meet the requirements of various projects.
In addition to being a reliable method, toner transfer is also cost-effective for DIY enthusiasts. Professional PCB manufacturing services can be expensive, especially for small-scale projects and prototype development. Toner transfer allows hobbyists to save costs by creating their own PCBs, eliminating the need for outsourcing and reducing project expenses.
Lastly, toner transfer is especially valuable for those involved in prototype development. DIY enthusiasts who frequently need to create custom breakout boards or prototypes that align with other development tools can benefit from the flexibility and speed offered by toner transfer. With this method, they can iterate quickly on their designs, making adjustments and improvements without the constraints of professional manufacturing processes.

With its fast PCB fabrication, reliable results, cost-effective nature, and its suitability for prototype development, toner transfer proves to be a valuable technique for DIY PCB etching. Whether you're an electronics hobbyist or an experienced DIYer, this method allows you to create high-quality circuit boards efficiently and affordably.
Factors to Consider for Successful Toner Transfer
To achieve successful toner transfer when creating PCBs using the DIY method, it is crucial to take into account several factors. By carefully considering these factors, you can ensure optimal toner adhesion, resulting in clean and accurate PCB traces.
Time
The time duration for ironing or applying heat to the transfer paper plays a significant role in the toner transfer process. It affects the bonding between the toner and the copper surface. Too little time may result in insufficient toner adhesion, while excessive time can lead to over-heating and toner smudging.
Temperature
The temperature at which the toner is melted and fused onto the copper surface is another critical factor. The proper temperature ensures good toner adhesion without compromising the quality of the PCB traces. It is essential to find the right balance that allows the toner to bond effectively with the copper without melting excessively, which can degrade the toner image.
Pressure
Applying the appropriate amount of pressure during the toner transfer process is vital. It helps ensure consistent toner adhesion and prevents air bubbles or gaps between the toner and the copper surface. Too little pressure may result in incomplete transfer, while excessive pressure can distort the toner pattern or cause the transfer paper to wrinkle.

Cleaning the copper surface before applying the toner transfer is crucial for successful adhesion. Removing any oxidation or grease from the copper surface ensures a clean and receptive surface for the toner. Effective cleaning can be achieved using various methods, such as a kitchen scrub, fine-grit sandpaper, or specialized copper cleaners.
While specific details about the choice of transfer paper and cleaning techniques may vary, the key to successful toner transfer lies in achieving the right balance of time, temperature, and pressure. By considering these factors and ensuring a clean copper surface, you can enhance toner adhesion and achieve accurate and reliable PCB traces for your DIY projects.
Physics and Calibration of the Toner Transfer Process
The adhesion of toner to the copper surface during the toner transfer process is influenced by the physics of the glass transition temperature. Understanding the different phases of toner when heated allows DIY enthusiasts to find the optimal temperature for successful toner transfer.
The glass transition temperature refers to the point at which the toner transitions from a rigid, glassy state to a more liquid-like state. It is crucial to calibrate the temperature during the transfer process to keep the toner in the glass transition phase without melting completely.
By maintaining the toner at the glass transition temperature, it fuses with the copper surface under the applied pressure, ensuring strong adhesion. Calibration experiments are essential for finding the ideal temperature for each toner type and setup, optimizing the adhesion and quality of the resulting PCBs.
Temperature Control for Toner Transfer
Temperature control is a critical aspect of achieving successful toner transfer. The goal is to heat the toner to its glass transition temperature without exceeding it, as this could lead to melting and poor adhesion.
DIY enthusiasts can use various methods to control the temperature during toner transfer. One common approach is to use a temperature-controlled iron or heat press. These devices allow precise control of the temperature, ensuring that it stays within the desired range.
It is important to note that different toners may have different glass transition temperatures. Therefore, it is advisable to conduct calibration experiments using a temperature range to determine the optimal temperature for a specific toner.
Ensuring Accurate Calibration
Accurate calibration is crucial for obtaining reliable results during toner transfer. DIY enthusiasts can employ various techniques to calibrate the temperature effectively.
One method is to use a thermometer or temperature probe to monitor the temperature during the transfer process. By measuring the temperature at regular intervals, enthusiasts can determine the point at which the toner reaches its glass transition temperature and make adjustments as needed.
Another approach involves testing different temperature settings and assessing the quality of the toner transfer. By comparing the results at different temperatures, enthusiasts can identify the precise temperature that yields the best adhesion and quality for their specific toner and setup.
Monitoring and Adjusting the Transfer Process
Throughout the toner transfer process, it is essential to monitor and adjust the temperature and pressure as needed. This ensures consistent adhesion and high-quality results.
During the transfer, enthusiasts should observe the toner melting and fusing with the copper surface. If the toner appears too melted or too rigid, adjustments to the temperature may be necessary to achieve the desired glass transition phase.
Similarly, monitoring the pressure applied during the transfer is crucial. Too much pressure can cause the toner to spread or deform, while too little pressure may result in weak adhesion. Finding the optimal balance is essential for successful toner transfer.

By understanding the physics behind toner transfer and calibrating the temperature and pressure effectively, DIY enthusiasts can achieve excellent adhesion and high-quality PCBs in their projects.
Printer and Software Considerations for Toner Transfer
When it comes to the success of the toner transfer method, the quality of the printer and toner used plays a crucial role. It is recommended to use a laser printer for this process as it produces toner made of plastic that can be electrostatically charged and adheres well to the copper surface. In contrast, inkjet printers are less suitable due to their different ink compositions, which may not provide the desired adhesion.
Another factor to consider is the choice of substrate for transferring the toner. Using glossy magazine pages or plastic-coated backing papers can enhance transfer efficiency, allowing for a more precise and clean transfer of the circuit design onto the copper-clad board.
Furthermore, designing the PCB layout using software like Eagle Cad is essential for accurate printing and proper placement of the circuit design on the transfer paper. This PCB design software provides a user-friendly interface, powerful design tools, and extensive libraries, ensuring that your PCB layout is flawlessly translated onto the transfer paper for successful toner transfer.
By choosing the right laser printer, ensuring high-quality toner, selecting the appropriate substrate, and utilizing reliable PCB design software, you can optimize the toner transfer process and increase the chances of achieving accurate and professional results.
Image:

Step-by-Step Guide to Toner Transfer PCB Etching
The toner transfer process for PCB etching involves several steps that can be easily followed at home. By gathering the necessary materials, preparing the copper clad board, printing the circuit design, performing the toner transfer process, etching the PCB, and finally drilling and finishing, you can create your own custom circuit boards for various projects.
Gather the necessary materials
Before starting the toner transfer process, make sure you have all the required materials:
- A laser printer
- Ferric chloride for etching
- A dry iron box
- Permanent markers
- OHP sheets or glossy print sheets
- Acetone
- A plastic or glass container
- A kitchen scrub
Prepare the copper clad board
Prior to the toner transfer, it's important to prepare the copper clad board:
- Remove oxidation from the board's surface
- Clean the board thoroughly
- Ensure the copper surface is free from any grease or impurities
Print the circuit design
Next, print your circuit design onto an OHP sheet or glossy paper using a laser printer. Make sure the print is clear and accurate.

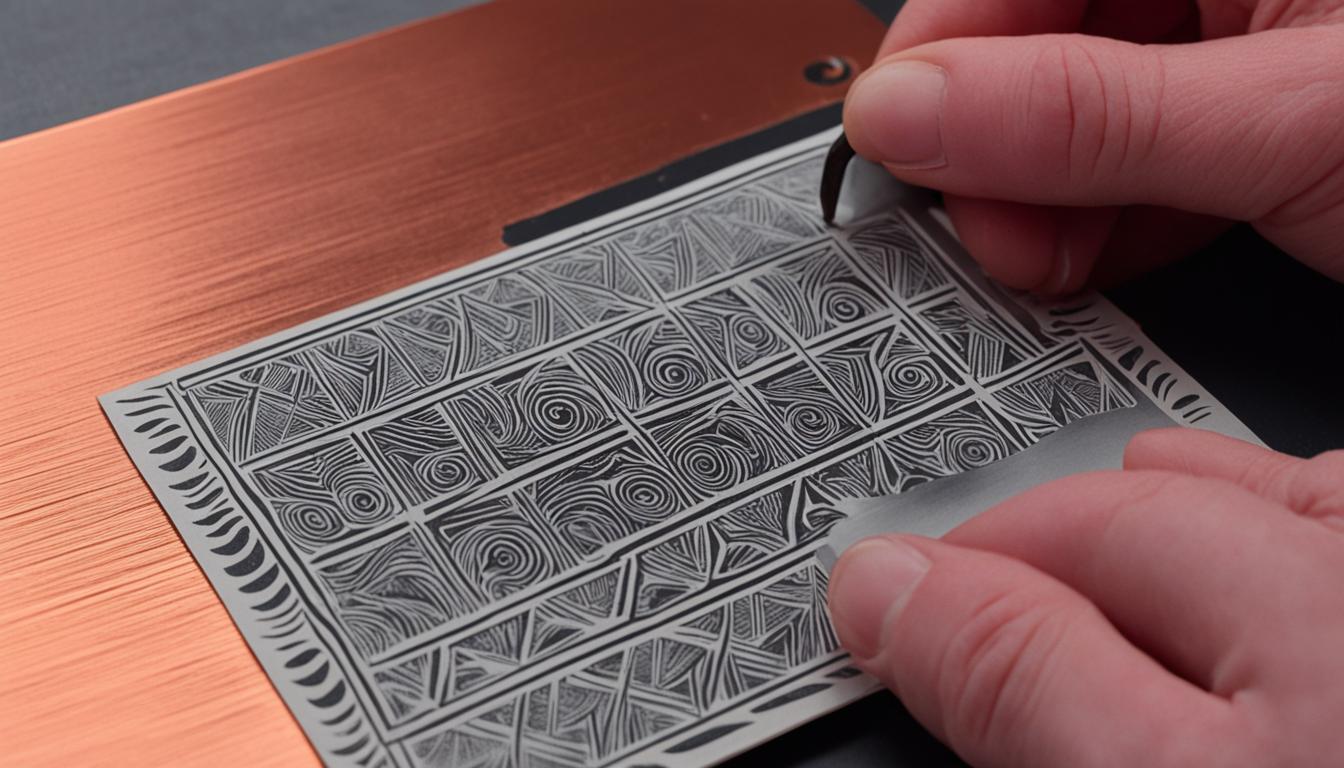
Perform the toner transfer process
Once you have the printed circuit design, follow these steps for toner transfer:
- Place the printed design face down on the copper clad board
- Apply heat and pressure using a dry iron box to transfer the toner onto the board
- Cool the board and remove the transfer sheet
Etch the PCB
Now it's time to etch the PCB to remove excess copper and reveal the circuit traces:
- Prepare a ferric chloride solution in a plastic or glass container
- Place the toner-transferred board in the solution and swirl it gently
- Monitor the etching process until the desired results are achieved
- Remove the board from the solution and rinse it thoroughly with water
Drill and finish the PCB
Lastly, drill the necessary holes for component attachment and give the PCB a final cleaning:
- Use a drill to create holes for mounting components
- Clean the board with a kitchen scrub to remove any remaining toner or residue
| Step | Description |
|---|---|
| 1 | Gather the necessary materials |
| 2 | Prepare the copper clad board |
| 3 | Print the circuit design |
| 4 | Perform the toner transfer process |
| 5 | Etch the PCB |
| 6 | Drill and finish the PCB |
Conclusion
The toner transfer method for DIY PCB etching provides a fast, cost-effective, and reliable solution for hobbyists and electronics enthusiasts. By understanding the factors that contribute to successful toner transfer and optimizing the process through temperature calibration, DIYers can achieve high-quality PCBs at home. With proper preparation, attention to detail, and efficient execution, the toner transfer method simplifies circuit board projects and empowers DIY enthusiasts to bring their electronic designs to life.
The benefits of toner transfer, such as fast PCB fabrication and reliable results, make it an excellent choice for one-off prototypes or custom breakout boards. The cost-effectiveness of this method allows for experimentation and frequent iteration without breaking the bank. With the right printer, toner quality, and glossy substrate, DIYers can achieve precise and accurate results. Additionally, using PCB design software like Eagle Cad ensures accurate placement of the circuit design on the transfer paper, resulting in successful toner transfer.
To achieve successful toner transfer, it is crucial to consider factors such as time, temperature, pressure, toner adhesion, and proper cleaning of the copper surface. By finding the optimal balance of these factors, DIYers can obtain crisp and accurate PCB traces. Understanding the physics behind toner transfer, specifically the glass transition temperature of the toner, allows for temperature calibration experiments and optimal toner adhesion. By carefully calibrating the temperature, DIY enthusiasts can achieve the best results for their specific toner and setup.
In conclusion, the toner transfer method offers numerous benefits and considerations for DIY PCB etching. By following the step-by-step guide, harnessing the potential of this technique, and understanding the factors that contribute to success, DIYers can enjoy the satisfaction of creating high-quality PCBs at home. Whether it's for rapid prototyping or custom projects, the toner transfer method is a valuable tool in the DIY electronics toolbox.
Source Links
- https://hackaday.com/2016/09/12/take-your-pcbs-from-good-to-great-toner-transfer/
- https://www.instructables.com/PCB-Etching-Using-Toner-Transfer-Method/
- https://www.instructables.com/PCB-ETCHING-TONER-TRANSFER-METHOD-1/

I'm Morgan, the creator of VPNForMe — a site born from too many hours spent side-eyeing sketchy VPN reviews and buffering videos.
I wanted a place where people could get straight answers about privacy, streaming access, and which VPNs actually deliver — without the hype or tech jargon.