
HP printers are renowned for their reliability and print quality. However, like any mechanical device, they can encounter issues, particularly with the printhead. The printhead is a crucial component responsible for dispensing ink onto the paper, and any problems with it can significantly affect print quality.
How to Solve Missing or Failed Printhead Error

Steps to Fix Missing Printhead Issue in HP Printers
If you're encountering a missing printhead issue in your HP printer, you can follow these steps to troubleshoot and potentially resolve the problem:
1. Printhead Reinstallation:
- Open the printer cover to access the printhead.
- Gently remove the printhead from its carriage.
- Reinstall the printhead firmly back into the carriage.
- Close the printer cover.
2. Printhead Alignment:
- Some HP printers have an automatic printhead alignment feature.
- Access the printer menu or settings on the control panel.
- Look for the option to align the printhead and follow the on-screen instructions.
3. Check for Obstructions:
- Ensure there are no obstructions, such as paper scraps or foreign objects, in the printhead area.
- Check the printhead path for any obstacles that may interfere with its movement.
4. Perform Printhead Cleaning:
- Use the printer's built-in printhead cleaning utility.
- Access the printer settings on the control panel or through the printer software on your computer.
- Look for the option to clean the printhead and follow the prompts.
5. Use Genuine HP Ink Cartridges:
- Ensure that you are using genuine HP ink cartridges that are compatible with your printer model.
- Incompatible or non-HP cartridges may cause printhead issues.
6. Update Printer Firmware:
- Check if there are any firmware updates available for your HP printer.
- Visit the official HP support website, enter your printer model, and download and install the latest firmware.
7. Check Ink Levels:
- Verify that the ink cartridges have sufficient ink levels.
- Low ink levels may affect the performance of the printhead.
8. Inspect for Physical Damage:
- Examine the printhead for any visible signs of damage.
- If you notice physical damage, it may be necessary to replace the printhead.
9. Power Cycle the Printer:
- Turn off the printer and unplug it from the power source.
- Wait for a few minutes before plugging it back in and turning it on.
- Power cycling can sometimes resolve temporary issues.
Guidelines for Manually Cleaning the Printhead on HP Printers
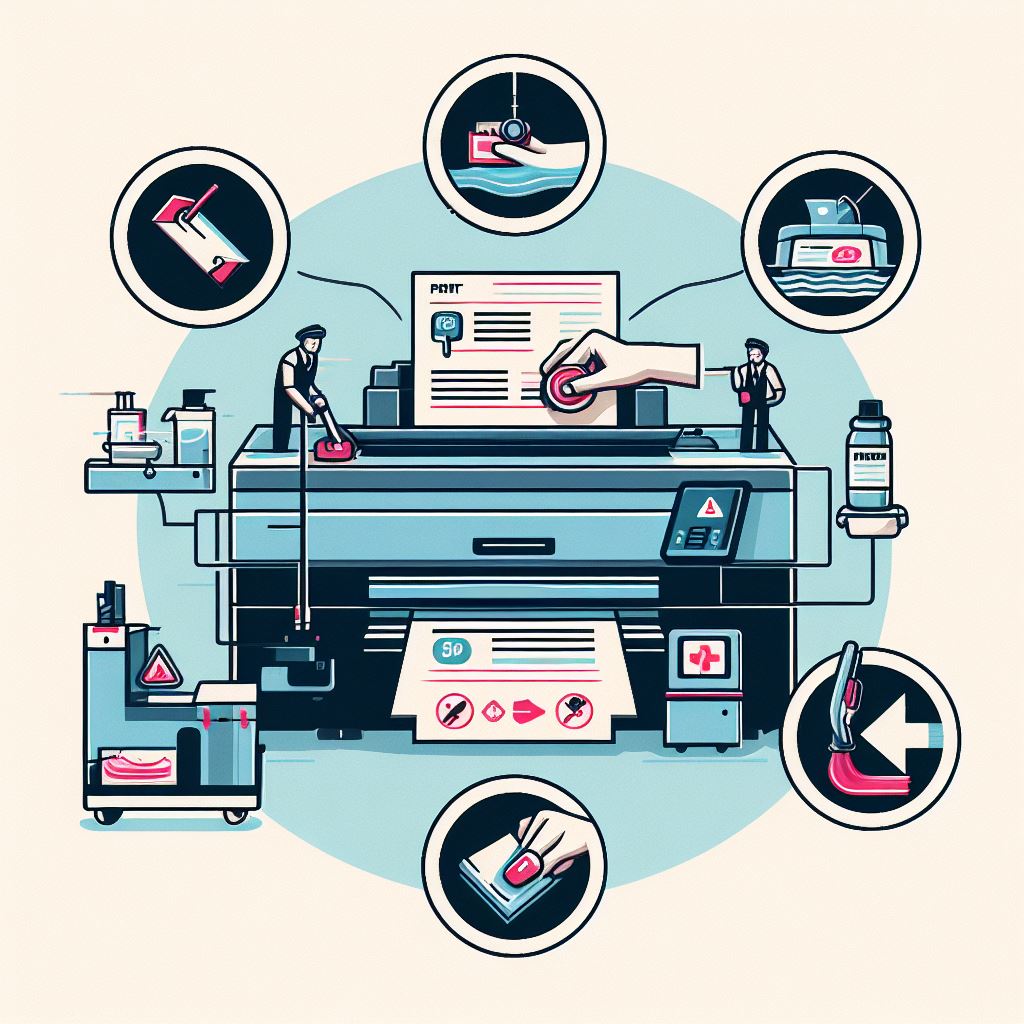
Manually cleaning the printhead on HP printers can help resolve issues related to print quality, such as streaks, lines, or missing colors. Here are guidelines for manually cleaning the printhead:
Note: Before starting the cleaning process, ensure you have the following:
- Clean, lint-free cloth or coffee filter
- Distilled or filtered water
- Cotton swabs
- Isopropyl alcohol (optional)
12 Steps to Manually Clean Your Printer:
-
Prepare the Printer:
- Turn on the printer and lift the top cover or access door to expose the printhead.
-
Remove Ink Cartridges:
- Remove the ink cartridges from the printhead. Refer to your printer's manual for instructions on how to do this.
-
Inspect the Printhead:
- Inspect the printhead for dried ink, debris, or any visible issues. If you see excess ink or debris, it's an indication that manual cleaning may be necessary.
-
Dampen Cloth or Coffee Filter:
- Dampen a clean, lint-free cloth or coffee filter with distilled or filtered water. Ensure it's not soaking wet but moist enough to clean the printhead.
-
Clean the Printhead Contacts:
- Gently wipe the contacts on the printhead with the damp cloth or filter. This helps remove any dried ink or residue.
-
Use Cotton Swabs for Detailed Cleaning:
- If there are stubborn spots or areas that the cloth couldn't reach, use cotton swabs dampened with water to carefully clean those areas.
-
Avoid Using Excessive Force:
- Be gentle while cleaning to avoid damaging the printhead. Excessive force may cause further issues.
-
Optional: Use Isopropyl Alcohol for Stubborn Stains:
- If water alone is not effective, you can use isopropyl alcohol on the cloth or cotton swabs. Ensure the alcohol is applied sparingly.
-
Allow Printhead to Dry:
- After cleaning, allow the printhead to dry completely before reinstalling the ink cartridges. This typically takes a few minutes.
-
Reinstall Ink Cartridges:
- Once the printhead is dry, reinstall the ink cartridges into their respective slots. Make sure they are securely seated.
-
Run Printhead Cleaning Cycle:
- After reinstalling the ink cartridges, run the printhead cleaning cycle using your printer's built-in utility. This helps ensure any remaining residue is cleared.
-
Print a Test Page:
- Print a test page to check if the print quality has improved. If necessary, repeat the cleaning process.
Note:
- Always follow your printer's user manual for specific instructions on printhead removal and cleaning.
- Avoid using tap water, as it may contain impurities that can harm the printhead.
- Regular maintenance, including periodic printhead cleaning, can contribute to better print quality and prolong the life of your HP printer.
Understanding Firmware Updates for HP Printer Printheads
Firmware updates for HP printer printheads involve upgrading the software that controls the basic functionality and communication between the printer hardware and the printhead. These updates are designed to enhance performance, resolve issues, and introduce new features.
Here's a breakdown of understanding firmware updates for HP printer printheads:
1. Purpose of Firmware Updates:
- Performance Improvement: Firmware updates may include optimizations to enhance the overall performance of the printer and printhead.
- Bug Fixes: Updates address software bugs or glitches that may affect printing quality or cause malfunctions.
- Compatibility: Updates ensure compatibility with new ink cartridges, paper types, or software applications.
- Security: Some updates may include security patches to protect the printer from vulnerabilities.
2. How to Check for Firmware Updates:
- Automatic Updates: Some HP printers are set to automatically check for firmware updates and install them when available. This feature may be enabled by default.
- Manual Check: You can manually check for updates through the printer's control panel or settings menu. Alternatively, visit the official HP support website and enter your printer model to find available firmware updates.
3. Updating Firmware:
- Through the Printer Control Panel: If your printer has a touchscreen control panel, navigate to the settings or tools menu, and look for the option to update the firmware. Follow the on-screen instructions to complete the update.
- Using a Computer: In some cases, firmware updates can be initiated from a connected computer. Download the latest firmware from the HP website and follow the provided instructions for installation.
4. Printhead Firmware vs. Printer Firmware:
- Printhead Firmware: Some printers have separate firmware for the printhead. Printhead firmware updates may address specific issues related to printhead functionality and performance.
- Printer Firmware: The main firmware controls the overall operation of the printer. Updates to this firmware impact various aspects, including communication with the printhead.
5. Benefits of Printhead Firmware Updates:
- Improved Printhead Functionality: Updates can optimize the communication between the printer and the printhead, leading to better print quality.
- Extended Printhead Life: Firmware updates may include features that contribute to the longevity of the printhead.
- Compatibility with New Technology: As technology evolves, firmware updates ensure that the printer and printhead can adapt to changes in ink formulations, paper types, and other advancements.
6. Considerations and Best Practices:
- Read Release Notes: Before applying firmware updates, read the release notes provided by HP. These notes detail the changes and improvements introduced in the update.
- Stability: While updates are generally beneficial, some users prefer to wait for a stable version of the firmware before updating to avoid potential issues.
- Backup Settings: Some updates may reset printer settings. It's a good practice to note or document your current settings before applying an update.
Replacing the Printhead in HP Inkjet Printers
Replacing the printhead in HP inkjet printers is a task that might become necessary if you're experiencing persistent print quality issues that cannot be resolved through cleaning or troubleshooting. Here's a step-by-step guide on how to replace the printhead in HP inkjet printers:
Note: Before you begin, ensure that you have a replacement printhead compatible with your specific HP printer model.
1. Turn Off the Printer:
- Power off the printer and disconnect it from the power source.
2. Open the Printer Cover:
- Lift the top cover or access door of the printer to expose the printhead.
3. Remove Ink Cartridges:
- Remove all ink cartridges from the printhead. Refer to your printer's manual for instructions on cartridge removal.
4. Identify the Printhead:
- Locate the printhead assembly. It is the component that holds the ink cartridges and is usually positioned beneath them.
5. Release the Printhead Latch:
- Some HP printers have a latch that secures the printhead in place. Release the latch by pushing it to the side or following the specific instructions for your printer model.
6. Remove the Old Printhead:
- Gently lift the old printhead out of its carriage. Be cautious not to apply excessive force.
7. Prepare the Replacement Printhead:
- Unbox the new printhead and remove any protective packaging.
- Ensure that you have the correct replacement printhead for your printer model.
8. Install the New Printhead:
- Align the new printhead with its designated slot in the carriage.
- Gently insert the printhead into the carriage until it clicks into place.
9. Secure the Printhead Latch:
- If your printer has a printhead latch, secure it to hold the new printhead in place.
10. Reinstall Ink Cartridges:
- Reinstall the ink cartridges into their respective slots. Make sure they are securely seated.
11. Close the Printer Cover:
- Close the top cover or access door of the printer.
12. Connect and Power On:
- Reconnect the printer to the power source and turn it on.
13. Run Printhead Alignment:
- After replacing the printhead, it's advisable to run the printhead alignment process. This helps ensure optimal print quality.
14. Print a Test Page:
- Print a test page to check if the new printhead has resolved the print quality issues. Follow the instructions provided with your printer for test page printing.
15. Dispose of the Old Printhead:
- If your new printhead came with a return shipping label for the old one, follow the instructions for returning or recycling the old printhead.
Important Tips:
- Compatibility: Ensure that the replacement printhead is compatible with your specific HP printer model.
- Follow the Manual: Always refer to your printer's user manual for model-specific instructions on printhead replacement.
- Handling: Handle the printhead and cartridges with care to avoid damage.
- Professional Assistance: If you are unsure about the replacement process, consider seeking professional assistance or contacting HP customer support.
Replacing the printhead can significantly improve print quality, and it's a standard maintenance task for inkjet printers that encounter persistent issues.
Common Issues with HP Printer Printheads
Understanding Printhead Problems in HP Printers
Printhead issues in HP printers can manifest in various ways, including clogged nozzles, poor print quality, and error messages related to the printhead. These issues can arise due to a range of factors, from dried ink clogging the nozzles to physical damage to the printhead assembly.
Effects of Printhead Issues on Print Quality
Printhead issues directly impact the print quality, leading to streaks, faded colors, or even complete absence of certain colors in the printed output. Addressing these problems is crucial to maintain professional-looking documents and images.
There are several common printhead issues that can impact print quality. One of the most common issues is clogged nozzles, which can lead to streaks or banding in the printed output. This can be caused by dried ink or debris blocking the nozzles.
Causes of Clogged Printheads in HP Inkjet Printers
Dried ink or debris blocking the nozzles is a common issue in inkjet printers. Here's an explanation of how this occurs:
1. Ink Evaporation:
- As time passes, and especially if a printer is not used often, the ink within the printhead nozzles may begin to evaporate. When the ink evaporates, it creates a residue that can dry up and become solid, leading to obstructions in the nozzles.
2. Dried Ink Accumulation:
- If the printer is left unused for an extended period, the ink residue in the nozzles can accumulate and form thicker deposits. These deposits can clog the small openings through which the ink is supposed to be sprayed onto the paper.
3. Dust and Debris:
- Dust and other airborne particles can settle on the printhead over time. When combined with the dried ink, this debris can create a sticky mixture that further obstructs the nozzles.
4. Incomplete Cleaning Cycles:
- Some printers perform automatic cleaning cycles to prevent nozzle blockages. However, if these cycles are not completed successfully or if the printer is turned off before the cleaning process is finished, it can contribute to dried ink accumulation.
5. Use of Low-Quality or Expired Ink:
- The quality of ink used in the printer can also play a role. Low-quality or expired ink may have a higher tendency to dry and form deposits in the nozzles.
6. Incorrect Storage Conditions:
- Storing a printer in an environment with extreme temperature or humidity fluctuations can accelerate the drying process of ink. Incorrect storage conditions can lead to quicker evaporation and drying of ink in the nozzles.
Notable Symptoms of a Failing Printhead in HP Printers
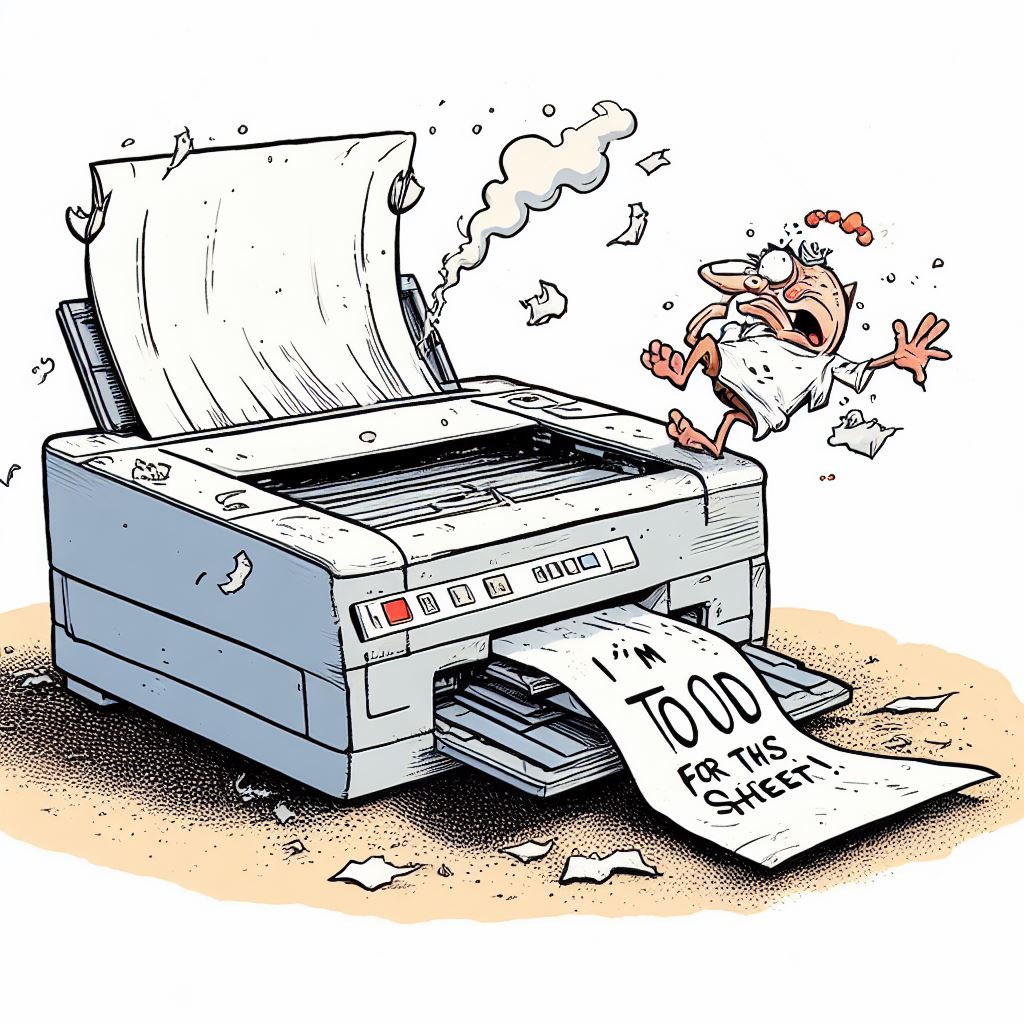
A failing printhead in HP printers can manifest through several notable symptoms, indicating that there might be issues affecting the print quality and overall performance. Here are some common symptoms to watch for:
-
Streaks or Lines on Prints:
- One of the primary indicators of a failing printhead is the appearance of streaks, lines, or bands on printed pages. These imperfections are often caused by clogged or partially blocked nozzles in the printhead.
-
Incomplete or Missing Colors:
- A failing printhead may lead to incomplete or missing colors in the printed output. Some sections of the document or image may not be properly filled with ink, resulting in uneven and distorted prints.
-
Poor Print Quality:
- Gradual deterioration in print quality, such as fuzzy text, blurry images, or faded prints, can be a sign of a failing printhead. The printer may struggle to reproduce the sharp and vibrant output it once produced.
-
Ink Smudges or Blotches:
- If the printhead is not dispensing ink evenly, it can result in smudges, blotches, or uneven ink distribution on the paper. This symptom can be a clear indication of a malfunctioning printhead.
-
Error Messages or Warnings:
- HP printers often provide error messages or warnings on the control panel or through software interfaces when an issue with the printhead is detected. Messages may include alerts about printhead problems, such as “Printhead Problem” or “Ink System Failure.”
-
Nozzle Check Patterns:
- Most HP printers offer a nozzle check or diagnostic test that allows users to assess the condition of the printhead. If the printed nozzle check pattern shows irregularities, such as missing lines or colors, it indicates a problem with the printhead.
-
Unusual Sounds during Printing:
- Unusual noises, such as grinding, clicking, or squeaking sounds during the printing process, can suggest mechanical issues with the printhead assembly. These sounds may indicate misalignment or damage to the printhead components.
-
Repeated Printhead Cleaning:
- If the printer frequently prompts for printhead cleaning and the issue persists despite multiple cleaning attempts, it could signal a more significant problem with the printhead.
-
Print Jobs Taking Longer:
- A failing printhead may result in slower print speeds as the printer struggles to deliver consistent and accurate prints. Longer printing times can be an indication of printhead-related issues.
-
Ink Leaks or Drips:
- Physical signs of ink leaks or drips around the printhead area can be indicative of a failing printhead. Leaks may result from damaged components or internal malfunctions.
Best Practices to Maintain HP Printer Printheads
Importance of Regular Printhead Cleanings for HP Printers
Regular printhead cleanings are essential to prevent and address printhead issues. HP advises implementing a maintenance schedule that includes periodic printhead cleanings to uphold print quality and prolong the lifespan of the printer.
Utilizing Lint-Free Cloth and Distilled Water for Printhead Maintenance
When cleaning printheads, using lint-free cloth and distilled water is recommended to avoid leaving debris or residues that could further compromise printhead functionality. These materials ensure thorough yet gentle cleaning of the printhead surface.
Optimizing Printhead Performance through Officejet Control Panel
HP Officejet printers provide options in the control panel to optimize printhead performance, such as initiating printhead cleaning cycles or aligning the printhead for consistent and high-quality printing results.
Proper Handling and Installation of New Printheads in HP Printers
When replacing the printhead, proper handling and installation procedures are crucial to prevent damage and ensure compatibility with the printer model. Adhering to HP's guidelines for handling new printheads prevents premature printhead failures.
Preventive Measures to Avoid Common Printhead Errors in HP Inkjet Printers
Besides regular maintenance, HP recommends practices such as using high-quality ink cartridges, keeping the printer in a clean environment, and avoiding prolonged periods of inactivity to minimize the occurrence of printhead errors.
Expert Assistance and Support for HP Printer Printhead Issues
Seeking Help from HP Customer Support for Printhead Problems
For complex printhead issues or persistent errors, contacting HP customer support can provide expert assistance and tailored solutions to address the problem effectively. HP's support team can guide users through advanced troubleshooting steps or arrange for service if required.
Contacting HP for Warranty-Related Printhead Failures
If a printhead failure occurs within the printer's warranty period, contacting HP to report the issue is advisable. This ensures that the defective printhead can be replaced or repaired under the terms of the warranty, minimizing costs for the user.
Utilizing HP Smart App for Diagnosing Printhead Issues
The HP Smart App offers diagnostic tools to identify and troubleshoot printhead issues remotely. Users can leverage this app to run diagnostic tests, receive maintenance alerts, and access helpful resources for resolving printhead problems.

I'm Morgan, the creator of VPNForMe — a site born from too many hours spent side-eyeing sketchy VPN reviews and buffering videos.
I wanted a place where people could get straight answers about privacy, streaming access, and which VPNs actually deliver — without the hype or tech jargon.