
Using the Test Page function is a useful method to test the printer-computer interface. This test can be applied to all operating systems including Mac. The steps in using Print test page on Mac are fairly easy to follow. Pay attention to the instructions below to print a test page.
What to do Before You Print Test Page on Mac
Before you test your printer, there are things to check as follows:
- First of all, check whether the printer is connected to the computer.
- Make sure your printer is powered on.
- Check for red or amber lights on the printer's LEDs, as well as notification for error on the LCD display.
Keep in mind that you can adjust the print color by changing its settings until you begin the test print page. You may print a test sheet in black and white or color, and you can also calibrate the thickness of your prints. Remember to use the proper paper size and type for the test print. If the examination finds a specific issue, fix it right away.
How to Print a Test Page on a Mac PC
Printing a test page on Mac computers require some simple steps as follows.
- Go to System Preferences from the main menu.
- Choose Printers & Scanners.
- Your printers' names should appear in the printer list. Click on the name of the printer to be checked.
- Confirm that the print queue is empty.
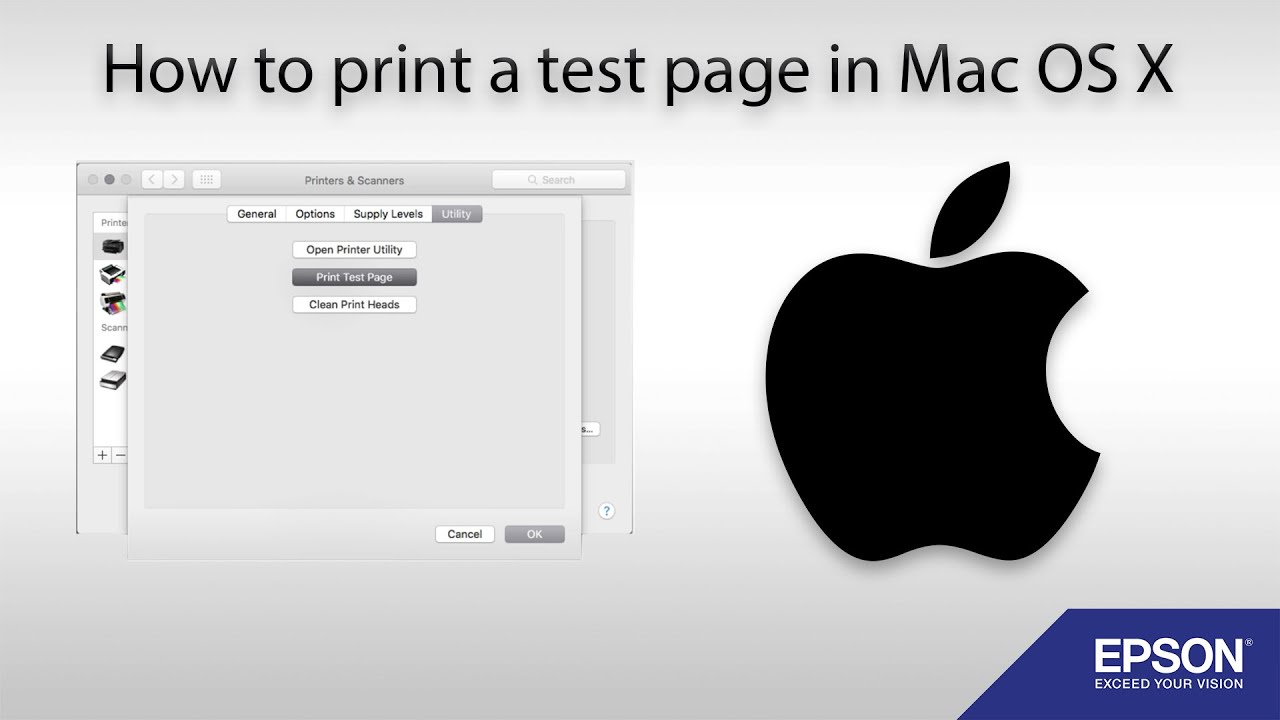
- Select Options & Supplies.
- A new window will appear; choose the Utility option. You are required to install the CUPS printer driver if you cannot find the utilities tab or the print test page.
- Load a sheet of plain A4 paper into the printer's sheet feeder / paper cassette.
- Select Print Test Page.
- If sections of the text on the Test Page are missing or the print quality is poor, head cleaning may be necessary.
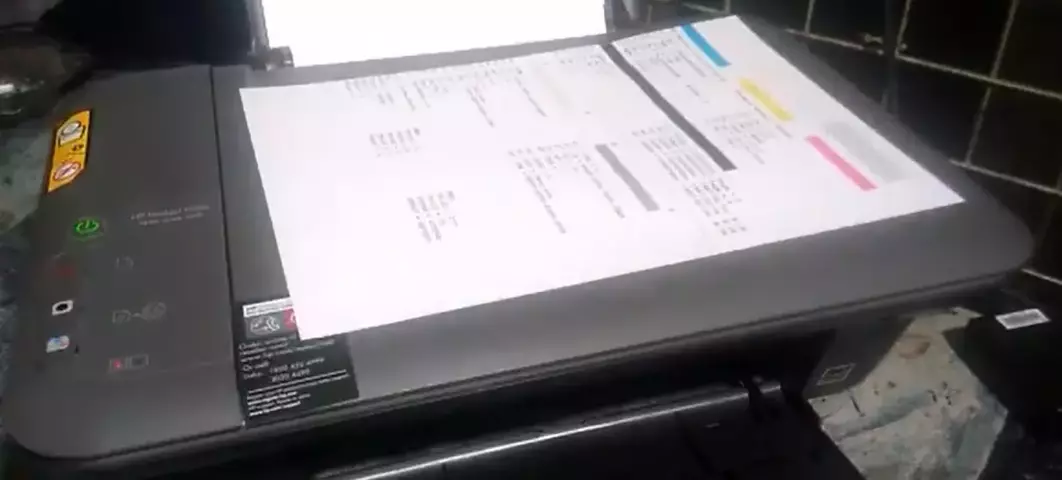
- The page will show you result of the test.
[irp posts=”6099″ ]
Why Printing a Test Page is Important
Printing a test page every few days might help keep your printer in good working order. It's especially important for devices that haven't been utilized in a long time.
Identifies Printing Issues

A printer test page will reveal and highlight potential factors for why the device stopped printing. It can detect blocked print heads and alignment issues, as well as aid with color reproduction. By recognizing a problem with this test, you may remedy it quicker and prevent it from worsening.
When you perform a test, the page will display any potential printing issues. Prints with streaks and blurs, as well as missing colors or no prints at all, are examples. Epson, Canon, and HP Printer Ink, for example, are resistant to fading, smearing, smudging and bleeding. You can rapidly choose the correct troubleshooting strategy to repair the problem after recognizing it through the test print.
Helps Ink Flows Properly
Conducting a test page on your printer also improves ink flow. If your printer is left idle for a prolonged amount of time, the print head may become blocked. Ink inside cartridges and carriages can also dry out, causing blockages or uneven ink flow.
Show Ink Levels
Toner or ink levels are also included on a printer test page. If it indicates low levels, you can change them or spend them up to the last drop.
[irp posts=”6105″ ]
Test Printer Issues and Their Solution
After printing your test sheet, look for any breaks in the pattern to identify any urgent issues. It's critical to know how to solve a problem after you have found it from the print test page.
Breaks in colors or text
If the test page displays color or text breaks, the printhead is most likely clogged. Clean the printheads with the Printhead Cleaning Cycle. The printhead cleaning cycle may be found in the printer's menu settings or in the devices and settings area on your computer.
When you finish a Printhead Cleaning Cycle, such as the printer's test page, try to print a lot of pages to get rid of any dried ink or anomalies in the cartridge. Obviously, each manufacturer has their own method of performing printhead cleaning cycles. So, read the manual of your printer brand to learn how to run a printhead clean.
Spotty or light printing
Clogged printheads and low ink cartridges are two possible reasons of this issue. If your Printhead Cleaning Cycle does not help improve print quality, it may be time to change your ink cartridges. As mentioned above, your cartridges could simply be running low or even empty. As previously said, your cartridges might just be empty or low.
Misaligned bars or grids
It might be due to ink cartridge misalignment. Remove the ink cartridges and reinstall them on your device to solve the issue. The ink cartridges must be free of any impediments, such as dried ink or paper jams. Refer to the manual on how to remove the ink cartridges in a proper way.
[irp posts=”6941″ ]
Print Test Page does not print
This might be due to a mechanical problem with the printer. If there is a mechanical problem with the printer, the test page may not print. Examine the printer for paper jams, wiring connections, ink cartridge installation, and printer updates.
Check that the wire is correctly connected, that the ink cartridge is properly placed, that there is no paper jam, and that your printer is updated to the latest version. After you make sure that everything is working properly, try to print test page again.
A test page is one of several useful techniques to monitor and gauge a printer's performance on your Mac computer. Print Test Page on Mac also checks to see if your printer and computer are in sync with each other. The test may diagnose numerous components of your printer, repair malfunctions, and resolve ink cartridge issues. It may also be used as part of an overall printer maintenance strategy that you might utilize on a regular basis.

I'm Morgan, the creator of VPNForMe — a site born from too many hours spent side-eyeing sketchy VPN reviews and buffering videos.
I wanted a place where people could get straight answers about privacy, streaming access, and which VPNs actually deliver — without the hype or tech jargon.