Having trouble with your printer not printing in colour? Don't worry, we have some simple solutions to help you fix the issue and get vibrant prints again. Let's explore the common reasons why your printer is not printing in colour and troubleshoot them.
Key Takeaways:
- Check the printer color settings and ensure it is set to print in color.
- Replace ink/toner cartridges if they are low or empty.
- Clean the print heads to remove any clogs and ensure smooth ink flow.
- Reset the printer to default settings if necessary.
- Update or re-download the printer driver for optimal performance.
Common Reasons for Printer Not Printing in Colour
When your printer fails to produce color prints, there could be several underlying causes that need troubleshooting. Understanding these common factors will help you identify the specific problem and find an appropriate solution.
Incorrect Printer Settings
Incorrect printer settings can prevent your printer from printing in color. Make sure to check the print settings on your computer and ensure that the color option is selected. You can usually access these settings by going to the “Print” dialog box and adjusting the color preferences.
Ink/Toner Cartridges
Depleted ink or toner cartridges can also result in black-and-white prints. Check the ink or toner levels on your printer and replace any cartridges that are low or empty. Remember to use compatible cartridges for your specific printer model.
Clogged Print Heads
Clogged print heads can lead to inconsistent or no color output. Print heads may become clogged with dried ink or debris over time. You can often find a print head cleaning option in your printer's settings or maintenance menu. Running a print head cleaning cycle can help clear any obstructions and improve color quality.
Printer Driver Failures
Outdated or corrupted printer drivers can also cause your printer to stop printing in color. Ensure that you have the latest drivers installed for your printer model. You can usually find and download the drivers from the manufacturer's website. If the issue persists, try uninstalling and reinstalling the printer drivers to resolve any potential conflicts.
By addressing these common issues – printer settings, ink/toner cartridges, clogged print heads, and printer driver failures – you can take the necessary steps to troubleshoot and fix your printer's color printing problem.
Please note: The table is not part of Section 2
Troubleshooting Steps for Printer Not Printing in Colour
If you're facing the frustrating issue of your printer not printing in colour, don't worry! There are some simple troubleshooting steps you can follow to resolve the problem. By checking printer color settings, replacing ink/toner cartridges, inspecting printer nozzles, cleaning print heads, resetting the printer, updating printer drivers, and performing a test print, you can get your printer back to producing vibrant and accurate coloured prints.
Check Printer Color Settings
The first step is to ensure that your printer's color settings are correctly configured. Check the settings menu on your printer or computer and make sure that the color option is selected.
Replace Ink/Toner Cartridges
If your printer's ink or toner cartridges are low or empty, it can impact color printing. Replace the cartridges with new ones that are compatible with your printer model to restore optimal color quality.
Check Printer Nozzles
Printer nozzles can sometimes become clogged, leading to poor color output. Check your printer's user manual for instructions on how to clean the nozzles or use the automatic cleaning function available in some printers.
Clean Print Heads
Print heads can accumulate dried ink or debris over time, affecting color printing. Use the printer's cleaning function or manually clean the print heads using a lint-free cloth and gentle cleaning solution recommended by the printer manufacturer.
Reset Printer
In some cases, resetting the printer to its default settings can resolve color printing issues. Refer to your printer's user manual for instructions on how to perform a reset.
Update Printer Driver
An outdated or corrupted printer driver can cause various printing problems, including color issues. Visit the printer manufacturer's website to check for any available updates or reinstall the driver to ensure compatibility and functionality.
Perform Test Print
Once you have gone through the troubleshooting steps mentioned above, perform a test print to check if the issue has been resolved. Choose a document or image with various colors to verify that the printer is now printing in full color accurately.
By carefully following these troubleshooting steps, you should be able to fix the printer not printing in color issue. However, if the problem persists or if you're unsure about any of the steps, it's recommended to consult the printer's manual or seek professional technical support for further assistance.
Dirty or Misaligned Printheads
When your printer starts producing blank or white areas on your prints, it could be due to dirty or clogged printheads. To check if this is the issue, you can print a test page or perform a nozzle check. If the sample does not print correctly, it's likely that the printheads need to be cleaned.
Dirty printheads can hamper the smooth flow of ink, resulting in incomplete or missing portions on your prints. To clean the printheads, you can use the printer's software or refer to the manufacturer's instructions. Ensure that the cleaning process is followed correctly to avoid any damage to the printheads.
In addition to dirty printheads, misaligned printheads can also cause printing problems. Misaligned printheads may result in blurry or distorted prints. To align the printheads, you can use the printer software or access the printer's control panel. Follow the provided instructions to align the printheads properly for optimal printing quality.
By keeping your printheads clean and aligned, you can ensure that your printer produces high-quality prints with vibrant colors. Regular maintenance and proper care will extend the lifespan of your printheads and enhance the overall printing experience.
Print Test Page Instructions:
- Open the printer software or access the printer's control panel.
- Navigate to the “Print” or “Maintenance” section.
- Select the option to print a test page or nozzle check.
- Follow the on-screen instructions and allow the printer to complete the test page.
- Inspect the test page for any missing or distorted areas.
Cleaning Printheads:
- Refer to the printer's user manual for specific instructions on cleaning the printheads.
- Most printers have a built-in cleaning utility that can be accessed through the printer software or control panel.
- Follow the step-by-step instructions provided by the printer software or control panel to initiate the printhead cleaning process.
- Allow the printer to complete the cleaning cycle.
- Print a test page or perform a nozzle check to verify if the cleaning process resolved the issue.
Printer Settings and Color Profiles
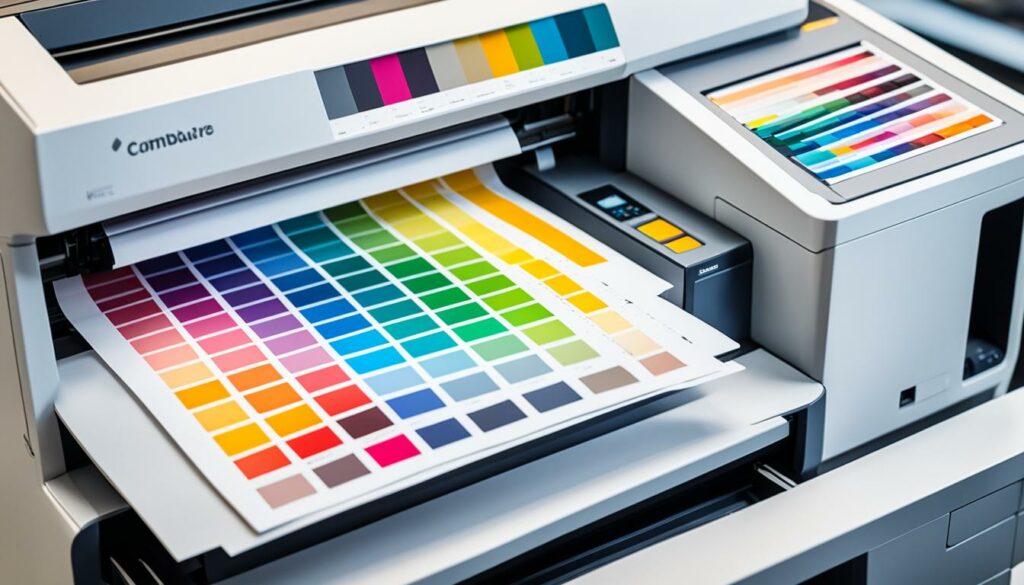
When your printer is not printing in color, one of the common culprits might be incorrect printer settings. Ensure that you have selected the color option in the print settings to enable color printing. This simple step can quickly resolve the issue and restore vibrant prints.
Another crucial aspect to consider is using the correct color profile. Different printers and paper types require specific color profiles to achieve accurate and vibrant prints. Take the time to find the appropriate color profile for your printer and materials, ensuring optimal results.
Furthermore, it is essential to set the print quality correctly. Adjusting the print quality settings can significantly impact the final output. Higher print quality settings often produce sharper and more vibrant prints, but it may also increase the printing time and consume more ink or toner.
To enhance the printing experience, it is recommended to enable two-way communication between your computer and printer. This feature allows the printer to communicate important information regarding ink levels, print errors, and other relevant alerts. Enabling two-way communication ensures that you stay updated on your printer's status, helping you address issues promptly.
Another factor that affects print quality is the alignment between the paper type and print settings. Some printers have specific settings for different paper types, such as glossy or matte. Ensuring that you choose the appropriate paper type in the print settings will help optimize the print quality and prevent potential issues.
“Using the correct color option, profile, print quality, two-way communication, and matching the paper type are all crucial steps to ensure accurate and vibrant prints.”
Considering these important aspects when dealing with your printer's color printing problems can help you achieve the desired results. By selecting the right color option, utilizing the correct color profile, setting the print quality correctly, enabling two-way communication, and matching the paper type, you can enhance the print quality and enjoy vibrant, professional-looking prints.
Next, let's take a closer look at depleted ink cartridges and how they can impact your printer's color printing capabilities.
Depleted Ink Cartridges
If you're experiencing issues with your printer not printing in color, one possible culprit could be low ink levels in your cartridges. When the ink levels are low or empty, it can affect the overall print quality.
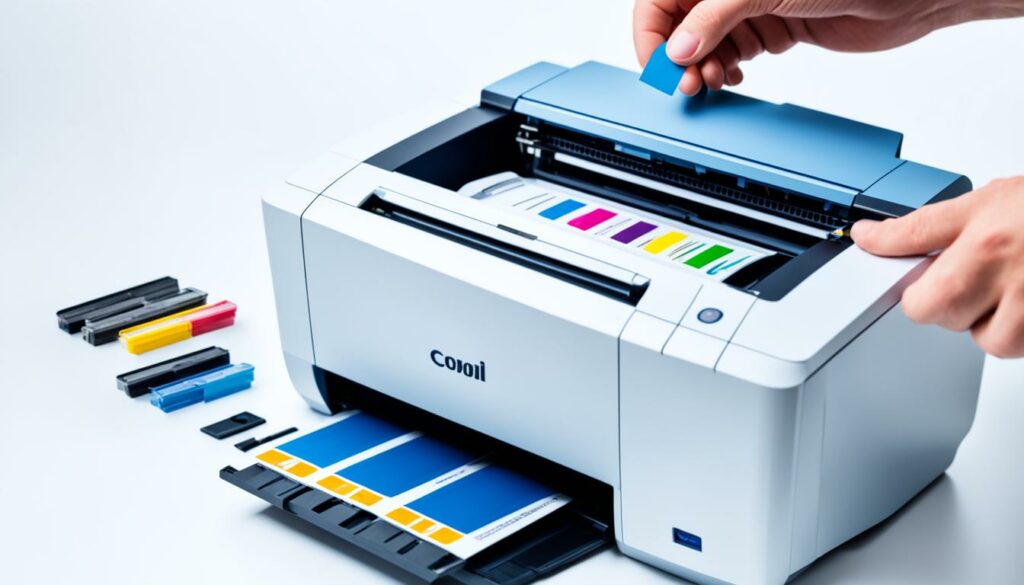
To address this issue, start by checking the ink levels of your printer cartridges. Most printers have an ink level monitoring system that allows you to check the status of your ink cartridges. If the ink levels are low or empty, it's time to replace the cartridges.
When replacing ink cartridges, it's important to ensure compatibility with your specific printer model. Not all cartridges are compatible with all printers, so be sure to check the manufacturer's recommendations and specifications. Using cartridges that are not compatible can lead to printing issues and potentially damage your printer.
Once you have replaced the cartridges, allow some time for the ink to dry after printing. The drying time can vary depending on the type of ink and paper used. Remember that colors may appear slightly different while the ink sets, so don't be alarmed if the printed colors don't exactly match what you see on your screen.
Quick Tips:
- Check ink levels regularly and replace cartridges when needed.
- Ensure compatibility by using cartridges recommended for your printer model.
- Allow sufficient time for ink to dry after printing.
- Keep in mind that printed colors may differ from screen colors.
By following these tips and regularly maintaining your ink cartridges, you can improve the print quality and ensure that your printer produces vibrant and accurate colors.
Conclusion
Experiencing issues with your printer not printing in color can be frustrating, but there are simple troubleshooting tips that can help you resolve the problem and regain vibrant prints.
If the problem persists even after following these tips, it may be best to seek professional technical support for further assistance. They can provide specialized knowledge and guidance to address the specific issues you are facing.
Remember to always ensure that your printer settings are correctly configured, maintain an adequate supply of ink cartridges, regularly clean and align the printheads, and use the appropriate color profiles for optimal results. By following these practices, you can overcome common color printing problems and enjoy high-quality prints.
Source Links
- https://trueimagetech.com/blogs/all/printer-not-printing-in-color
- https://h30434.www3.hp.com/t5/Printer-Ink-Cartridges-Print-Quality/Why-is-my-printer-not-printing-in-color/td-p/1464189
- https://www.webcartridge.co.uk/blog/why-doesn-t-my-printer-print-colours-properly

I'm Morgan, the creator of VPNForMe — a site born from too many hours spent side-eyeing sketchy VPN reviews and buffering videos.
I wanted a place where people could get straight answers about privacy, streaming access, and which VPNs actually deliver — without the hype or tech jargon.

