If you're experiencing the frustrating issue of your printer not printing black ink, you're not alone. Many printer users encounter this problem, but there are steps you can take to resolve it. In this article, we will provide you with step-by-step troubleshooting tips and solutions to help you fix this common issue and get your printer back to producing clear prints.
Key Takeaways:
- Check your ink cartridges for low or empty levels and replace them if necessary.
- Clean the printhead to remove any clogs that may be affecting print quality.
- Run the printer troubleshooter on your computer to diagnose and fix any software-related issues.
- Make sure you have the latest printer drivers installed and consider reinstalling them if needed.
- If all else fails, seek assistance from a printer expert or consider replacing your printer.
Basic Troubleshooting Steps
Before diving into more specific troubleshooting steps, let's start with some basic measures to resolve common printer issues. These steps can help you get your printer back up and running smoothly.
1. Power Cycle Your Printer
To resolve most printer problems, try performing a power cycle. Start by turning off your printer and unplugging it from the power source. Additionally, disconnect any USB cables or other peripherals that may be connected. Leave the printer unplugged for a few minutes to ensure it fully resets. Then, plug it back in and power it on. This simple step can often resolve minor glitches and restore your printer's functionality.
2. Print a Test Page or Diagnostic Report
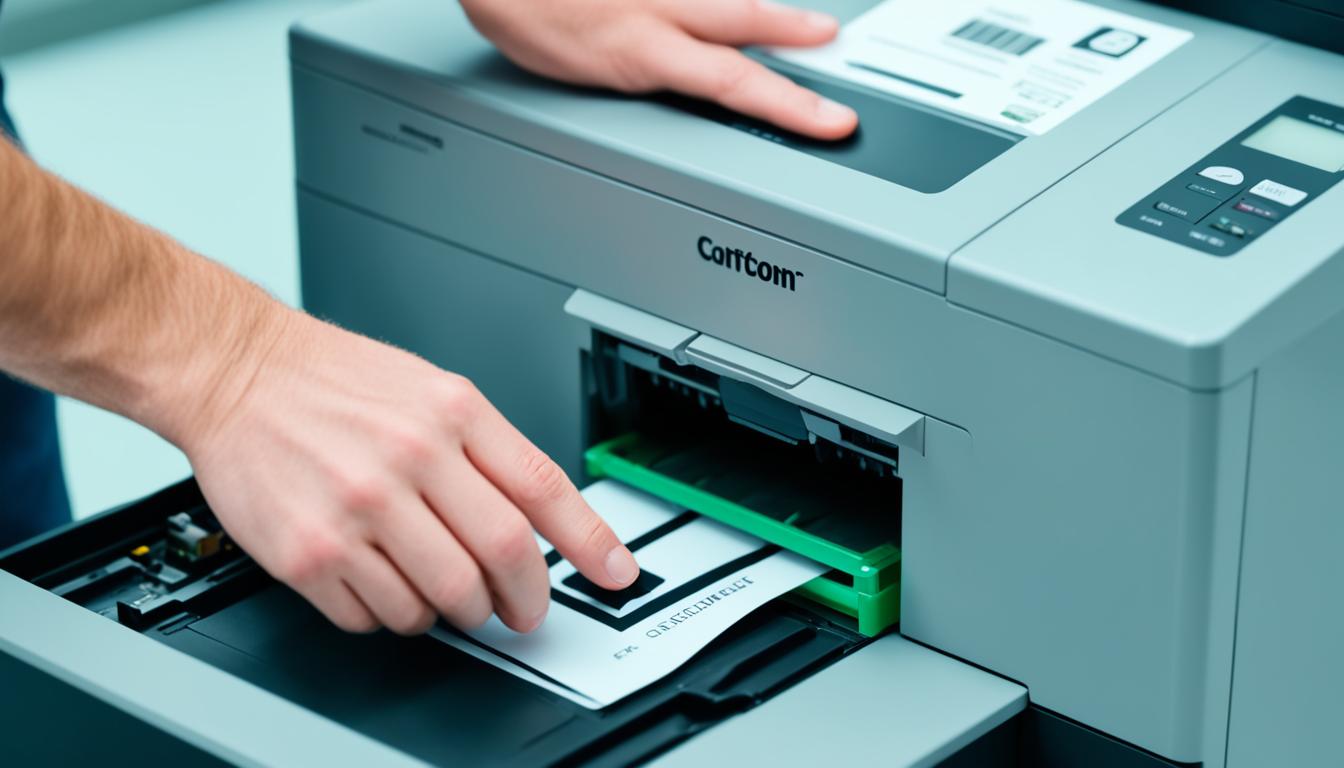
Printing a test page or diagnostic report can help identify underlying issues with your printer. It can provide insights into the performance of the ink cartridges or printhead. To do this, access your printer's settings menu or control panel and look for the option to print a test page or diagnostic report. Follow the on-screen prompts to initiate the process. By examining the printed page, you can determine if the lack of black ink is a result of a hardware problem.
To print a test page, follow these steps:
- Access your printer's settings menu or control panel.
- Locate the option to print a test page or demo page.
- Select the appropriate command and wait for the printer to complete the task.
The test page will typically include various colors and text patterns. Check if there's a noticeable absence or inconsistency in the black portions of the page. If the black ink appears faded, streaky, or doesn't show up at all, it's a sign of an issue that needs troubleshooting.

Remember, these basic troubleshooting steps are the starting point for addressing printer issues. If the problem persists, we'll cover more specific troubleshooting steps in the following sections.
Checking the Ink Cartridges
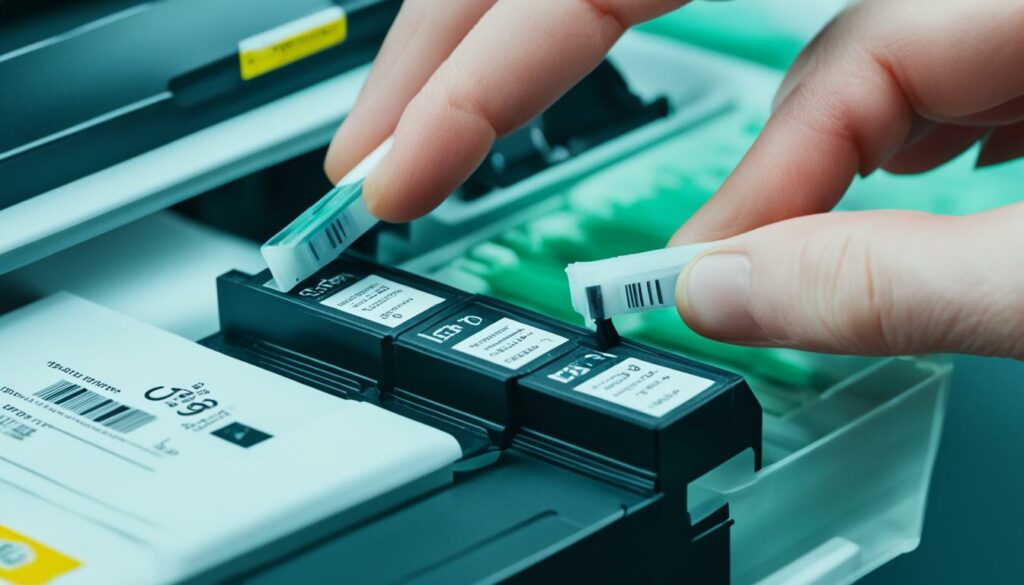
If your printer is not printing black, one possible reason could be low or empty ink cartridges. It's important to check the ink levels and replace any cartridges that are low on ink or completely empty. Make sure to properly install the cartridges and ensure they are securely snapped into place.
If you've installed a new cartridge, always remember to remove any tape covering the vent. This tape protects the cartridge during transport and storage but must be removed before use.
If you notice that the cartridge vents are clogged, you can gently clean them using a pin. Carefully insert the pin into the vent to clear any debris or dried ink that may be blocking the flow. However, exercise caution to prevent any damage to the cartridge or yourself.
Another troubleshooting step to consider is trying a different ink cartridge. This will help determine if the printer can recognize and work with cartridges properly. If the printer prints black with a different cartridge, it suggests that the issue lies with the cartridges rather than the printhead.
Remember, maintaining good ink cartridge health is essential for optimal printing performance. Regularly checking ink levels, replacing empty cartridges, and cleaning cartridge vents can help ensure your printer produces high-quality prints.
| Common Printer Troubleshooting Steps |
|---|
| Power cycle your printer by turning it off, unplugging it from the power source, and disconnecting USB cables. After a few moments, reconnect and power on the printer. |
| Print a quality diagnostic report or a print test page to assess the printer's overall performance and identify any specific issues. |
| Check ink levels and replace any low or empty ink cartridges. |
| Clean cartridge vents using a pin to clear any clogs or obstructions. |
| Try using a different ink cartridge to determine if the issue lies with the cartridges or the printhead. |
| Run the automatic printhead cleaning function to clear any clogs or blockages. If necessary, perform a manual printhead cleaning using a damp paper towel. |
| Ensure that you have the latest printer drivers installed and consider reinstalling them if necessary. |
| If all else fails, seek assistance from a printer expert or consider replacing your printer. |

Cleaning the Printhead
The printhead is a vital component responsible for transferring ink onto the page. Over time, clogs can develop in the printhead nozzles, resulting in faded or streaky prints. To address this problem, there are several steps you can take.
If your printer offers an automatic printhead cleaning function, navigate to the maintenance menu and run the automatic cleaning. This feature is available on most printers and can effectively clear minor clogs and improve print quality.
In cases where the automatic cleaning does not resolve the issue, you can try manually cleaning the printhead using the paper towel method. Begin by dampening a paper towel with warm water. Gently wipe the printhead using the dampened towel, being careful not to apply excessive pressure. This technique helps remove any stubborn clogs that the automatic cleaning might have missed.
Additionally, another troubleshooting step to consider is realigning the printhead. This can help ensure optimal print quality and improve the overall performance of your printer.

Expert Tip:
If you're unsure about performing manual printhead cleaning or printhead realignment, consult your printer's user manual or contact the manufacturer's customer support for guidance. They can provide specific instructions tailored to your printer model.
Regular maintenance, including periodic printhead cleaning, is essential to keep your printer functioning optimally and producing high-quality prints. By incorporating these cleaning techniques into your printer's care routine, you can ensure consistent and crisp print results.
Troubleshooting Software and Printer Driver Problems
If you're still experiencing issues with your printer and it's not related to the ink cartridges or printhead, it's possible that you're dealing with a software or printer driver problem. Don't worry, there are some steps you can take to resolve these issues and get your printer back up and running.
The first step is to run the printer troubleshooter on your computer. This handy tool can diagnose the problem and automatically attempt to fix any printing issues. It's a quick and easy way to troubleshoot common software-related problems and get your printer back on track.
Next, make sure that you have the latest printer drivers installed. Printer drivers are software applications that allow your computer to communicate with your printer. Sometimes, outdated or incompatible drivers can cause printing problems. Check the manufacturer's website for the most up-to-date drivers, and consider uninstalling and reinstalling them if necessary.
If you've recently updated your operating system, it may be necessary to reconfigure your printer. Try uninstalling and reinstalling the printer driver to ensure compatibility with the new operating system. This step can often resolve any software conflicts and allow your printer to function properly.
If you've tried all of these troubleshooting steps and you're still unable to resolve the issue, it may be time to seek assistance from a printer expert. They can provide more advanced troubleshooting techniques or recommend a replacement printer if necessary.
Source Links
- https://www.tonerbuzz.com/blog/printer-wont-print-black/
- https://www.ldproducts.com/blog/printer-wont-print-black-what-to-do/
- https://www.ifixit.com/Answers/View/255068/Full cartridge but ink not printing.

I'm Morgan, the creator of VPNForMe — a site born from too many hours spent side-eyeing sketchy VPN reviews and buffering videos.
I wanted a place where people could get straight answers about privacy, streaming access, and which VPNs actually deliver — without the hype or tech jargon.

