Struggling with printer setup? Don't worry, we've got you covered. Finding the right printer driver is crucial for seamless printing. With our easy-to-follow methods and resources, you'll be able to identify, install, and troubleshoot printer drivers effortlessly.
Key Takeaways:
- Identifying the correct printer driver is essential for smooth printing.
- Using PowerShell, you can easily identify printer drivers and their locations.
- Copying printer driver files can be done efficiently with PowerShell.
- Installing a printer in Windows is a straightforward process.
- Setting up a default printer in Windows ensures convenience.
How to Identify the Printer Driver Using PowerShell
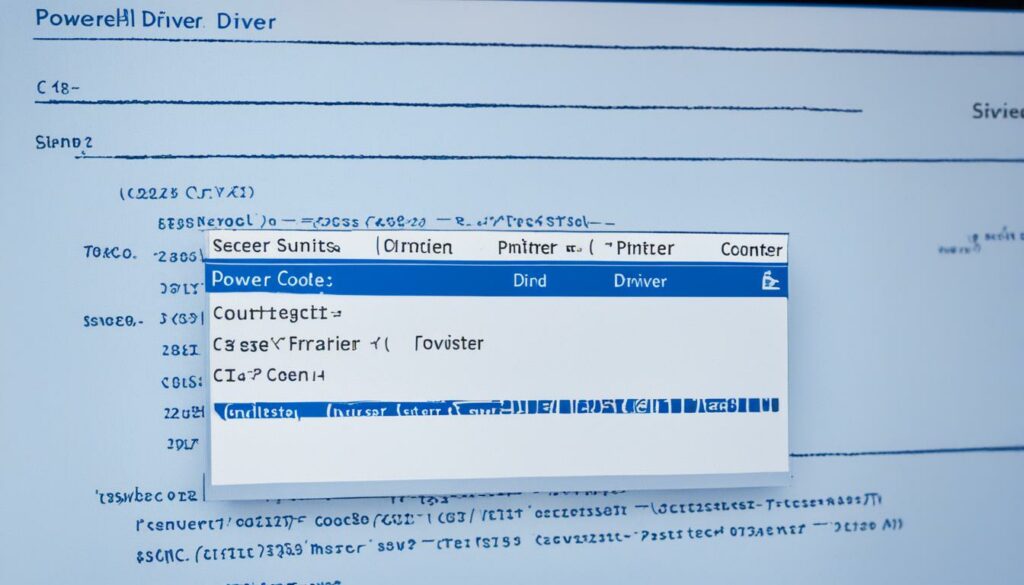
If you're comfortable using PowerShell, you can easily identify the printer driver for your printer. By utilizing specific PowerShell cmdlets, you can quickly retrieve the necessary information. Here's how:
- Run the get-printer cmdlet to list the names of the printers and their corresponding drivers. This will provide you with an overview of the printers installed on your system.
- Locate your printer on the list and note its name.
- Use the printer name to retrieve the driver locations using the get-printerdriver cmdlet. This will give you access to various properties, including the “Path,” “DependentFiles,” and “InfPath” properties. These properties offer insights into the driver files and their locations.
- If you want to obtain a full list of dependent files associated with the printer driver, utilize the select DependentFiles -ExpandProperty DependentFiles command.
By following these steps, you can easily identify the printer driver using PowerShell and gain insights into the driver locations and associated files.
Keep in mind that PowerShell provides powerful capabilities for managing and troubleshooting printers efficiently. For further assistance, explore additional PowerShell cmdlets and consult the relevant documentation.
Copying Printer Driver Files with PowerShell
If you're looking to copy printer driver files and ensure you have a backup, PowerShell can be a valuable tool. By executing a simple script, you'll be able to copy and secure your printer driver files effortlessly. Here's how:
1. Open PowerShell by searching for it in the Start menu or using the “Windows key + X” keyboard shortcut.
2. In the PowerShell console, type the following command to create a new directory for the backup:
mkdir c:\DriverBackup
3. Specify the name of your printer by modifying the script below:
$printerName = 'your_printer_name'
4. Choose the location where you want to store the backup. For example, to back up the driver files to the “c:\DriverBackup” directory, use the command:
$backupLocation = 'c:\DriverBackup\' + $printerName
5. Run the script to create the backup:
Copy-Item -Path ($printerName + ':\*') -Destination $backupLocation -Recurse
This script will copy all the necessary printer driver files to the designated location specified in the $backupLocation variable. The -Recurse parameter ensures that the script copies all dependent files and folders as well.
Example:
Let's say you have a printer named “HP LaserJet P2055” and want to copy its driver files to the “c:\DriverBackup” directory. You'll modify the script as follows:
$printerName = 'HP LaserJet P2055'
$backupLocation = 'c:\DriverBackup\' + $printerName
Running this script will create a backup directory named “HP LaserJet P2055” within the “c:\DriverBackup” folder, and all the necessary driver files will be copied to that location.
By leveraging PowerShell, you can effortlessly copy and back up your printer driver files, ensuring you have them readily available whenever needed.
Installing a Printer in Windows
Installing a printer in Windows is a straightforward process that can be completed in just a few steps. By following these instructions, you'll have your printer up and running in no time.
-
Step 1: Open the Settings app
To begin, locate and open the Settings app on your Windows device. This can be done by clicking on the Start menu and selecting “Settings” from the options.
-
Step 2: Access Printers & Scanners settings
Once you're in the Settings app, scroll down and click on the “Devices” option. In the Devices menu, choose “Printers & scanners” from the list on the left-hand side.
-
Step 3: Add a printer or scanner
Within the Printers & scanners settings, you'll find an option labeled “Add a printer or scanner.” Click on this option to initiate the printer installation process.
-
Step 4: Wait for printer detection
Windows will now search for any available printers connected to your device. This process may take a few moments, so please be patient while it scans for printers.
-
Step 5: Select and add your printer
Once Windows has finished detecting printers, a list of available printers will be displayed. Locate your printer in the list and click on it to select it. Then, click the “Add device” button to add the printer to your Windows device.
-
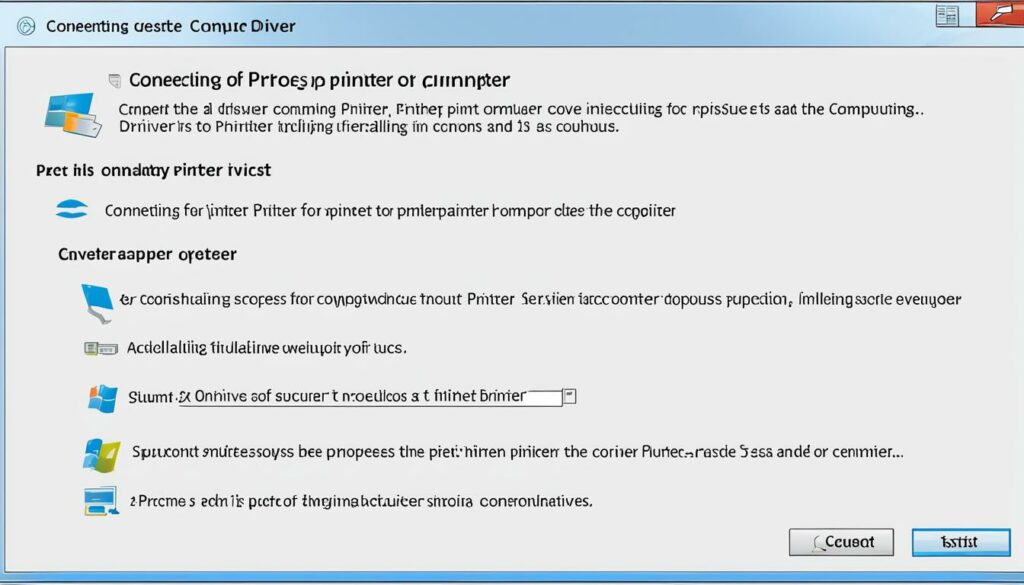
Step 6: Automatic driver installation
Windows will automatically install the necessary printer driver for your device. This might take a few moments as the driver is downloaded and installed.
Once the driver installation is complete, your printer is ready to use. Windows will recognize and configure the printer so that you can start printing without any additional setup.
Installing a printer in Windows is a quick and easy process. Just follow the steps outlined above, and you'll be printing in no time!
Why Install a Printer in Windows?
Setting up a printer in Windows allows you to conveniently print documents, photos, and other materials directly from your computer. It eliminates the need for manual file transfers or connecting to external devices, making the printing process more efficient and streamlining your workflow.
Recommended Printers for Windows
| Printer Model | Features | Price |
|---|---|---|
| HP OfficeJet Pro 9015 | Wireless printing, automatic two-sided printing, smart home connectivity | $229.99 |
| Epson EcoTank ET-4760 | Supertank printer, cartridge-free printing, voice-activated printing | $449.99 |
| Canon PIXMA TR4520 | Wireless printing, automatic document feeder, compatibility with various media types | $99.99 |
| Brother HL-L2380DW | Wireless printing, fast printing speed, mobile printing support | $249.99 |
Setting up a Default Printer in Windows
To ensure a seamless printing experience on your Windows device, it's important to set up a default printer. This allows you to easily print documents without the need to manually select the printer each time.
To set up a default printer in Windows, follow these simple steps:
- Open the Settings app on your Windows device.
- Navigate to the “Devices” section.
- Select “Printers & scanners” from the left-hand menu.
- Locate your printer on the list of available devices.
- Click on your printer and choose “Manage.”
- In the printer management window, toggle on the “Set as default” option.
Once you've completed these steps, your chosen printer will be set as the default for all printing tasks. This means that whenever you hit the print button, Windows will automatically select your default printer, saving you time and effort.
If you need to change your default printer at any time, simply repeat the above steps and select a different printer as the default.
Setting up a default printer in Windows streamlines your printing workflow and ensures that you're always ready to print with just a few clicks.
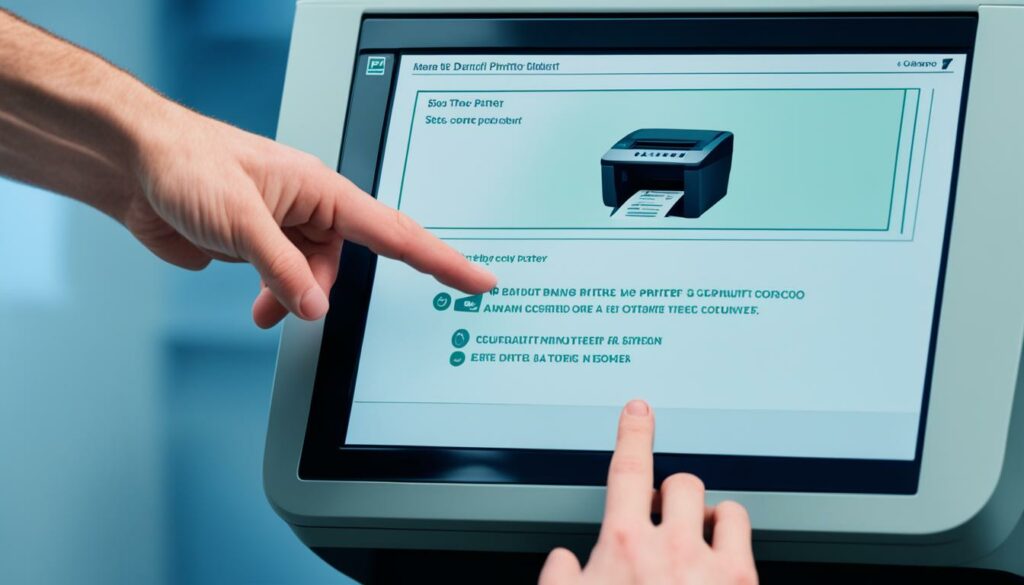
Viewing the Print Queue in Windows
When it comes to managing your print jobs, Windows provides a convenient way to view the print queue and stay up-to-date with the progress of your printing tasks. Whether you need to check the status of pending print jobs or review completed prints, the print queue feature is here to help you. Let's explore the simple steps to view the print queue on your Windows device.
Step 1: Open the Settings app
To begin, locate and open the Settings app on your Windows device. You can access it through the Start menu or press the Windows key + I on your keyboard to open the Settings directly.
Step 2: Navigate to Devices
Once you're in the Settings app, find and select the “Devices” option. It usually appears towards the top of the list and is represented by a printer icon.
Step 3: Choose Printers & Scanners
Within the “Devices” menu, look for the “Printers & Scanners” section. Click on it to access the settings related to your printers and scanners.
Step 4: Find your printer
In the “Printers & Scanners” section, you'll find a list of available printers connected to your Windows device. Locate your printer in the list and click on it to access its specific settings.
Step 5: Select Manage
After selecting your printer, a set of printer options will appear. Look for the “Manage” button and click on it to access the advanced management settings for your printer.
Step 6: View the print queue
Within the printer management window, you'll find various options to interact with your printer. Look for the specific option to view the print queue. This option may be labeled as “View print queue,” “Print queue,” or something similar. Click on it to open the print queue interface.
Once you access the print queue, you'll be able to see all the pending and completed print jobs. The print queue provides useful information such as the document name, status (e.g., printing, held, error), number of pages, and printing progress. You can review the list of print jobs and keep track of their status, making it easier to manage and prioritize your printing tasks.
Remember, the print queue might look different depending on the Windows version you're using, but the general steps for accessing and viewing the print queue should remain the same. Now you have the knowledge to check the print queue in Windows swiftly and effectively.
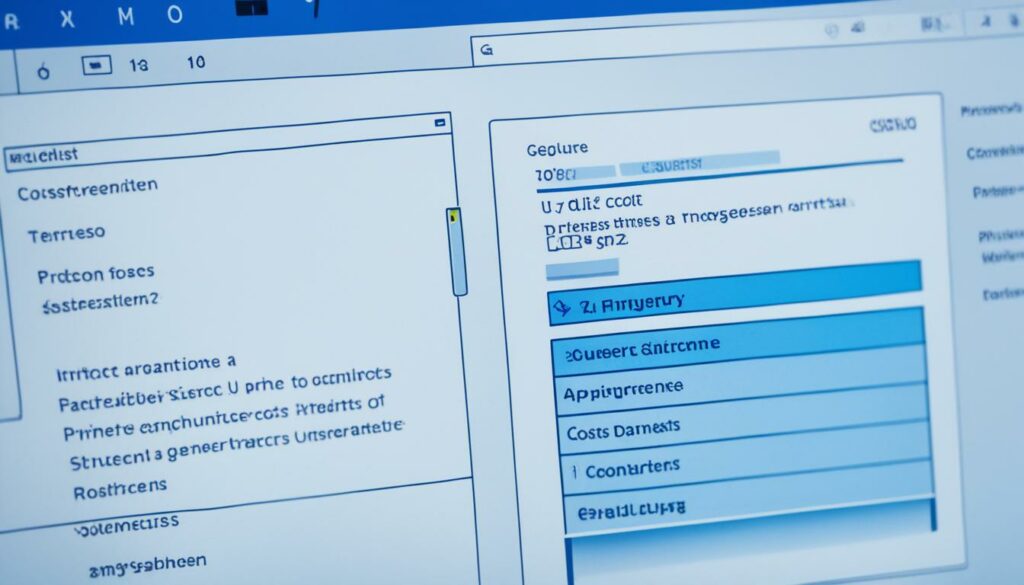
Print Queue Interface
| Document Name | Status | Pages |
|---|---|---|
| Document 1 | Printing | 5 |
| Document 2 | Completed | 3 |
| Document 3 | Error | 1 |
| Document 4 | Pending | 2 |
Troubleshooting Offline Printer Problems
If you're experiencing issues with your printer showing as “offline,” you're not alone. This frustrating problem can disrupt your productivity and cause unnecessary delays. The good news is, there are troubleshooting steps you can take to resolve this issue and bring your printer back online quickly.
When troubleshooting offline printer problems, it's essential to consult the right resources. Windows provides a dedicated support page specifically tailored to this issue, offering step-by-step guidance to help you diagnose and resolve the problem.
One valuable resource is the Troubleshooting offline printer problems page on the official Windows support website. This comprehensive guide walks you through the necessary troubleshooting steps and provides detailed instructions to help you bring your printer back online.
“Having a printer show as offline can be frustrating, but with the right troubleshooting steps, you can get it back up and running in no time. Follow the instructions provided on the Windows support page, and you'll be able to resolve the issue efficiently.”
The troubleshooting guide covers various potential causes of an offline printer, including connectivity issues, printer settings, and driver problems. It offers solutions for different printer models and covers both wired and wireless connections. By following the recommended steps, you can identify and address the specific issue that's causing your printer to appear offline.
Remember to read through the guide carefully, following each step systematically. It's essential to give each solution a try before proceeding to the next one. By methodically working through the troubleshooting process, you can eliminate potential causes of the offline problem and hone in on the correct solution.
Whether it's re-establishing the connection, updating the driver, or resolving compatibility issues, the troubleshooting guide will help you determine the best course of action for your specific situation.
| Possible Causes | Troubleshooting Steps |
|---|---|
| Connectivity issues | Check cables and network connection. Restart your router and printer. Ensure the printer is connected to the correct network. |
| Printer settings | Ensure the printer is set as the default printer. Verify that the printer is not in “Use Printer Offline” mode. Clear any print jobs stuck in the queue. |
| Driver problems | Update the printer driver. Reinstall the printer driver. Ensure the driver is compatible with your operating system. |
Following these troubleshooting steps and implementing the recommended solutions, you'll likely be able to resolve the offline printer problem and resume your printing tasks without further issues.
Keep in mind that if you encounter any difficulties or the issue persists, it's always a good idea to seek additional support from Windows customer service or the printer manufacturer. They can provide personalized assistance based on your specific printer model and configuration.
With the troubleshooting guide and expert support at your disposal, you'll be able to overcome offline printer problems and return to hassle-free printing in no time.

Fixing Printer Connection and Printing Problems in Windows
If you're experiencing printer connectivity or printing problems in Windows, don't fret. The Windows support page titled “Fix printer connection and printing problems in Windows” is here to help. This comprehensive resource offers step-by-step troubleshooting guidance to resolve common issues, ensuring that your printer works seamlessly with your Windows device.
“Fix printer connection and printing problems in Windows” provides detailed solutions and troubleshooting steps for a wide range of printer-related issues. Whether you're facing connectivity issues, print job errors, or printer offline problems, this resource has got you covered. From simple fixes to more advanced troubleshooting, it has solutions for every printing glitch.”
When it comes to printer connectivity issues, the Windows support page provides instructions on how to troubleshoot and resolve connection problems between your computer and printer. From checking cables and connections to troubleshooting wireless connectivity, the step-by-step guide will walk you through the process of identifying and resolving these issues.
If you're encountering printing problems such as print spooler errors or print job stuck in the queue, the support page offers troubleshooting steps to fix these issues as well. It provides guidance on clearing print queues, restarting the print spooler service, and resolving common printing errors.
Additionally, the support page covers various other printer problems you may encounter. From resolving driver conflicts to fixing issues with print quality and paper jams, you'll find detailed instructions and solutions to troubleshoot and resolve these common printer issues.
Remember, it's important to consult the Windows support page for comprehensive troubleshooting guidance tailored specifically for Windows users. With the assistance of this resource, you'll be able to overcome printer connection and printing problems in no time, ensuring a smooth and hassle-free printing experience.

Common Printer Problems and Solutions
| Problem | Solution |
|---|---|
| Printer offline | 1. Check printer connections 2. Restart printer 3. Set printer as default 4. Update printer drivers |
| Print job stuck in queue | 1. Cancel remaining print jobs 2. Restart print spooler service 3. Clear print queue 4. Update printer drivers |
| Poor print quality | 1. Clean printer heads 2. Check ink or toner levels 3. Replace ink cartridges or toner 4. Adjust print settings |
| Driver conflicts | 1. Uninstall conflicting printer drivers 2. Install the correct printer driver 3. Update printer drivers |
Conclusion
Finding the right printer driver may seem daunting, but with the provided methods and resources, it can be a straightforward process. Whether you prefer using PowerShell to identify and copy driver files or rely on the built-in options in Windows, you can easily find and install the appropriate driver for your printer.
Remember to consult the Windows support pages for additional guidance and troubleshooting help if needed. Say goodbye to printer setup struggles and enjoy seamless printing.
Source Links
- https://support.microsoft.com/en-us/windows/download-printer-drivers-in-windows-da9b1460-7299-4cc3-e974-33cf99d86880
- https://superuser.com/questions/1378620/how-to-identify-a-specific-printer-driver-you-are-using-in-windows-10
- https://support.microsoft.com/en-us/windows/how-to-download-and-install-the-latest-printer-drivers-4ff66446-a2ab-b77f-46f4-a6d3fe4bf661

I'm Morgan, the creator of VPNForMe — a site born from too many hours spent side-eyeing sketchy VPN reviews and buffering videos.
I wanted a place where people could get straight answers about privacy, streaming access, and which VPNs actually deliver — without the hype or tech jargon.

