Can you print without bleeding? If you've ever experienced smudged or blurred prints with messy edges, you're not alone. Achieving clean and sharp prints requires attention to detail and the right techniques. In this section, we'll walk you through tips and tricks to ensure your prints come out looking perfect.
Key Takeaways
- Using high-quality paper is essential for clean prints with sharp edges.
- Adjusting print settings can help control ink density and minimize bleeding.
- Bleed-resistant inks can greatly reduce the chance of bleeding and ensure high-quality prints.
- Calibrating your printer and keeping the printer heads clean are important for optimal results.
- Design your prints with bleeding prevention in mind and allow ample drying time for the best results.
Use High-Quality Paper
To achieve sharp and professional prints, it is crucial to use high-quality paper. Opt for paper with a heavier weight and a smooth finish to ensure optimal ink absorption with minimal spreading.
Investing in high-quality paper will not only prevent blotchy prints but also improve print quality. Smooth and heavyweight paper produces prints with crisp, clean edges. When shopping for high-quality paper, pay attention to the paper brightness rating. Higher paper brightness results in brighter, more vibrant prints.
Moreover, opt for paper that is suitable for the type of printer you are using. Some printers work best with specific types of paper or coatings, so be sure to check the printer's manual to ensure the paper you choose is compatible.
When printing, always use high-quality paper for getting a sharp print. In the following section, we will discuss how adjusting print settings can help you further enhance the quality of your prints.
Adjust Print Settings
Printing settings play a critical role in achieving clean prints with sharp edges. To prevent printing bleeding, explore different options for ink density, bleed control, and print quality.
When adjusting print settings, keep in mind the type of paper being used. Thinner paper requires less ink density to prevent bleeding, while thicker paper may need higher density for sharp prints.
Using bleed control settings in your printer can help prevent ink from spreading beyond the borders of the print area. Moreover, adjusting the ink density settings can assist in controlling ink flow and reducing the chances of bleeding.
Some printers come with preset quality settings that significantly impact the printing result. Therefore, ensure to select the options suitable for the paper type and project.
Use Bleed-Resistant Inks
When it comes to preventing bleeding during printing, using the right ink can make all the difference. Bleed-resistant inks are designed specifically to resist spreading and bleeding on different types of paper, resulting in optimal print quality. Choosing the right ink technology can greatly reduce the chances of bleeding and ensure clean edges.

The Benefits of Bleed-Resistant Inks
Not all inks are created equal, and using the right ink technology can significantly improve your printing results. Bleed-resistant inks are formulated to prevent ink from spreading beyond the designated print area, resulting in sharp and precise lines. These inks are especially useful when printing on porous or thin paper, as they minimizes the chance of smudging and bleeding.
| Bleed-Resistant Inks | Regular Inks |
|---|---|
| Resists spreading and bleeding | More likely to bleed and smudge |
| Sharp and precise prints | Blurry and inconsistent lines |
| Ideal for porous and thin paper | Not suitable for all paper types |
When purchasing ink cartridges, look for those specifically labeled as bleed-resistant or designed for use with porous paper types. Not all printers are compatible with all types of ink cartridges, so refer to the printer manual or contact the manufacturer for guidance on which cartridges are suitable for your specific printer model.
By incorporating bleed-resistant inks in your printing process, you can ensure clean and sharp prints every time.
Calibrate Your Printer
Properly calibrating your printer is crucial to ensure optimal color accuracy and minimize bleeding. Calibration adjusts the print settings to match the colors displayed on your screen, resulting in consistent and accurate color reproduction.
Follow your printer's calibration instructions carefully or use third-party calibration tools for precise results. Some printers may have built-in calibration features that automatically adjust the print settings. Third-party calibration tools like X-Rite ColorMunki can offer a more comprehensive calibration process for achieving the best color accuracy and consistency.
Test for Calibration
After calibrating your printer, it's essential to verify the accuracy of the calibration. Print a test sheet with a range of colors to ensure that the printed colors match those displayed on your screen. Adjust the print settings if necessary and reprint until you achieve the desired color accuracy. Remember that calibration should be done regularly, especially when working on critical projects to ensure consistent results.
Clean Your Printer Heads

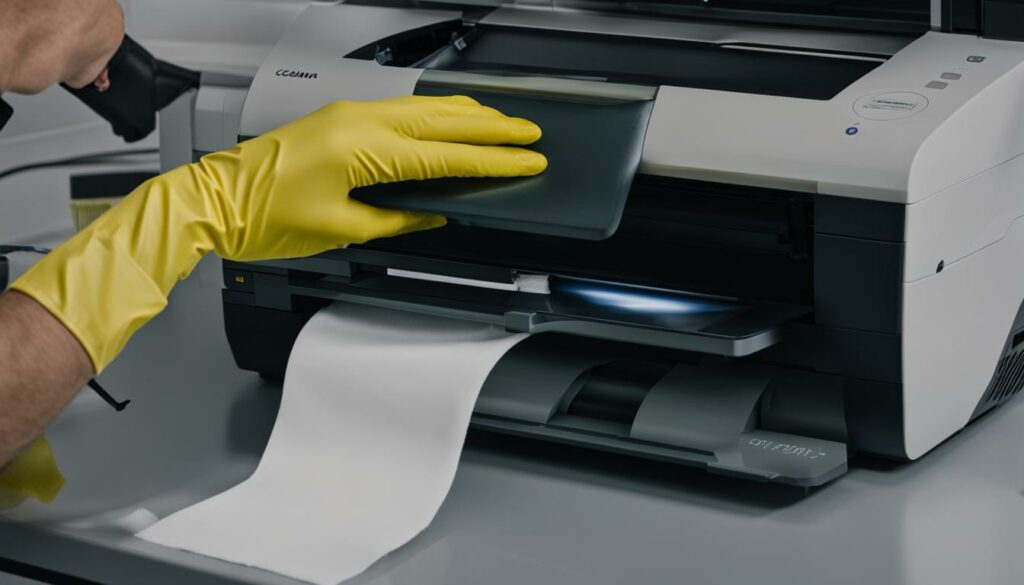
Regularly cleaning your printer heads is crucial in maintaining optimal print quality. Dirty printer heads can cause clogging, resulting in ink flow issues and ultimately increasing the likelihood of bleeding. To prevent this, make sure to clean your printer heads according to the manufacturer's instructions, which can often be found in the printer manual.
Before cleaning your printer heads, it's important to turn off the printer and unplug it from the power source. This will help prevent any electrical damage and ensure your safety during the cleaning process.
You can use either the printer's built-in cleaning cycle or clean the heads manually using a cleaning solution and a lint-free cloth. If you choose to clean the heads manually, be sure to carefully follow the instructions and use only the recommended cleaning solution to avoid any damage to the printer.
By regularly maintaining and cleaning your printer heads, you can ensure smooth ink flow and minimize the chances of bleeding, resulting in clean and professional-looking prints.
Optimize Design for Printing
Optimizing your designs for printing is essential to achieving clean, sharp prints without any bleeding. Here are a few tips to keep in mind:
Keep Important Elements Away from the Edges
Leaving plenty of blank space around the edges of your design reduces the chances of bleeding. Try to keep important elements, such as text or logos, away from the edges to ensure they stay sharp and clear.
Create Properly Outlined Text
When designing text-heavy materials, ensure that all fonts are outlined or embedded to prevent any inconsistencies between printers. Outlining text means converting it into vector shapes, allowing for sharp and consistent edges no matter the output quality of the printer.
Use Bleed Margins When Required
When printing designs with backgrounds or elements that extend to the edge of a page, utilize bleed margins that add an extra safety space around your design. This enables the printer to cut off the excess edge, giving you a smooth and professional edge.
By taking a few design-oriented approaches, printing clean, sharp prints without any bleeding can be further enhanced.

Allow Sufficient Drying Time
After printing, it is important to allow for sufficient drying time to prevent smudging and minimize the chances of bleeding. Depending on the paper type and ink used, drying times may vary. Generally, it is recommended to wait for at least an hour before handling or stacking printed materials.
Ensure proper ventilation in the printing environment to aid the drying process. If possible, try to avoid printing in humid or damp environments as it can slow down the drying time.
Tip: If you are in a rush and need to speed up the drying process, use a hairdryer on a low cool setting. Hold the dryer 6-8 inches away from the paper and move it back and forth until the ink is dry to the touch.

How to Prevent Smudging and Bleeding While Waiting for Drying Time?
While waiting for the ink to dry, take precautions to prevent smudging and bleeding. Avoid stacking papers on top of each other, and handle printed materials with care to prevent any accidental smudging or folding.
“Waiting for the ink to dry can be frustrating, but remember that a little patience goes a long way in ensuring high-quality prints.”
Conclusion
Print quality is an essential aspect of producing professional-looking materials. To achieve sharp, clean prints without any bleeding, it is crucial to follow the right techniques and tips. Using high-quality paper, adjusting print settings, utilizing bleed-resistant inks, calibrating your printer, regularly cleaning the printer heads, optimizing the design for printing, and allowing sufficient drying time are some of the practices that can help you achieve clean and sharp prints. Remember to keep these tips in mind and consistently apply them to your printing process for optimal results. With these practices, you can produce high-quality prints that grab the viewer's attention and create a lasting impression.

I'm Morgan, the creator of VPNForMe — a site born from too many hours spent side-eyeing sketchy VPN reviews and buffering videos.
I wanted a place where people could get straight answers about privacy, streaming access, and which VPNs actually deliver — without the hype or tech jargon.

