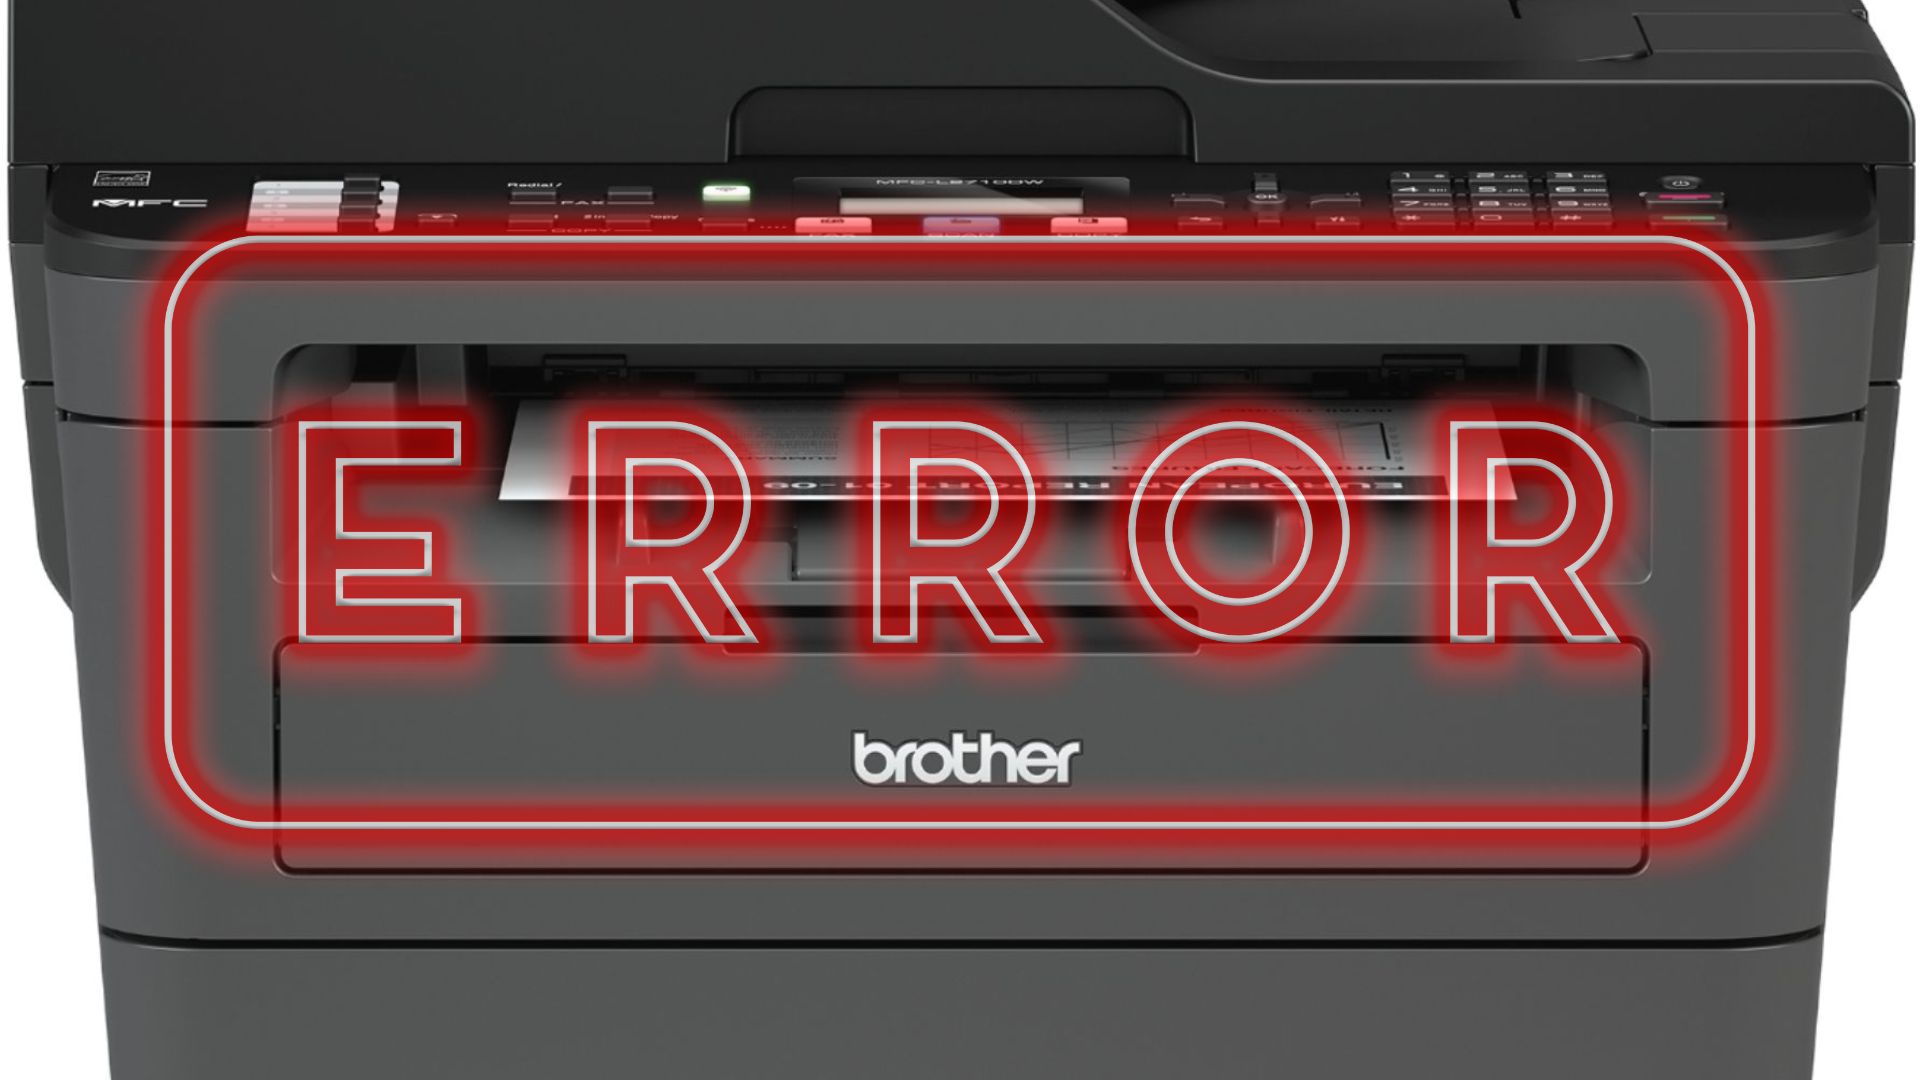
A Brother printer, or any other printer, may experience minor issues like it doesn’t recognize the cartridge. Some users wonder why won't my Brother printer recognize the ink cartridge and need to find troubleshooting. This page contains every detail you need about this minor issue.
What Makes Brother Printer Don’t Recognize The Cartridge?
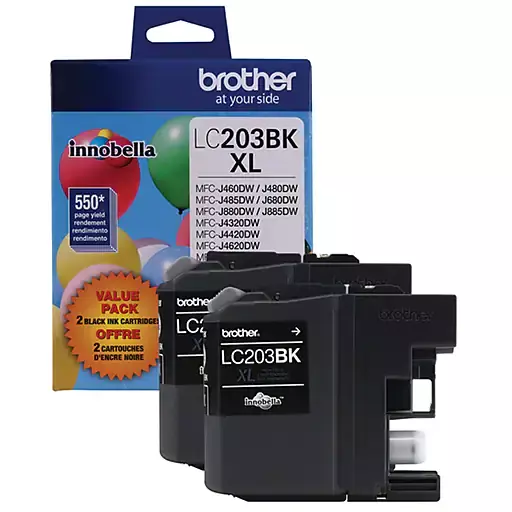
One of the most common issues you may face as a user of a printer is the device doesn’t recognize the cartridge even though you are using the compatible one. This issue may appear when you try to replace an empty cartridge with the new one. Any brand of the printer may experience this error.
The issue can appear whether you are replacing the cartridge with a remanufactured cartridge, compatible cartridge, generic cartridge, or the refilled ink one that doesn’t come from Brother. No matter what kind of cartridge you are using, here are the reasons why your printer doesn’t recognize it.
1. The printer requires an internal memory reset
A Brother printer should be able to recognize the new cartridge automatically and then reset the internal memory automatically. The reset process is going to make sure that the printer will display full toner and ink levels. But sometimes, a Brother printer doesn’t do this process properly.
In this case, your Brother printer is going to believe that there is no cartridge inside the printer or that the old cartridge has not been replaced. A manual reset to the internal memory will help fix this issue and make your printer recognize the cartridge you place inside it.
2. You forget to remove the protective strips
Another thing that causes an issue on your Brother printer is that you forget to remove the plastic strips or protective covers of the new cartridge. When you get the new cartridge, it has a plastic strip or covers protecting the copper from scratch, dirt, and anything that may cause damage.
You should take your cartridge out of the printer and then check the copper. Make sure that you remove the plastic covers, strips, or tabs before placing the cartridge into the printer again. This should be one of the very first things you do when your Brother printer doesn’t recognize the toner cartridge.
3. Damaged or dirty contacts
Damaged or dirty contacts are going to stop your printer from reading the chip data. Note that the new toner or ink cartridge comes with several metal contacts that are connecting to the same ones in your printer so they can communicate. Damage or dirt on the contacts will block their communication.
Damage or dirt may be found on the contacts on your cartridge or inside your printer. If the contacts are dirty or damaged, your printer won’t be able to read any information from the chip. That’s why your printer doesn’t detect any cartridge you place inside this device.
4. Installing the incorrect cartridge in the slot
Some users of a Brother printer make a mistake like putting the color cartridge into the black slot. Some others purchase the wrong model of cartridge for their Brother printer. Or you may get a maintenance item like a fuser or a drum and place it in the cartridge, it confuses your printer.
You must take all cartridges out of your printer and then make sure that you place them in the correct slots based on their color. Moreover, it is essential to make sure that all cartridges your printer requires are present. Reinstall the cartridges and then reset the system of your printer to fix it.
5. Not inserting the cartridge correctly
If you don’t click the cartridge properly into the designated slot, your printer won’t be able to detect that cartridge but will show you the error message. Lift the cover of your cartridge and then make sure that you insert the cartridge properly until you hear a click on every cartridge.
If you are using a toner cartridge, plastic parts of the cartridge that are broken will prevent your toner from sitting properly in the slot of your printer. To get rid of the issue, you must replace the toner cartridge with the new and unbroken one.
6. The software update doesn’t read the status correctly
When you connect a Brother printer to the internet, it will automatically update the software or firmware frequently. Sometimes the updates are excellent to fix bugs but some updates may prevent the compatible cartridge from working properly in the printer.
As a result, your printer is displaying the cartridge not compatible error message or informing you that it doesn’t recognize the cartridge. Those updates can even display an error message saying counterfeit cartridge installed even though you are trying to install the original compatible cartridge for your printer.
Troubleshooting for The Unrecognized Cartridge Error
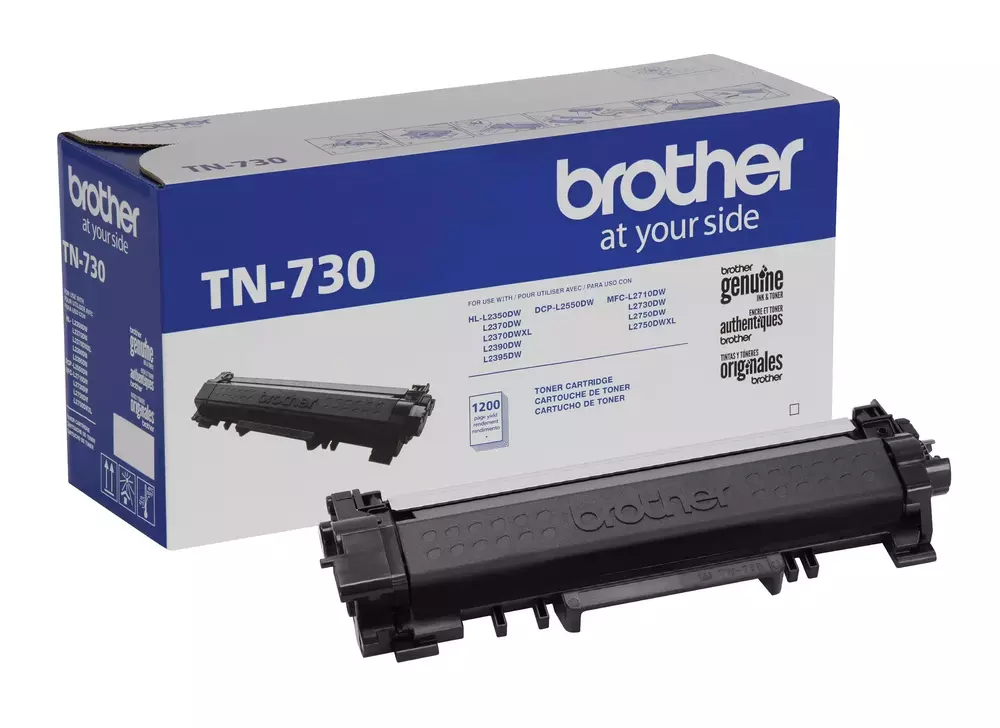
Once you figure out why won't my Brother printer recognize the ink cartridge, you’re ready for the troubleshooting. Stop being panic should be the very first step to take. Whether your cartridge is from Brother or another supplier, it should be working on the printer you are using.
If your Brother printer doesn’t recognize the cartridge and one of the six reasons above is the culprit, then you need to check out the troubleshooting below. Consider trying the simplest and easiest troubleshooting before moving to the more complex one.
1. Reset your Brother printer’s internal memory
This first troubleshooting or solution is for a Brother printer that doesn’t recognize the cartridge because the printer doesn’t reset its internal memory automatically. You need to help the printer reset the internal memory manually by performing these steps.
- Remove the new cartridge you try to install and then insert the old cartridge while leaving your printer and wait for at least 10 minutes.
- Now try to replace the old cartridge with your new cartridge to resolve the problem.
- If the issue doesn’t go, remove your new cartridge and place it in a safe and clean place to avoid damage on the surface.
- Use the power button to turn off your Brother printer and then unplug its cable from the power socket. Wait for another 10 minutes.
- Plug the printer back into your power socket and then insert the new cartridge before turning it on. Finally, turn on the printer by pressing its power button.
2. Clean the printer’s and cartridge’s metal contacts
You can see the metal contacts on the back or a side of the toner cartridge or ink cartridge, it looks like copper or a circuit board. Cleaning this part is crucial since the third cause of this issue is dirty or damaged contact. Here are the steps to clean the metal contacts properly.
- Turn off your printer and then unplug it from the electric socket, but you don’t have to do this first step if you are using a Brother inkjet printer.
- Remove the cartridge carefully and then place it on a flat surface on the cartridge’s side. Inspect the metal contacts of the cartridge.
- And then inspect the connection point inside your Brother printer. use a dry or lint-free cloth to wipe the contacts on the printer and cartridge.
- Insert the clean and new ink cartridge into your printer and then turn your printer on to perform a test print.
3. Remove the plastic covers or strips
When unboxing the cartridge and preparing to insert the cartridge into your Brother printer, you are about to see a plastic strip protecting the metal contact. Not removing the plastic strip is going to prevent your printer and the cartridge from communicating. That’s why your printer won’t recognize the new cartridge.
Remove the plastic strip of each cartridge simply by pulling it off slowly and carefully from the metal contact. And then make sure that there is no dirt on the metal contact since very tiny dirt can make your printer fails to detect the cartridge. Use the second troubleshooting above to clean any dirt.
The second and third methods here may seem simple but panic users won’t pay attention and complain about the terrible quality of the cartridge without checking the plastic strip and the metal cover. Double-checking the cartridge won’t take forever and will stop you from being panic.
4. Clean the printheads of your Brother inkjet printer
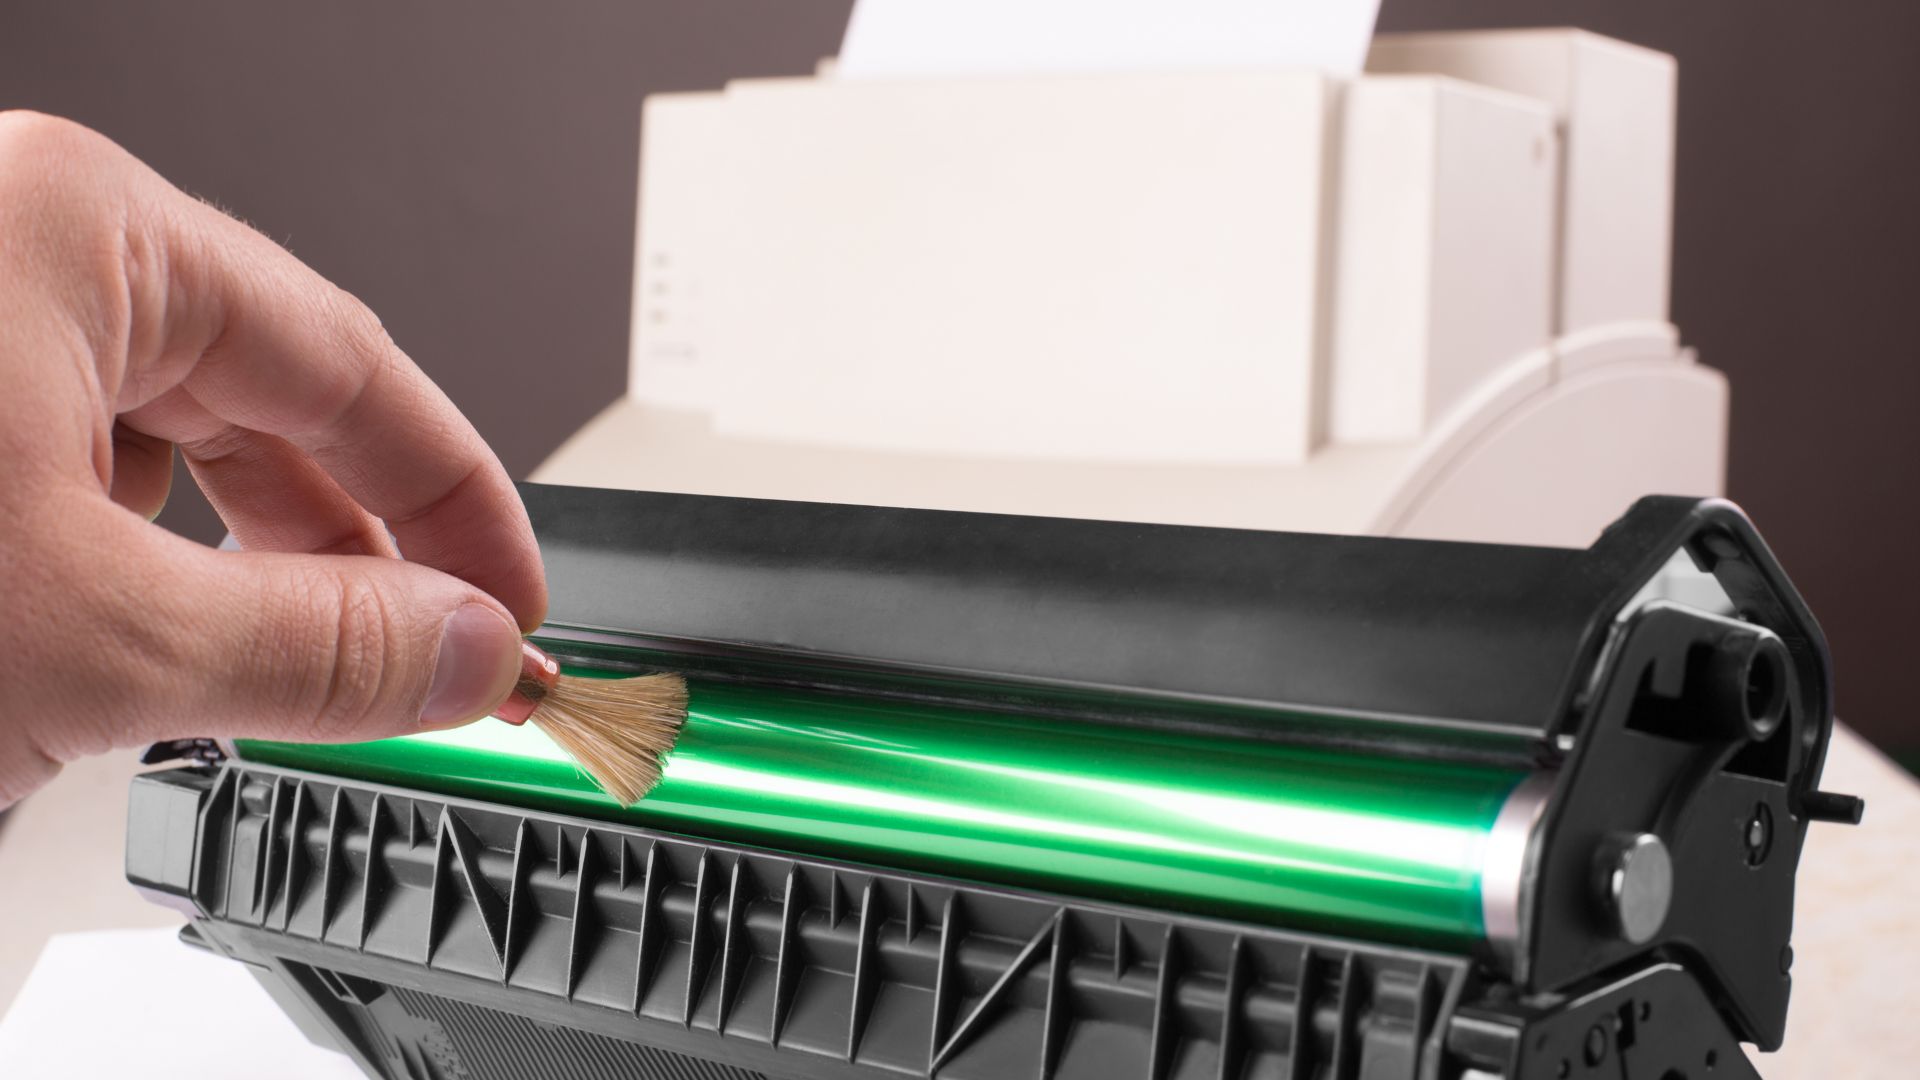
One essential way to keep your printer healthy so that it won’t display too many error messages is cleaning the printheads. By cleaning the printheads, you are going to remove clogs and then make sure that your printer creates clean and efficient documents.
- Clean the printheads manually by removing the cartridge from your inkjet printer and then locate the printhead of the cartridge.
- Wipe your printhead gently by using a lint-free and soft cloth, and make sure that you don’t touch any electronic component around it.
- Now insert the new cartridge you have bought and see whether the printer can detect it or not.
Manually cleaning your Brother printer isn’t the only way to keep the printhead clean. You can also perform printer-prompt cleaning that is going to make your Brother printer cleans its printhead automatically. Learn how to do the printer-prompt cleaning below.
5. Printer-prompt cleaning your old printer
Why won't my Brother printer recognize the ink cartridge? Probably because its printhead is dirty and you need to perform the printer-prompt cleaning. There are two ways to perform this cleaning, the first one below is for those who own a non-touchscreen printer model.
- Access the control panel of your printer with no touchscreen and then press the INK button.
- If there is no INK button on your printer’s control panel, click the Menu button and then locate the Ink menu by pressing the down or up arrows.
- Press OK to choose the Ink menu and then locate the Cleaning menu by pressing the up or down arrows.
- Next, press OK again and then use the arrow buttons to locate ALL, COLOR, or BLACK. Choose the one you want to clean first and then press OK.
If you choose Black, your printer will clean only the black part so you have to repeat the steps above to clean the Color section.
6. Printer-prompt cleaning for the latest model
Some models of Brother printers, especially the latest models, come with more fascinating features, including a touchscreen display. If you own a Brother printer that has a touchscreen display, the steps below are going to help you clean the printhead automatically.
- On the touchscreen display of your new Brother printer model, touch the Ink indicator and then choose the Cleaning
- Just like the previous method, now you need to choose between cleaning the color section, the black section only, or all of them.
The printer is going to start cleaning any printhead you choose and will return to the Ready mode after the cleaning process. Once the cleaning process is done, you need to test print a document and make sure that your printer can recognize the cartridge you place inside it.
7. Replace your cartridge with the chip-reset device
A chip resetter is a special tool that is going to contact the chip of your ink cartridge to make it go to the electronic full setting. It is going to let your printer knows that the cartridge is ready to print because it is full of ink. Using this chip resetter tool is very easy, here are the steps to take.
- Find a chip-reset device that’s specifically designed for the printer model you are using and then remove the undetected cartridge from your printer.
- Press your chip-reset device into the chip of your new cartridge and then click the Reset device button.
- The device will inform you about the complete reset process, you must wait for about 15 seconds before reinserting the cartridge into your Brother printer.
After resetting the chip of your cartridge, your printer should be able to detect it easily. Once the cartridge is connected to the printer, you need to check whether the printer can start printing or still won’t recognize the cartridge.
Tips to Keep Your Printer Away from Issues
After resolving the issue on your Brother printer, there are things you still have to do. You need to make sure that the Brother printer can perform various tasks consistently and optimally. Maintaining your printer and treating it properly is going to help you expand the lifespan of your printer as well.
1. Place the printer in the right spot
Just like many other electronic appliances, your Brother printer wants a special place where it can work optimally. A printer loves to stay in a place that isn’t exposed to dry air, moisture, or high temperatures. Those elements are going to damage your printer.
First of all, those elements are going to clog the printhead of your Brother printer. And then you will get low-quality output from the printer.
2. Turn off your printer when not in use
Many users of Brother printers leave their devices on standby because they may use the printer again later. Doing this for a long time is going to hurt your printer severely. It is essential to turn the printer off if you’re not going to use it for a long time.
Turning off your printer and giving it some rest will increase the printer’s longevity and prevent the cartridge from drying up too easily.
3. Deep-clean your printer regularly
You must clean your Brother printer inside and out after using the device for a certain period. Your printer has some delicate parts which can get coated in dust easily. Use a moist cotton swab or a lint-free cloth to wipe the exterior of your printer and clean the printer’s printhead.
4. Install and run the latest driver
One final and most effective method that will help you make your printer work optimally at all times is updating its driver when updates are available. Some printers will update their software automatically but some others need you to update the software manually.
Why won't my Brother printer recognize the ink cartridge? Six things can cause this issue and seven solutions to try to fix it. And then there are four things you need to do regularly to keep your printer healthy.

I'm Morgan, the creator of VPNForMe — a site born from too many hours spent side-eyeing sketchy VPN reviews and buffering videos.
I wanted a place where people could get straight answers about privacy, streaming access, and which VPNs actually deliver — without the hype or tech jargon.

