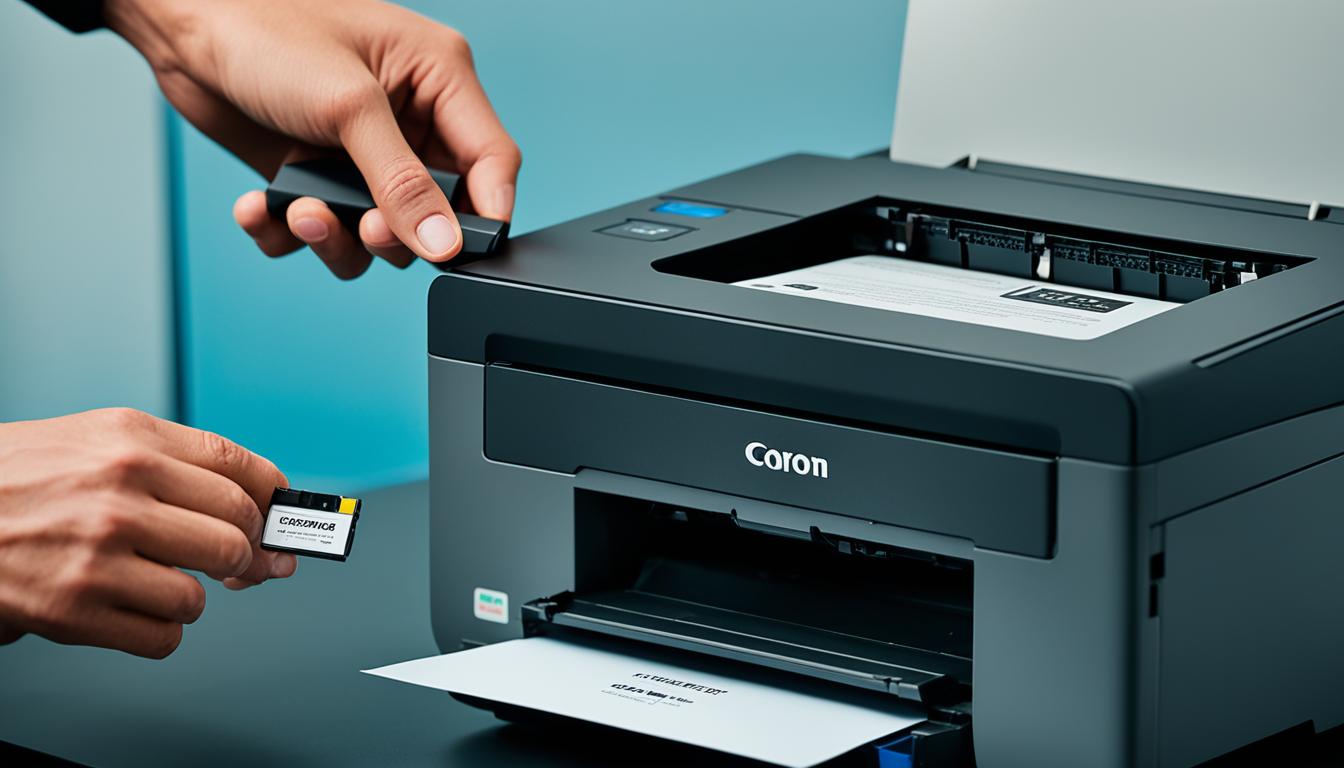
Have you ever encountered a problem with your printer not working after replacing ink cartridges? Don't worry; you're not alone. This is a common issue that many printer users face.
There are a variety of reasons why your printer might not be working after replacing ink cartridges, ranging from improper installation to compatibility issues. In this article, we will help you troubleshoot the issue and provide solutions to get your printer up and running again.
Key Takeaways
- Replacing ink cartridges can cause printer malfunctions.
- Check the ink cartridges' proper installation and compatibility.
- Perform a printer self-test to identify the root cause of the problem.
- Clean the print head and update the printer firmware.
- Contact customer support if necessary.
Check for Proper Installation of Ink Cartridges
After installing new ink cartridges, it's frustrating to find out that your printer is still not working. Before jumping to conclusions, it's essential to ensure that the ink cartridges have been installed correctly. Here's a step-by-step guide on how to check for the proper installation of ink cartridges:
- Turn on your printer and wait for it to finish initializing.
- Open the printer cover and carefully remove the ink cartridges.
- Check if the plastic film covering the ink cartridges has been removed.
- Check if the ink cartridges are placed in the correct slots according to the color coding.
- Push gently on each cartridge until you hear a clicking sound, indicating that they are securely in place.
- Close the printer cover and wait for the printer to detect the newly installed cartridges.
- Print a test page or run a printer self-test to ensure that the ink cartridges are recognized and properly installed.
If your printer is still not working after checking for proper ink cartridge installation, try removing and reinstalling the cartridges. If the issue persists, move on to the other troubleshooting steps in this article.
Don't forget to dispose of the used ink cartridges responsibly. You can check with your local recycling center to see if they currently have an ink cartridge recycling program in place.
Verify Ink Cartridge Compatibility
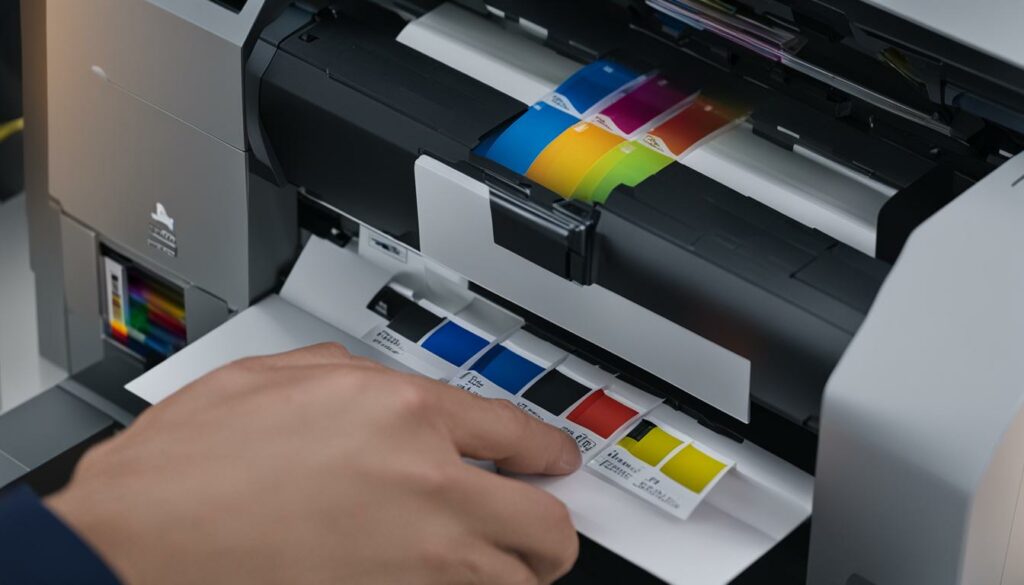
Ensuring that the ink cartridges are compatible with your specific printer model is crucial to avoid printer malfunction. While some cartridges may look similar, they may not be compatible with your printer. To verify the ink cartridge compatibility:
- Refer to the user manual or the printer manufacturer's website to determine the compatible ink cartridges for your printer model.
- Check the packaging of the ink cartridges for the list of compatible printer models.
- If you have already installed the ink cartridges, check the printer settings or user interface to see if it displays any warning messages regarding the compatibility of the ink cartridges.
If you find that the ink cartridges are not compatible with your printer, you can:
- Return the ink cartridges and get the ones that are compatible with your printer model.
- Use an adapter or a converter to make the non-compatible ink cartridges work with your printer. However, this method is not always recommended as it may harm your printer or compromise the print quality.
By verifying ink cartridge compatibility before installation, you can avoid printer issues and ensure smooth printing operations. If you are unsure about the compatibility of your ink cartridges, it is always best to consult with the printer manufacturer or customer support for further assistance.
Run a Printer Self-Test
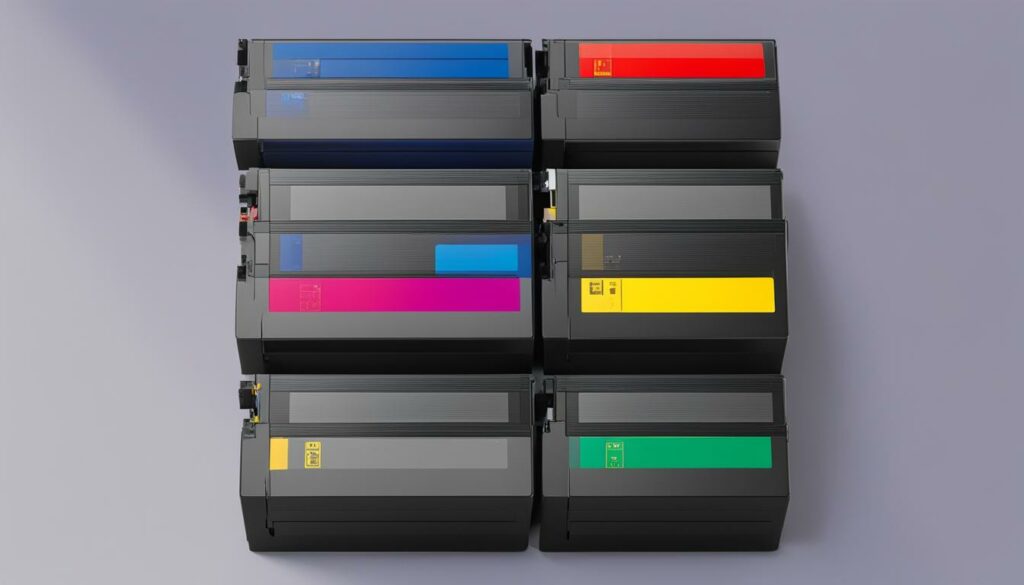
When your printer is not working correctly after replacing ink cartridges, it may be due to software or firmware issues. A printer self-test can help you diagnose the problem and identify the root cause of the issue.
To run a printer self-test, follow these steps:
- Make sure that your printer is turned off.
- Hold down the power button and the cancel button simultaneously.
- Release the buttons when the printer turns on.
- The printer will print a test page with diagnostic information, including ink levels and firmware version.
Interpreting the results of the printer self-test can help you troubleshoot the issue. If the test page prints without any problems, the issue may be with the software or firmware. If the test page shows errors or problems with the ink cartridges, you may need to check the cartridge installation or compatibility.
Note: You can also run a printer self-test from your computer by accessing the printer settings or maintenance menu.
Running a printer self-test is a quick and easy way to identify printer issues after replacing ink cartridges.
Clean the Print Head
Regular print head cleaning is crucial to maintain the quality of prints and prevent printer malfunctions. Over time, the print heads can become clogged with dried ink or dust, resulting in streaky or faded prints. Follow these simple steps to clean your printer's print head:
- Access the printer's control panel or software on your computer.
- Locate the print head cleaning option and select it.
- Follow the prompts to begin the cleaning process.
- Once the cleaning process is finished, print a test page to check if the print quality has improved. If not, repeat the cleaning process.
If the print head remains clogged even after multiple cleaning attempts, you may need to manually clean it using a soft cloth moistened with water or rubbing alcohol. Refer to your printer's manual for specific cleaning instructions.
Reset Printer Settings
If your printer is still not working after checking the ink cartridges and performing a printer self-test, software-related issues may be the culprit. Resetting the printer settings can often solve these issues. However, before resetting the printer settings, it's important to consider the consequences. Resetting the printer will clear all custom settings, such as paper size and print quality. Therefore, it's recommended to only reset the printer as a last resort.
To reset the printer settings, follow these steps:
- Turn off the printer and unplug it from the power source.
- Wait for 2-3 minutes and then plug the printer back in.
- Hold down the “Power” button for 10-15 seconds until the printer powers on and then release the button.
- The printer will reset to its default settings.
Once the printer is reset, try printing a test page to ensure that the issue has been resolved. If the problem still persists, try contacting customer support for further assistance.
Update Printer Firmware
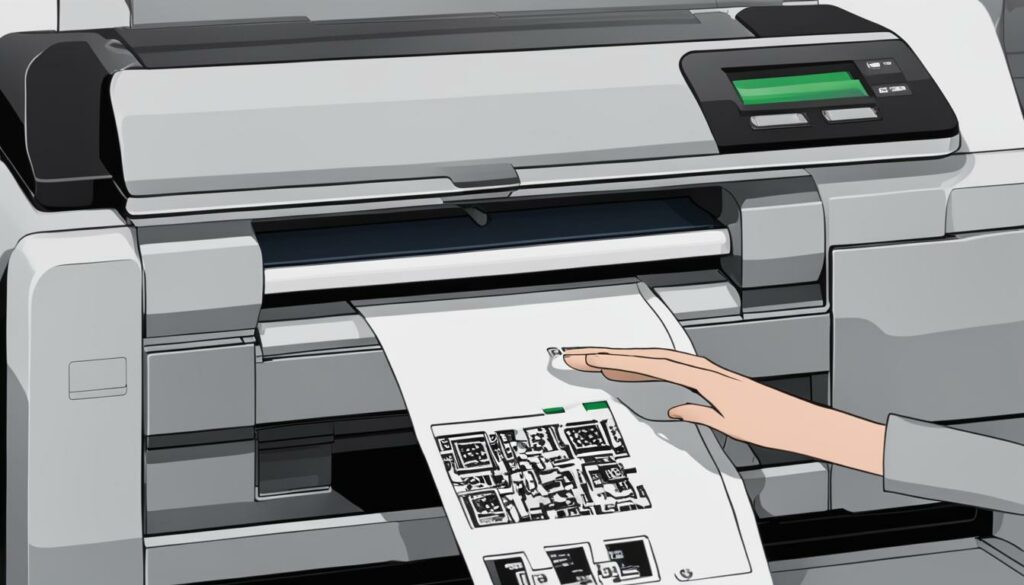
If you are experiencing compatibility issues or printer malfunctions, outdated firmware may be the culprit. Updating your printer's firmware can improve its performance and prevent future errors.
Before proceeding with the update, make sure that your printer is connected to a reliable power source and that you have a stable internet connection. The following steps will guide you through the process:
- Visit the official website of your printer manufacturer and navigate to the support section for your device.
- Find the firmware update for your printer model and download it to your computer.
- Extract the downloaded file and follow the firmware update instructions carefully.
- Wait for the update process to complete and restart your printer.
- Verify that the firmware update was successful by performing a printer self-test.
In case you encounter any issues during the firmware update, refer to the troubleshooting guide provided by the printer manufacturer or contact their customer support for further assistance.
Why is Updating Printer Firmware Important?
Printing technology is constantly evolving, and manufacturers often release firmware updates to improve printer performance, add new features, and address security vulnerabilities. Without regular firmware updates, your printer may become more susceptible to errors and compatibility issues with newer operating systems or software.
Updating the firmware can also fix existing bugs or issues in the printer's original software. The latest firmware version is optimized for better compatibility with newer devices and can prevent future errors or malfunctions.
Therefore, it is crucial to keep your printer's firmware updated to ensure uninterrupted printing operations, prevent future issues, and enhance overall performance.
Check for Paper Jams
A paper jam is a frustrating issue that can happen even after replacing ink cartridges. To avoid this problem, it's important to properly load the paper and keep the printer clean. If your printer stops working, the first thing to check is whether there is a paper jam. Here are the steps to follow:
- Turn off the printer and unplug it from the power source.
- Open all the paper input trays and the rear access door.
- Carefully remove any jammed paper by pulling it out in the direction of the paper path.
- Check for any torn or stuck paper and remove it if necessary.
- Make sure there are no foreign objects, such as paper clips or staples, inside the printer.
- Close all the paper input trays and the rear access door.
- Plug in the printer and turn it on.
If the printer still isn't working properly, it's a good idea to perform a printer self-test or contact customer support for further assistance.

Contact Customer Support
If you have tried all the troubleshooting options stated above and are still experiencing printer issues, don't lose hope. Contacting customer support can help provide you with immediate solutions to all your printer concerns. You can easily find the contact information of your printer's customer support on the manufacturer's website and reach out to them via email, phone, or live chat.
It's important to provide the customer support representative with as much information as possible to help them diagnose the issue. Prepare to give them your printer model, serial number, and a detailed explanation of the problem you are facing. The representative may ask you to perform a few additional steps to aid in the troubleshooting process.
Remember, customer support is there to help you. Don't hesitate to reach out to them if you need further assistance.
Common Printer Problems After Replacing Ink Cartridges
Even after installing new ink cartridges, your printer may exhibit various issues that can be frustrating. In this section, we will outline some of the common printer problems that users face after replacing ink cartridges and provide solutions to help you get back to your print job.
1. Poor Print Quality
If you notice that text or images are blurred, streaky or faded, this indicates a problem with the print quality. The issue may occur due to clogged print heads, incorrect settings, or low-level ink.
To resolve this issue, try running a print head cleaning cycle or adjusting the printer settings. Another option could be to replace the ink cartridges, as low ink levels can also affect print quality.
2. Error Messages
After replacing ink cartridges, your printer may generate new error messages that indicate problems. These messages can be due to various reasons like incompatible ink cartridges, paper jams, or outdated firmware.
You can resolve this issue by checking ink cartridge compatibility, clearing any paper jams, or updating the printer firmware. If the error persists, try contacting customer support for assistance in fixing the issue.
3. Ink Cartridge Recognition Failure
Sometimes, the printer may not recognize the newly installed ink cartridges. This can happen due to improper installation or compatibility issues. Ensure that you have correctly inserted the ink cartridges into their respective slots. If the problem persists, try replacing the ink cartridges with new ones or verifying their compatibility with your specific printer model.
4. Printer Not Working
If your printer is not working after replacing ink cartridges, it could be due to several reasons. Check for paper jams, ink cartridge compatibility, and run a printer self-test to identify the problem. Try resetting the printer settings or updating the firmware to resolve any software-related issues.
By understanding these common printer problems after replacing ink cartridges, you can troubleshoot and resolve any issues with ease.
Conclusion
Experiencing printer issues after replacing ink cartridges can be frustrating but it is a common occurrence. The good news is that there are solutions available to help troubleshoot and resolve these problems. By following the steps outlined in this article, you can quickly identify the root cause of the problem and take appropriate action.
If all else fails, don't hesitate to reach out to customer support for further assistance. They can provide additional troubleshooting steps or even offer repair services if needed. We hope this article has been helpful in resolving any printer issues you may encounter in the future.

I'm Morgan, the creator of VPNForMe — a site born from too many hours spent side-eyeing sketchy VPN reviews and buffering videos.
I wanted a place where people could get straight answers about privacy, streaming access, and which VPNs actually deliver — without the hype or tech jargon.

