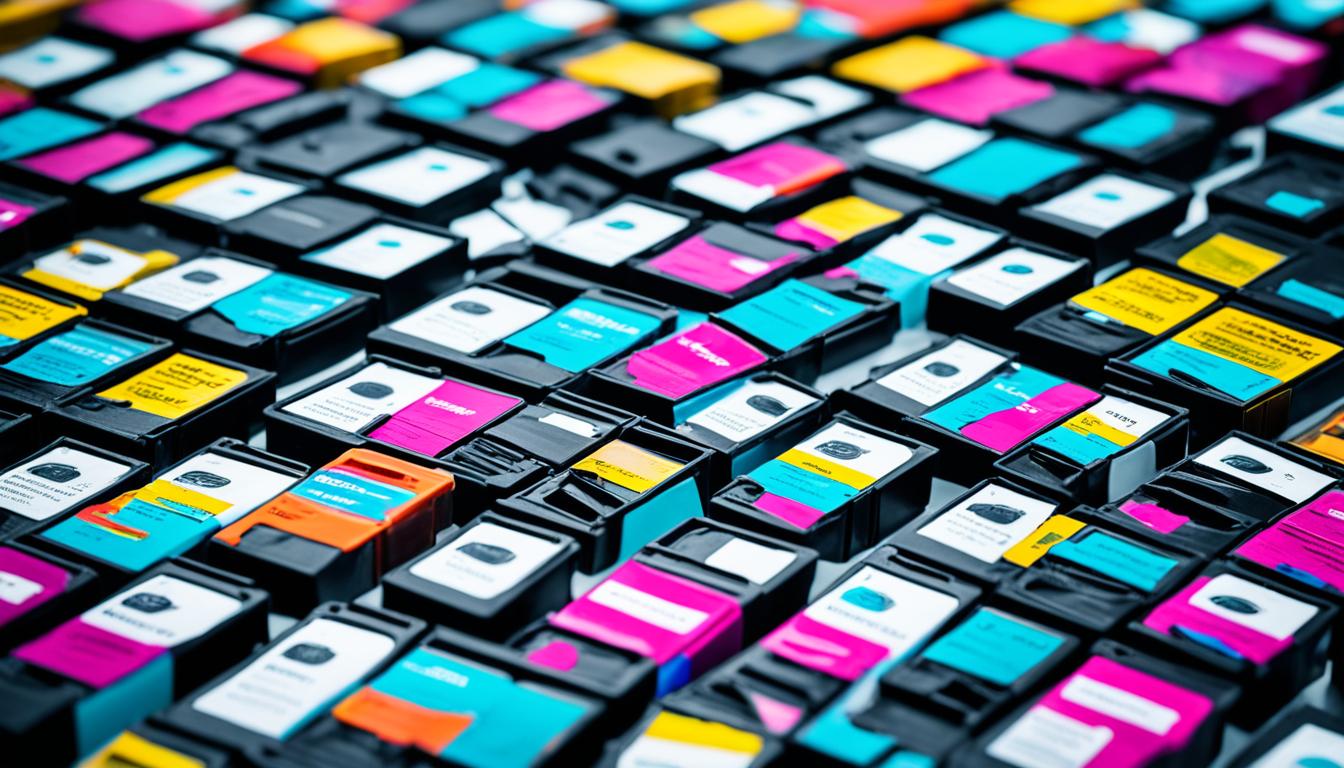
Compatible Toner vs Genuine: Cost & Quality Compared
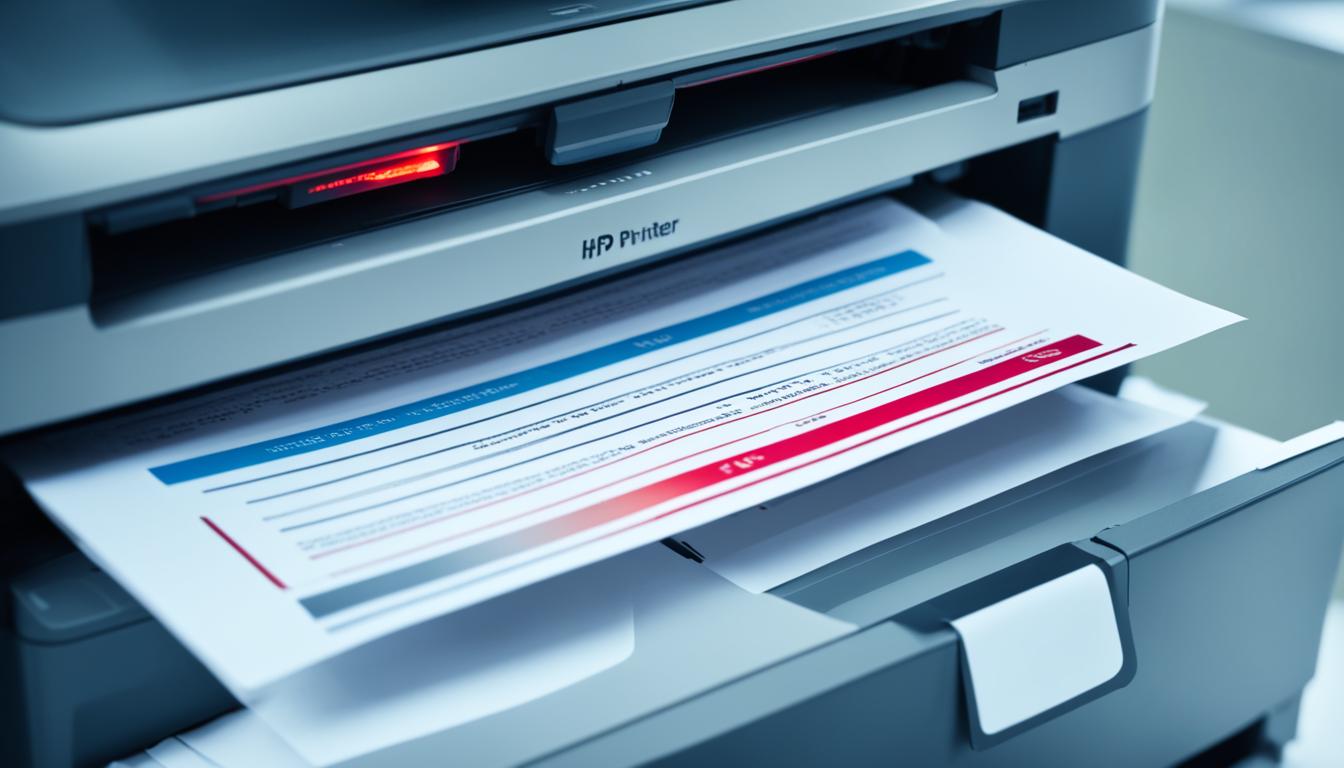
When it comes to toner, you have choices: do you purchase the Original Equipment Manufacturer (OEM) toner, or go with a cheaper, but allegedly compatible toner? The difference between the two lies in their cost and quality. While OEM toner cartridges are more precise and offer better print quality, compatible toners are cheaper but can … Read more